
Sometimes you just want to get up and running without the hassle involved with configurations and the likes. With Amazon Lightsail you can do this and more. Lightsail provides developers compute, storage, and networking capacity and capabilities to deploy and manage websites and web applications in the cloud.
Lightsail includes everything you need to launch your project quickly – virtual machines, containers, databases, CDN, load balancers, DNS management etc. This is especially good if you just need to get started quickly and have a good jump off point seeing as Amazon Lightsail is the easiest way to get started with Amazon Web Services (AWS) if you just need virtual private servers. Lightsail includes everything you need to launch your project quickly. You can read more about lightsail.
WordPress?
WordPress is an open-source content management system (CMS). It's a popular tool for individuals without any coding experience who want to build websites and blogs. The software doesn't cost anything. Anyone can install, use, and modify it for free. More on wordpress.
Enough talk let’s get into deploying wordpress on lightsail.
Before we proceed, here are basic assumptions i have:
- You have a working AWS Account.
- You have registered a domain name with AWS Route 53 or any domain registrar.
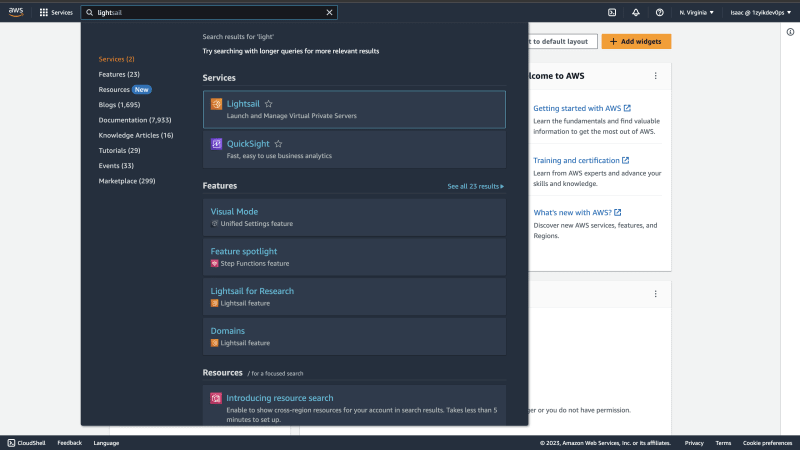
Step 1: Sign into the AWS console, search for lightsail and click to navigate to the lightsail dashboard.
Step 2: Creating the Wordpress Lightsail Instance
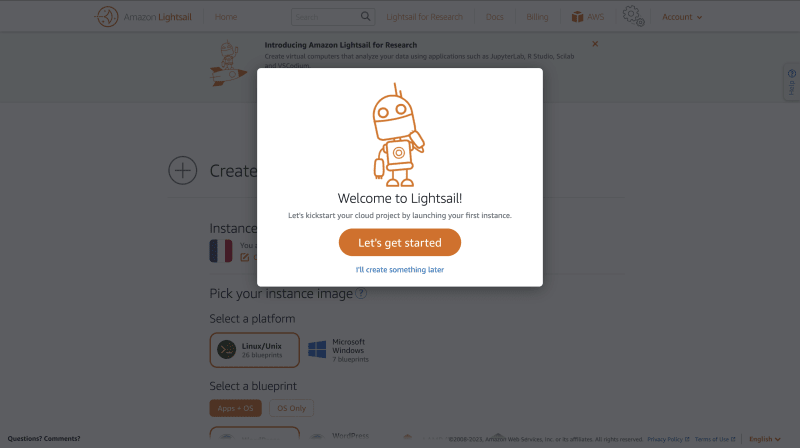
a. On the Instances tab of the Lightsail home page, choose Create instance.
b. An AWS Region and Availability Zone is selected for you but you can choose or change AWS Region and Availability Zone if you want to create your instance in a different location.

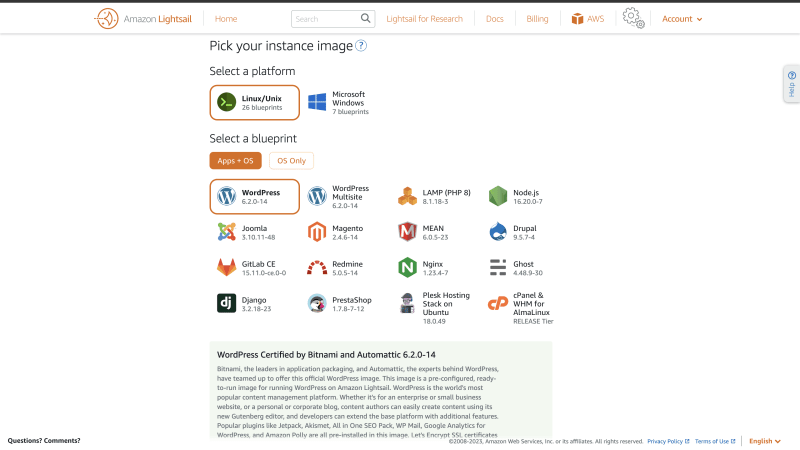
c. Choose your instance image.
- Choose Linux/Unix as the platform.
- Choose WordPress as the blueprint.
d. Choose an instance plan. I went with the smallest for this demonstration but lightsail is free for the first 3 months so no cost was incurred.
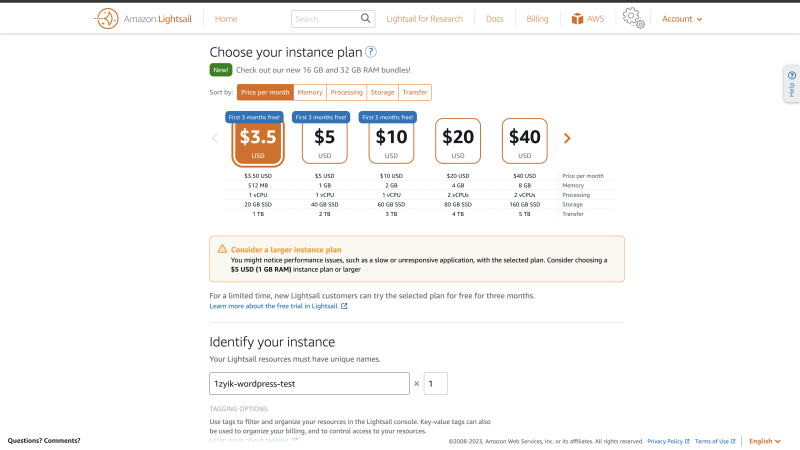
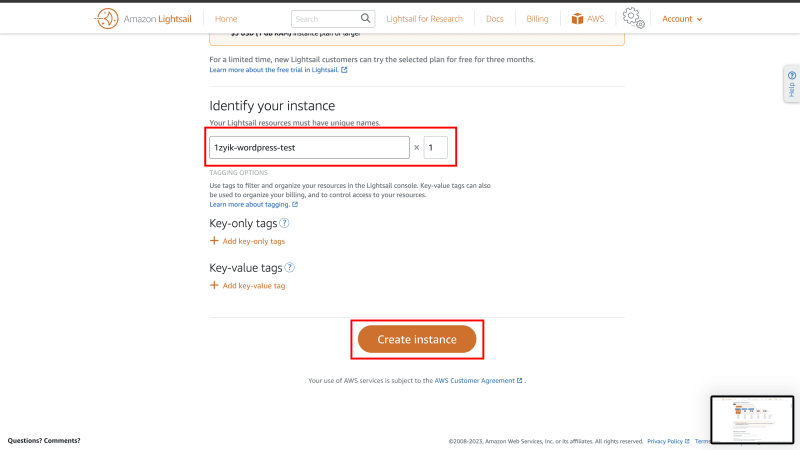
e. Enter a name for your instance and choose Create instance.
Step 3: Connect to your instance via SSH and get the password for your WordPress website
The default password to sign in to the administration dashboard of your WordPress website is stored on the instance. So we have to ssh into it and retrieve the password.
a. On the Instances tab of the Lightsail home page, choose the SSH quick-connect icon for your WordPress instance.

b. After the browser-based SSH client window opens, paste the following command to get the admin password.
cat $HOME/bitnami_application_password
c. Copy the password out to a text document or somewhere as you would use it to sign in.

Step 4: Sign in to the administration dashboard of your WordPress website.
a. In a web browser window go to
http://PublicIpAddress/wp-login.php
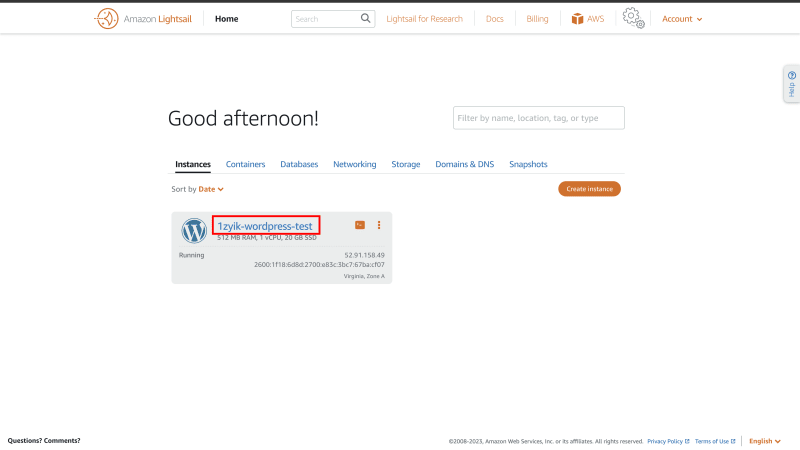
Note you need to replace PublicIpAddress with the public IP address of your WordPress instance. You can get your instance's public IP address from the Lightsail console as shown in the image below.

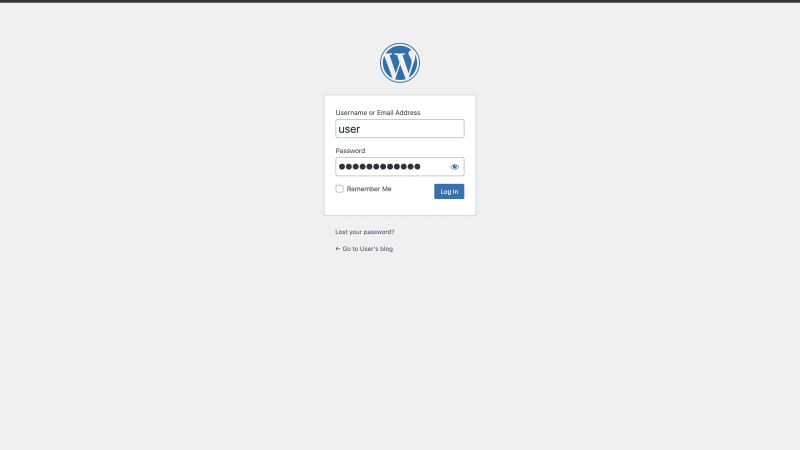
b. Log in to your instance.
- In the Username or Email Address box, enter user.
- In the Password box, enter the default password obtained earlier in from the SSH login.
- Choose Log in.
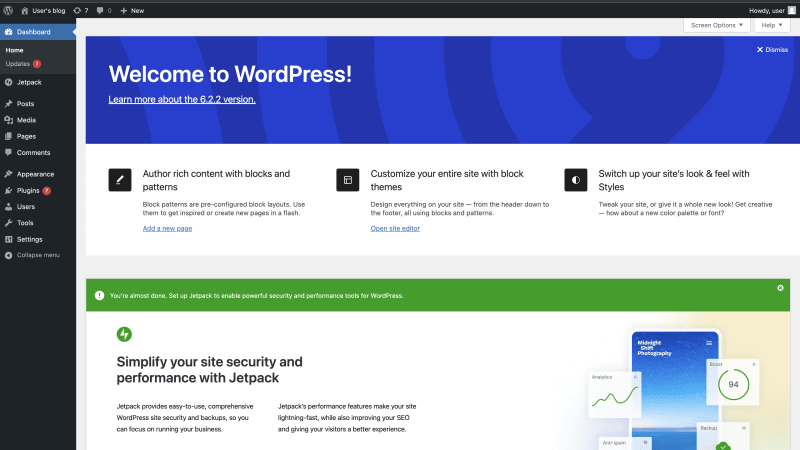
c. You should be signed in now.
Step 5: Create a Lightsail static IP address and attach it to your WordPress instance
The default IP always changes when you stop and start your instance to fix that we would create and attach a static IP to our lightsail instance to prevent this from happening.
a. On the Instances tab of the Lightsail home page, choose your running WordPress instance.
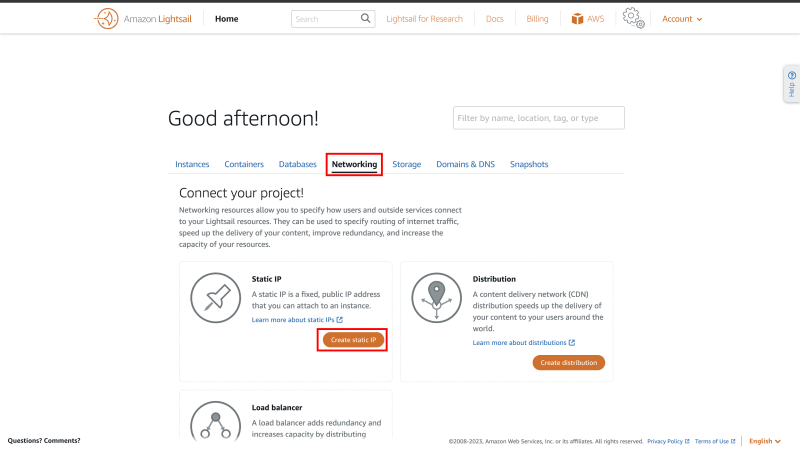
b. Choose the Networking tab, then choose Create static IP.
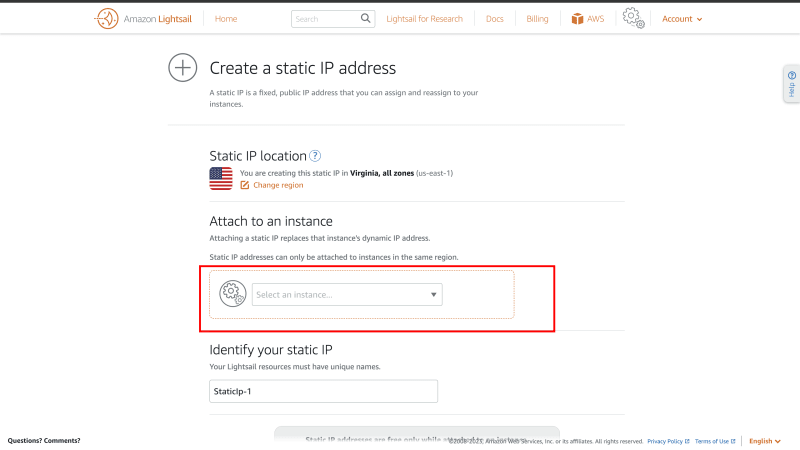
c. The static IP location is preselected based on the instance zone that you chose earlier. Select the created WordPress instance from the Attach to an instance dropdown.
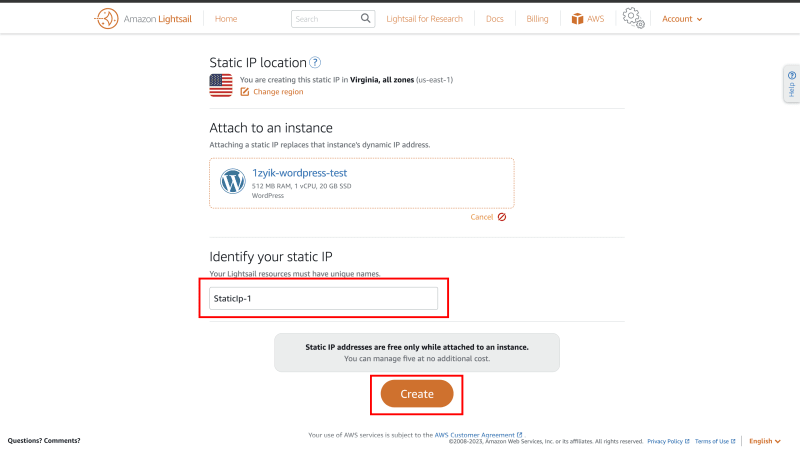
d. Name your static IP, then choose Create.
You can now navigate to your wordpress instance using the new static IP, you can also stop and start your instance to test out the static IP.
Step 6: Create a Lightsail DNS zone and map a domain to your WordPress instance
We don’t really want our wordpress website visitors memorising a series of numbers or IP addresses right. This is where the DNS zone mapping comes in.
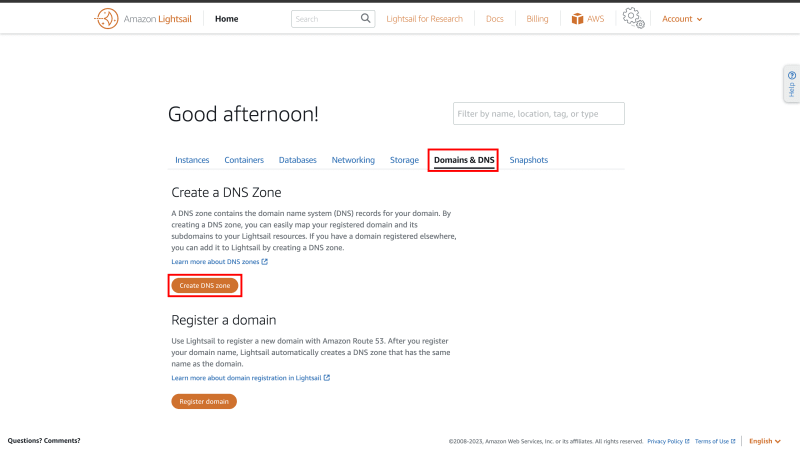
a. On the Domain and DNS tab of the Lightsail home page, choose Create DNS zone.
b. Enter your domain, then choose Create DNS zone.
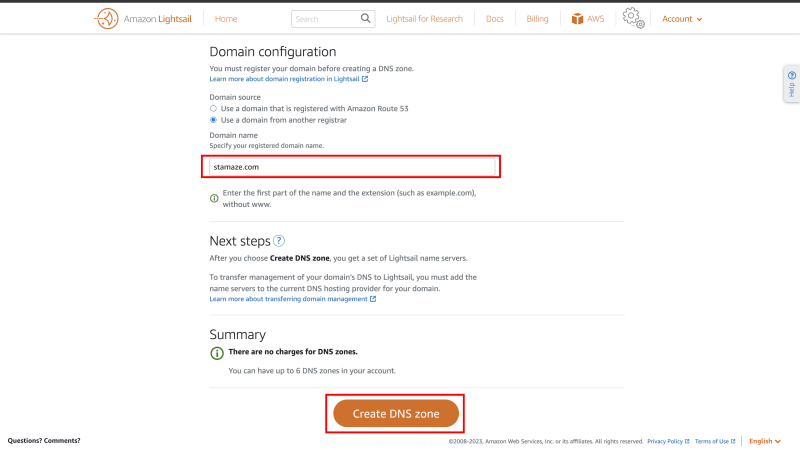
Note: Make sure you have the domain registered already on AWS or any domain registrar.
c. Make note of the name server address listed on the page.
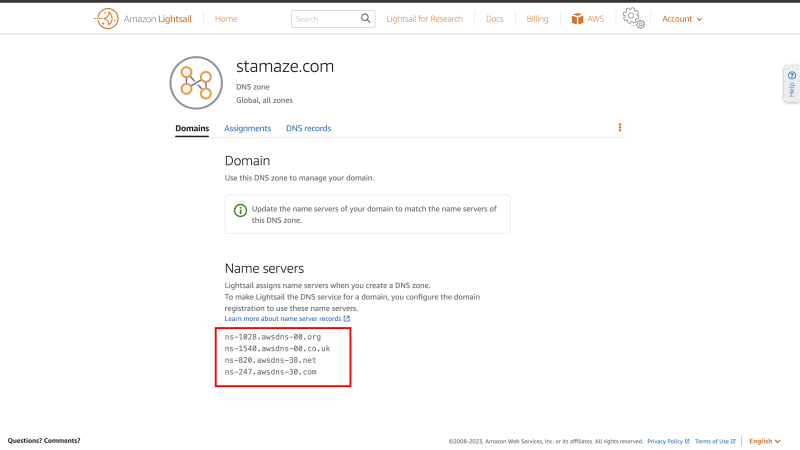
You add these name server addresses to your domain name’s registrar to transfer management of your domain’s DNS records to Lightsail. If you don’t know how to do this, i have a guide on this here
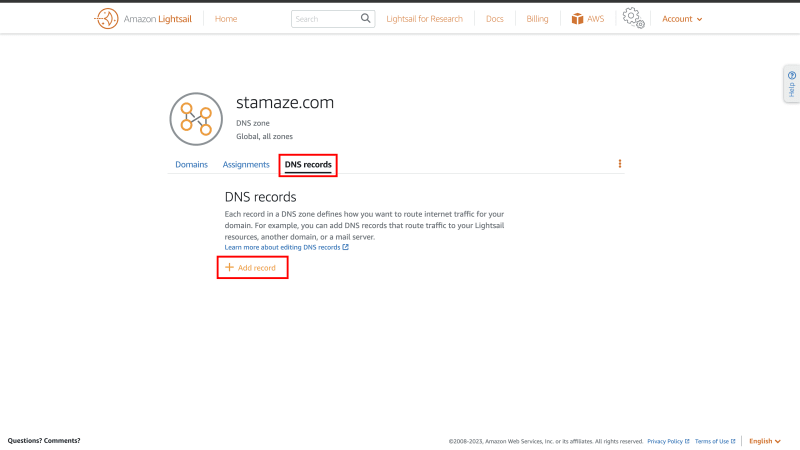
d. Next we create an A record, In the DNS zone for your domain, choose Add record.
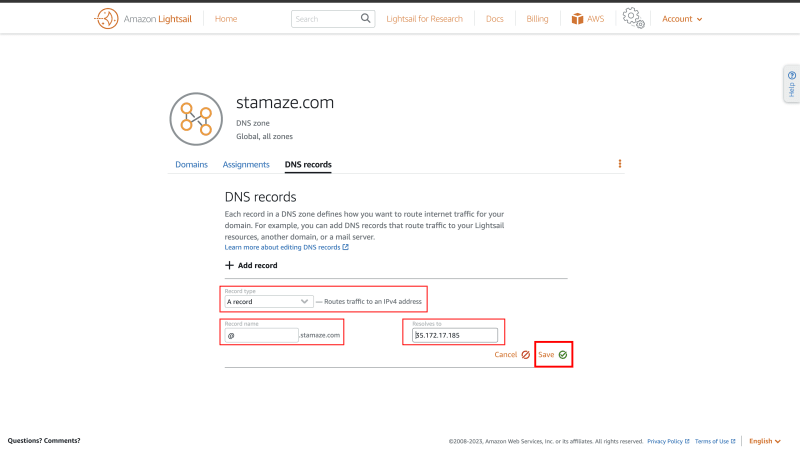
e. In the Subdomain box, enter an @ symbol to map the apex of your domain (such as example.com) to your instance. The @ symbol explicitly symbolises that you’re adding an apex record. It is not added as a subdomain.
In the Resolves to box, choose the static IP that you attached to the WordPress instance in the previous step of this tutorial.
Choose the green save icon.
Allow time for the change to propagate through the internet's DNS before your domain begins routing traffic to your WordPress instance.
You should be able to visit your lightsail wordpress instance now using the your domain name.
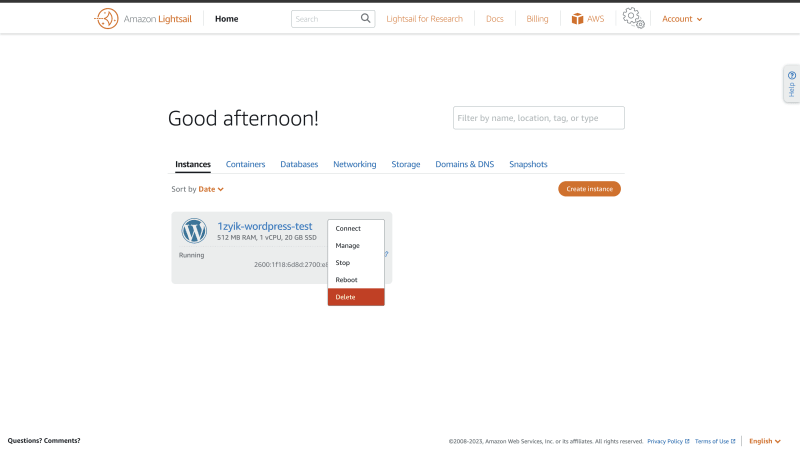
Step 7: Clean up
- On the Instances tab of the Lightsail home page, choose the ellipsis (⋮) icon next to the WordPress instance you just created and choose Delete.
- Choose Yes, delete from the prompt.
- You should also navigate to the static IP section and delete the IP as well.
And that is how you configure wordpress on Amazon Lightsail, pretty easy right. I’ll see you around ✌️
Credits: Amazons guide to configuring wordpress on Lightsail.

Top comments (0)