
This article was written by Jeff Stokes. He is a frequent contributor to the Adam the Automator (ATA) blog. If you'd like to read more from this author, check out his ATA author page. Be sure to also check out more how-to posts on cloud computing, system administration, IT, and DevOps on adamtheautomator.com!
Windows performance counters can get unwieldy quickly. Although powerful, performance counters are notoriously complex. Even before you begin to create performance counters, it's sometimes impossible to know which ones to create to find what you're looking for in the first place! Thankfully, you have the PAL Tool.
Introducing the open-source Performance Analysis of Logs (PAL) Tool. using the PAL tool, you can investigate performance problems and download performance counter logs.
The PAL tool provides useful insights based on known thresholds. It works by providing a handy configuration GUI and then running a PowerShell script (PAL.ps1) to parse and analyze performance counter log files.
In this article, you're going to learn how to download the PAL tool, install it and then how to use it to perform system performance analysis of logs generated from data collector sets.
Prerequisites
If you'd like to follow along in this article, be sure you have the following prerequisites in place before starting.
- Any modern version of Windows - We'll be using Windows Server in this article.
- .NET Framework 4.7.2 installed
- An existing performance counter log - We'll be using the log created from a previous ATA article entitled Windows Performance Monitoring: Saving Time with Templates <LINKHERE>
Downloading and Installing the PAL Tool
To get started, visit the PAL Tool download from GitHub. You can do so by visiting the releases section. In this article, we'll be using version 2.8.1.
Find the MSI installer called PAL_Setup_x_x_x.msi in the Assets section in the GitHub repo as shown below. Once downloaded, run the installer accepting all defaults.

Setting up the PAL Tool
Once the PAL tool is installed, it's time for the fun stuff! Let's now run through an example of using this handy tool to extract useful, applicable data from a performance counter log to check on server performance.
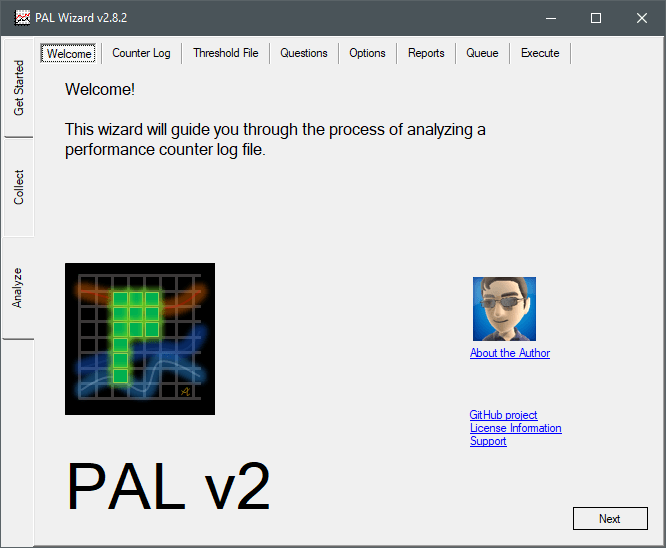
- First, click the Start menu button, type PAL, and click PAL when it appears in the results. You'll see an example of what the PAL Wizard looks like below. Click Next to begin the PAL Wizard and go to the Counter Log tab.
2. On the Counter Log tab is where you will tell PAL where the performance counter log is located and if you'd like to limit the analyzation to only a specific timeframe as as shown below.
The optional Date/Time Range is there only if you want to specify a time inside your BLG file. Leave it unchecked for now.
3. Click Browse, navigate to the location of a BLG file you'd like to analyze, and open it. For this example, we have a Windows performance counter called GIBSON_System_33920.blg that I created earlier.

4. With the BLG file selected, click Next to go to the Threshold File tab.
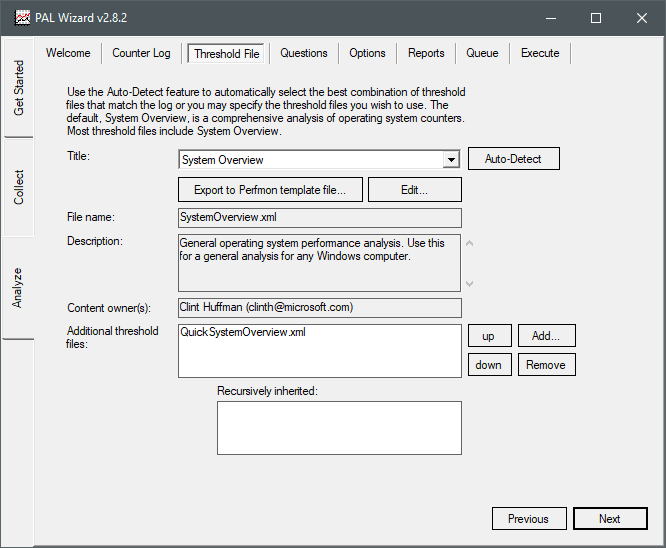
There are many different options for Threshold Files. The default is System Overview. Since this is just a demonstration without a specific metric to analyze in mind, keep the Title set to System Overview but feel free to play around with this.
5. Click Next to go to the Questions tab as you can see below. The Questions tab is used for finding memory threshold limit breaches in x86 installs of Windows. It’s safe to skip this step.

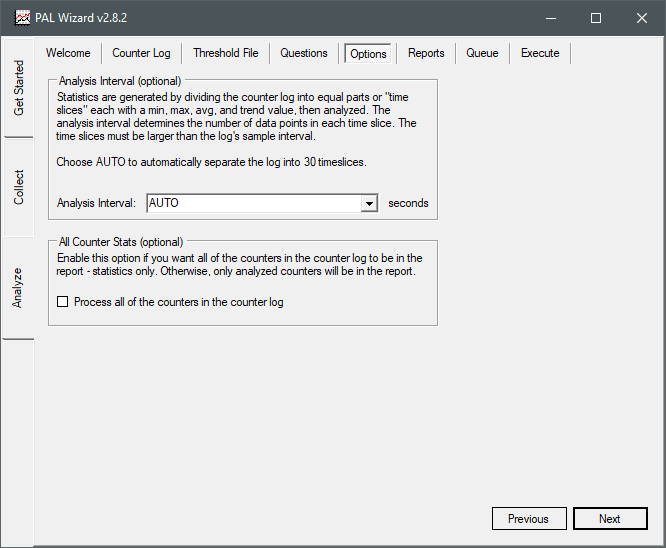
6. Click Next to go to the Options tab as shown below. The Options tab is used to break the log file into multiple files organized by chronological time. Usually the default, Auto, is fine.
7. Click Next to go to the Reports tab as shown below. The Reports tab is where you specify directories for report generation.
By default, PAL creates a PAL Reports folder within your My Documents folder for Windows performance counter reports. This is useful if you tend to assist different groups/companies/teams and don’t want to mix the results data. As you can see below, an HTML Report is going to be generated in the folder path provided.

8. Click Next to go to the Queue tab as shown below. The Queue tab is where you can read what is going on under the hood with PAL. This will be a read-only field presenting the PowerShell script (PAL.ps1) PAL is executing against the log file with a variety of variables defined.
If you were analyzing several traces, the Queue would reflect the individual commands being executed on each selected BLG file.

9. Click Next to go to the Execute tab as shown below. The Execute tab is the last step in the PAL Wizard. Select Start analysis of the queue, Execute as a low priority process, and leave the Number of processing threads to its default.

10. Click Finish to execute the PowerShell script.
When configuration is completed, the PAL tool will execute a PowerShell script which opens a PowerShell window where you'll the see the script running. You can see an example of this below.

Eventually the processing window will display that the script is generating the HTML report and graphs.
When the script is completed, your default browser will open a new window with the html-based report as shown below.

The report is broken into 30 time slices, and also broken out by problem category (Disk, Memory, CPU, Network, etc). The report is interactive so you can click around the various links to navigate around and see what kind of useful information you can find.
Most categories will have some friendly text at the category header explaining why the counter is relevant, what the thresholds are, and sometimes a MSDN or TechNet link for further reading. You can see below an example of what it says for Memory Available MBytes.

Summary
In this article, you learned about the handy PAL Tool. Using this free, open-source tool is a great way to perform analysis of logs, parse and extract actionable data from your performance monitor logs.
Now that you're through this demonstration, start capturing other types of performance counter log and inspecting them with the PAL Tool to see what other benefits you can get from this useful tool!

Top comments (1)
Lovely tool!