Add the following dependencies in your build.gradle
implementation 'com.google.firebase:firebase-auth:19.3.1'
implementation 'com.google.android.gms:play-services-auth:18.0.0'
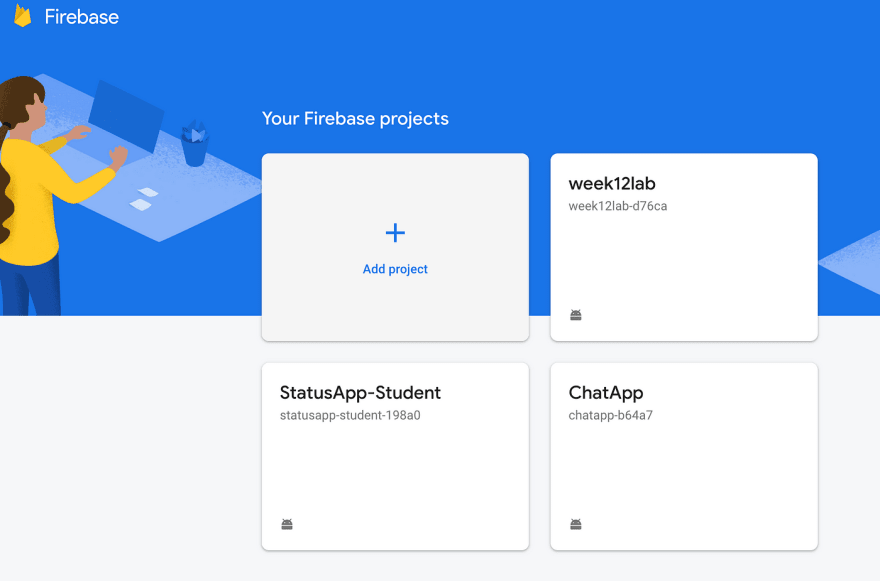
Before starting, I am assuming that you already connected your Android app with firebase. In this case, I already connected week12lab with firebase
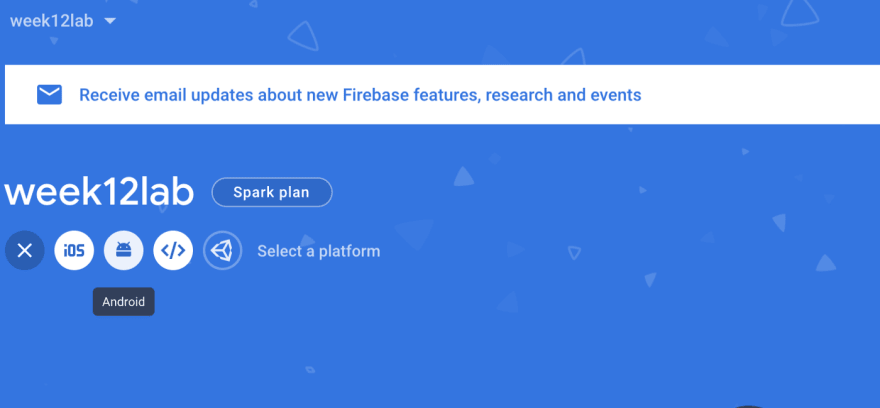
Afterwards, press the Android option and create a new app
The Android package name can be found in the build.gradle file under the applicationId name. Additionally we will have to create a SHA-1 certificate for debug signing
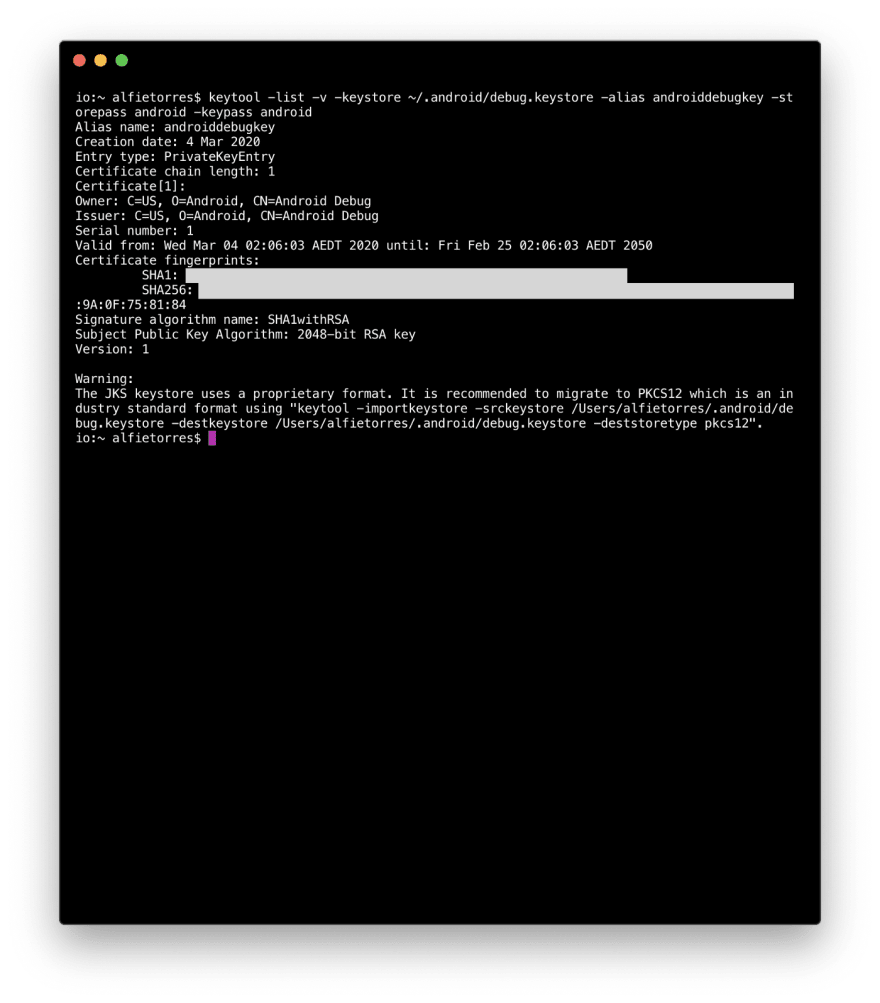
In order to generate the SHA-1 key type the following command in your terminal
keytool -list -v -keystore ~/.android/debug.keystore -alias androiddebugkey -storepass android -keypass android
Result of the command. I hid my SHA1 certificate fingerprints.
Add the google-services.json file to your app folder
Outline
A detailed explanation can be found in Google’s official documentation. This tutorial is simply made to explain each step as concisely as possible.
- Configure Google Sign-in and GoogleSignInClient object
- Check for existing signed-in use
- Use Firebase Auth
- Add What will happen if valid user logs in
- Add a logout button
- Play with user’s data
- Update manifest
1 | Configure Google Sign-in and the GoogleSignInClient object
The following makes a sign in request to google
// Configure Google Sign In
GoogleSignInOptions gso = new GoogleSignInOptions.Builder(GoogleSignInOptions.DEFAULT\_SIGN\_IN)
        .requestIdToken(getString(R.string.default\_web\_client\_id))
        .requestEmail()
        .build();
Afterwards in onCreate we will need to add a Google sign in client
// Build a GoogleSignInClient with the options specified by gso.
mGoogleSignInClient = GoogleSignIn.getClient(this, gso);
Line 15 and 27, show how we added a new GoogleSignInClient and instantiated it in the onCreate method.
2 | Create XML login button and Signin Method
Create Login Button
Create a new XML class called login.xml and add the Google sign in button.
Create a Sign In Method
We then need to make a sign in intent to Google. We will have to make a new method in the LoginActivity class.
private void signIn() {
    Intent signInIntent = mGoogleSignInClient.getSignInIntent();
    startActivityForResult(signInIntent, RC\_SIGN\_IN);
}
RC_SIGN_IN can be any number. In this case, I assigned 1.
Create a new listener to use Sign In method
Create a new onclicklistener that makes use of the new signin() method we just created.
Find the button and set the onClickListener
Find the button that we create in our XML and assign the handleGoogleLogin listener to it.
3 | Use Firebase Auth
Now that we have made the intent, we can now check if the google account is a valid account.
Add onActivityResult
@Override
public void onActivityResult(int requestCode, int resultCode, Intent data) {
    super.onActivityResult(requestCode, resultCode, data);


    // Result returned from launching the Intent from GoogleSignInApi.getSignInIntent(...);
    if (requestCode == _RC\_SIGN\_IN_) {
        Task<GoogleSignInAccount> task = GoogleSignIn._getSignedInAccountFromIntent_(data);
        try {
            // Google Sign In was successful, authenticate with Firebase
            GoogleSignInAccount account = task.getResult(ApiException.class);
            firebaseAuthWithGoogle(account);
        } catch (ApiException e) {
            // Google Sign In failed, update UI appropriately
            // ...
            Toast._makeText_(this, e.getMessage(), Toast._LENGTH\_SHORT_).show();
        }
    }
}
Add firebaseAuthWithGoogle(String idToken)
The credentials below will be the credential of the user logging in. If it is a success then we allow the user to sign in.
private void firebaseAuthWithGoogle(GoogleSignInAccount account) {
    AuthCredential credential = GoogleAuthProvider._getCredential_(account.getIdToken(), null);

    mAuth.signInWithCredential(credential)
            .addOnCompleteListener(this, new OnCompleteListener<AuthResult>() {
                @Override
                public void onComplete(@NonNull Task<AuthResult> task) {
                    if (task.isSuccessful()) {
                        // Sign in success, update UI with the signed-in user's information
                        FirebaseUser user = mAuth.getCurrentUser();
                        Intent intent = new Intent(getApplicationContext(), MainActivity.class);
                        startActivity(intent);

                    } else {
                        // If sign in fails, display a message to the user.
                        Toast._makeText_(getApplicationContext(), "Sorry authentication failed ", Toast._LENGTH\_SHORT_).show();

                    }
                }
            });
}
Instantiate the FirebaseAuth in onCreate()
mAuth = FirebaseAuth.getInstance();
4 | Add What will happen if valid user logs in
On the onStart() lifecycle method add the following code in order to check if the current user is already signed in.
protected void onStart() {

    super.onStart();
    FirebaseUser currentUser = mAuth.getCurrentUser();
    if(currentUser!=null){
        Intent intent = new Intent(getApplicationContext(),MainActivity.class);
        startActivity(intent);
    }
}
5 | Add a logout button
In my case, I have already had a drawer navigation layout. As such, I made a new id so that I can find the logout id and use it. However, whether or not you use a drawer navigation option to do this, the process will still be the same.
The important part of this code is the logout id
Create a handleLogout method. This can also be rewritten as a onClickListener incase you are using buttons
The following invokes handleLogout when the logout case is chosen
6 | Play with user’s data
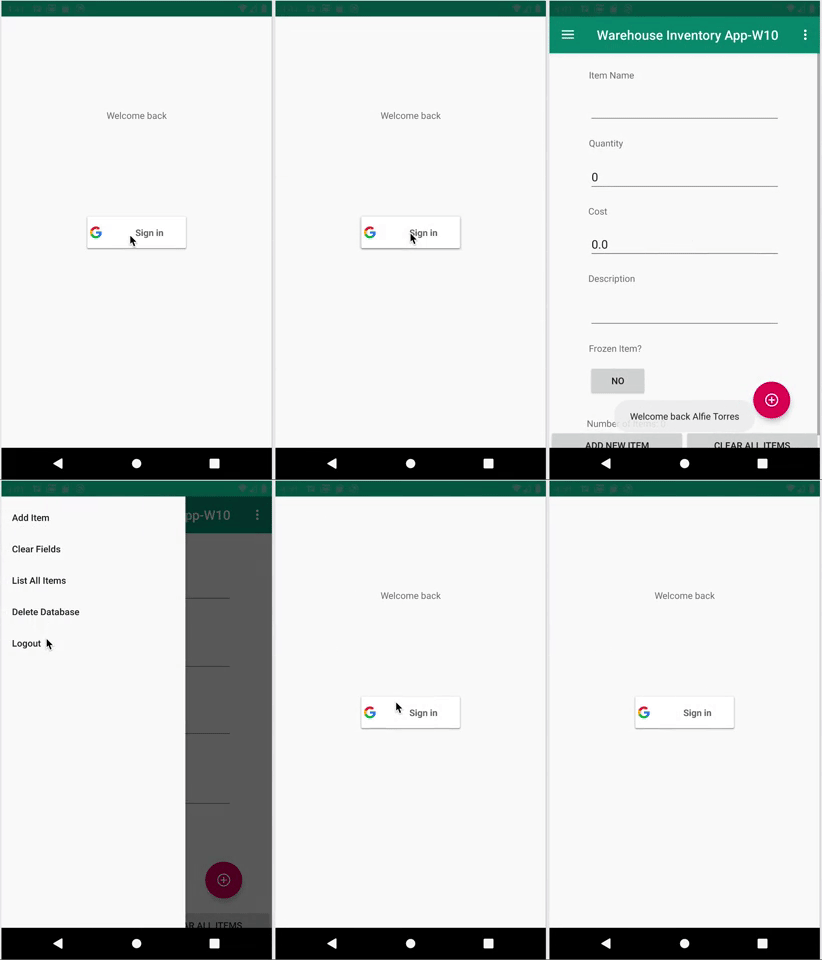
Now that a user has logged in, We can find some data about them to make the app more personalised to them. One way we can do this is by creating a toast if they logged back in the app. We can do this by adding the following in the MainActivity’s onCreate
//Google sign
GoogleSignInAccount signInAccount= GoogleSignIn._getLastSignedInAccount_(this);
if(signInAccount!=null){
    Toast.makeText(this, "Welcome back "signInAccount.getDisplayName() , Toast._LENGTH\_SHORT_).show();
}
7 | Update manifest
Make sure both LoginActivity and MainActivity are in the manifest


Top comments (0)