Adding a search bar is one of the most user friendly components of a website. Without it, users would be sifting through countless items trying to find what they are looking for. Luckily adding one only takes a few steps.
State
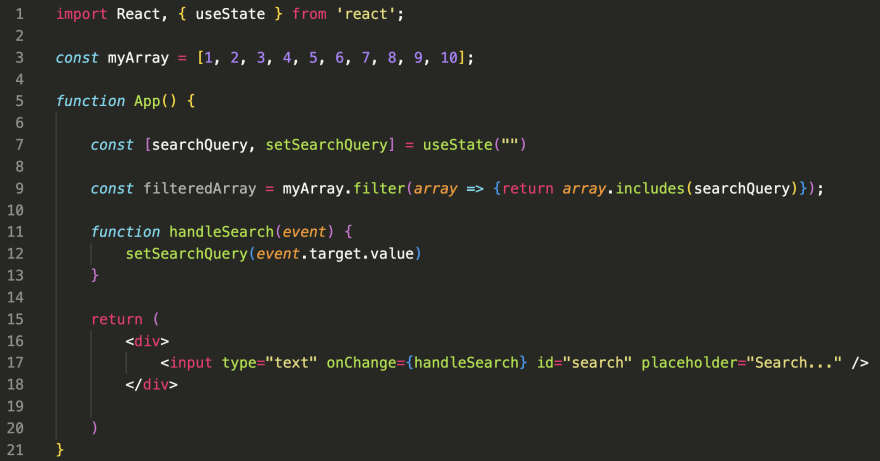
First and foremost, we need to import useState with React. useState is going to let us change the target value to match what the user types in the search bar. Without useState, we wouldn't be able to keep track of that change. Along with importing useState, we need to define our state variables. In this case, our default state will be an empty string since users will type strings into the search bar.
 While the name of the variables doesn't truly matter, convention dictates that we use the pattern demonstrated in the image.
Filtering Array
The next step in the process is to filter the existing array so that our search query can match the string the user types to it. Our updated code should look something like this:

Event Handler
Since our state depends on user input, we can use an event handler to alter our state. I personally prefer to declare the function outside of the return so the JSX is more legible. In this case, we can use an onChange event since the user input is a type of change. Thus, our code should look as follows:

Rendering Array
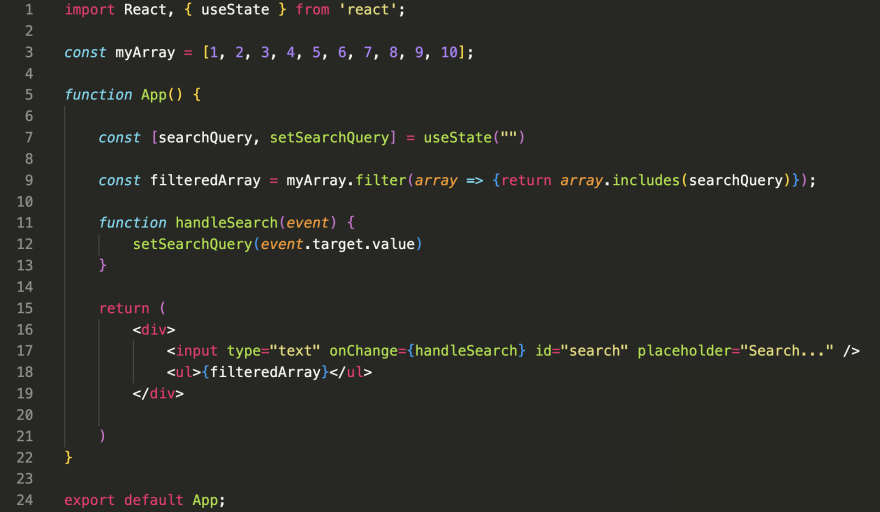
The final step in this process is to render content. If we return our original array, the search won't work because it's not being affected, therefore we need to render our altered array, which is named filteredArray in this case. Here's what our code should look in the end:

Other Cases
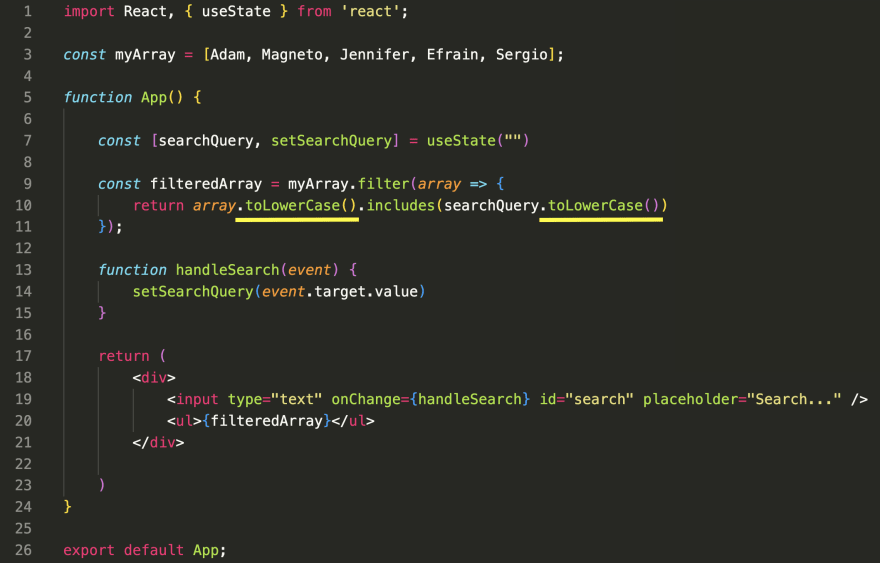
In the example above, the array consisted of numbers. When dealing with letters, we need to add a check in the form of .toLowerCase() so the user can input any letter in any case and it won't affect the search. It should look as follows:


Top comments (0)