Hosting doesn't have to be complicated or expensive. I'll show you how to host a static site for $6/mo on DigitalOcean (ref link).
Be warned, this is a bit technical and you will need to type some things into a terminal. I will explain what each line does on the way.
Creating the server
Log on to the DigitalOcean cloud console and create a new Droplet.
- Distribution : Ubuntu LTS or Debian is fine
- Plan : Basic
- Options : AMD, $6/mo (1G ram, 20G SSD, 1TB bandwidth)
- Datacenter : Just pick the one closest to you.
- Authentication : Pick a password or use a public SSH key (i use SSH keys).
- Hostname : Something that helps you remember. Mine is called "hostingdemo"
DigitalOcean offers automatic backups for $9.60/mo and you can select that if you want, but in our case... we'll be building the site elsewhere and uploading it.
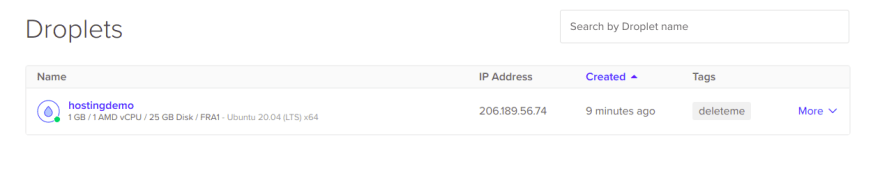
After a few seconds, you should see your server ready.
Logging on to the server
Note the IP address field. Click it to copy the address. You need SSH. It should already be installed on your Linux, Mac or Windows machine.
In your terminal shell (open terminal og cmd).
ssh root@your-droplet-ip-address
If you selected a password, you'll be prompted for that. If you selected an SSH key and that key is setup on your machine you're all logged in.
Installing what we need
We'll be using Caddy for our web-server to use its' automatic TLS feature. Other options could be nginx or apache.
# Install the web server
apt install -y debian-keyring debian-archive-keyring apt-transport-https
curl -1sLf 'https://dl.cloudsmith.io/public/caddy/stable/gpg.key' | sudo apt-key add -
curl -1sLf 'https://dl.cloudsmith.io/public/caddy/stable/debian.deb.txt' | sudo tee -a /etc/apt/sources.list.d/caddy-stable.list
apt update
apt install caddy
# Update your server, highly recommended
apt dist-upgrade -y
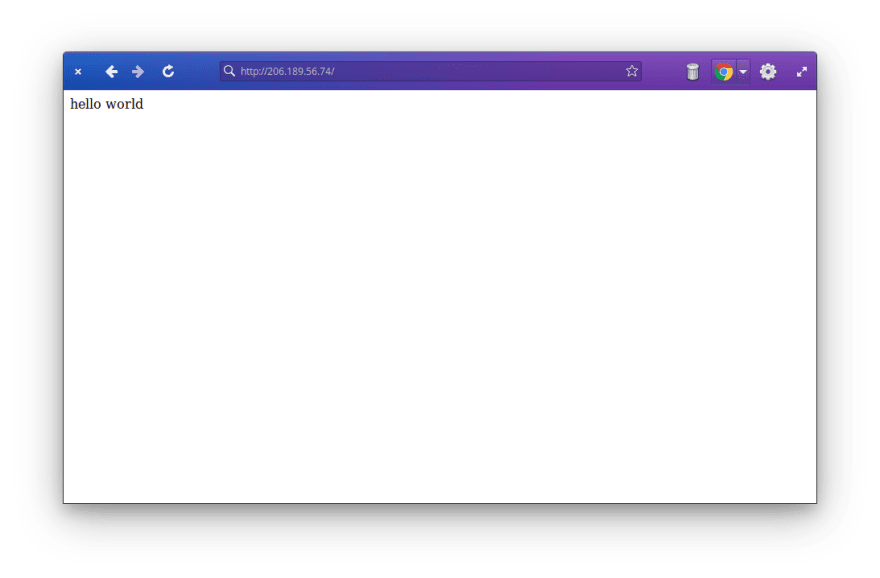
Now open a browser and access http://your-droplet-ip-address

That was easy, right?
Adding a web user to upload with
So far, we've been using "root", a system user that can do anything. We don't want to spread that around. Create a new user:
useradd webuser --password somethingstronger -s /sbin/nologin -m
This creates "webuser" with the password "somethingstronger" (and I do mean, it... use your own strong password), disables the SSH login and creates a home directory.
Enabling SFTP
To be able to upload files from a non-privleged user we need to change the SSH configuration a bit. Open the SSH daemon config in "/etc/ssh/sshd_config".
nano /etc/ssh/sshd_config
Make sure that the following lines look like this:
Subsystem sftp internal-sftp
PasswordAuthentication yes
The first one enables use of SFTP without having a login shell (like our limited webuser) and the second allows password logins for SSH.
Restart the SSH server
service ssh restart
Test the login from your machine (this works on Mac and Linux, unsure about Windows)
sftp webuser@your-droplet-ip

webuser@your-droplet-ip's password:
Connected to your-droplet-ip.
sftp>
Tell Caddy to serve files from our webuser directory
nano /etc/caddy/Caddyfile

:80

# Set this path to your site's directory.
root * /home/webuser

# Enable the static file server.
file_server

# Refer to the Caddy docs for more information:
# https://caddyserver.com/docs/caddyfile
This tells Caddy to serve from the webuser home directory instead. But, we need to give it access.
usermod -a -G webuser caddy
service caddy restart
Test the web-server
Upload an "index.html" to your server. Use whatever SFTP client you like (like FileZilla or winscp). From my local machine, I create a simple HTML file on my computer called "index.html" with "hello world" in it. Then I uploaded it to our server.
sftp sftp webuser@your-droplet-ip
put index.html
Adding a hostname or a domain
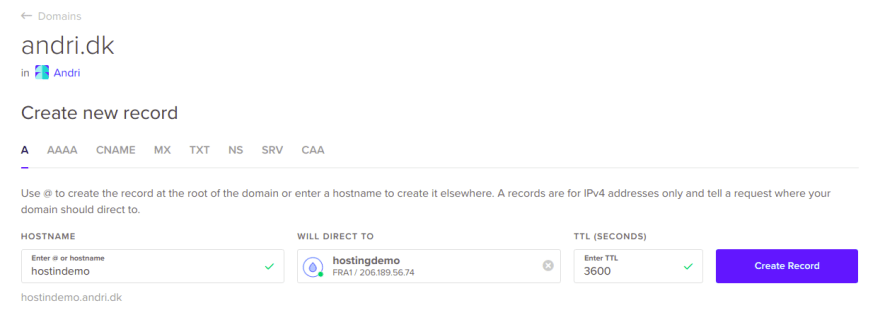
I added a DNS record to give my server a name. How exactly you add this depends on your DNS hosting provider. DigitalOcean has this under "Networking -> Domains".
- Hostname : whateveryouwant (I used "hostingdemo")
- Record Type : A
- Target : your-droplet-ip-address
Now, if I point a browser to http://hostingdemo.andri.dk...

Adding Encryption (TLS/SSL)
To do this, we open our Caddyfile again in "/etc/caddy/Caddyfile" and change it to the following:
hostingdemo.andri.dk # replace this with your hostname

# Set this path to your site's directory.
root * /home/webuser

# Enable the static file server.
file_server

# Refer to the Caddy docs for more information:
# https://caddyserver.com/docs/caddyfile
Reload the configuration.
service caddy reload
Then in your browser change the URL from "http" to "https" and reload.

Wrapping up
- We created a new server on DigitalOcean
- We added a new non-privileged user "webuser" and configured it to upload the site
- We setup a DNS name for our new site
- We setup Caddy with automatic TLS using Lets Encrypt
Bonus
Automatically upload your Jamstack site with Github Actions
This is covered in more details in my Deploy your Static Site Anywhere post, but copy paste the following into a .github/workflows/deploy.yaml file in your repo on Github.
You need the following secrets set up on your repo:
- SFTP_HOST : host or ip of droplet
- SFTP_USER : webuser
- SFTP_PASS : yourverysecretpassword
name: buildpack
on: [push, pull_request]
jobs:
  remote-build:
    runs-on: ubuntu-latest
    container:
      image: docker:stable
      volumes:
        - /home/runner:/workspace
    env:
      IMG_NAME: ${{ github.workflow }}
      NODE_ENV: production # Makes this a little more clean on the Node side
    steps:
      - name: Checkout
        uses: actions/checkout@v2
      - name: Login to GitHub Container Registry
        uses: docker/login-action@v1
        with:
          registry: ghcr.io
          username: ${{ github.repository_owner }}
          password: ${{ secrets.GITHUB_TOKEN }}

      # Downloads and caches the pack command (the code is open)
      - uses: andrioid/setup-pack@main
      # Attempt to fetch any previous image so that we may use it for caching
      - run: docker pull ghcr.io/${GITHUB_REPOSITORY}/${IMG_NAME} || true
      # Builds your site with buildpacks (heroku builder)
      - run: pack build ghcr.io/${GITHUB_REPOSITORY}/${IMG_NAME} --builder=heroku/buildpacks:20
      # Pushes your new image to Github's Container Registry
      - run: docker push ghcr.io/${GITHUB_REPOSITORY}/${IMG_NAME}
      # Copy the build assets from the container and cleanup
      - run: CONTAINER_ID=$(docker create ghcr.io/${GITHUB_REPOSITORY}/${IMG_NAME}:latest /bin/sh) && docker cp ${CONTAINER_ID}:/workspace/public . && docker rm ${CONTAINER_ID}
      - run: ls -alh public
      - uses: actions/upload-artifact@v2
        with:
          name: public
          path: public/

  deploy-via-sftp:
    needs: remote-build
    runs-on: ubuntu-latest
    env:
      RCLONE_CONFIG_VPS_TYPE: sftp
      RCLONE_CONFIG_VPS_HOST: ${{ secrets.SFTP_HOST }}
      RCLONE_CONFIG_VPS_USER: ${{ secrets.SFTP_USER }}
      RCLONE_CONFIG_VPS_PASS_PLAIN: ${{ secrets.SFTP_PASS }}
    steps:
      - uses: andrioid/setup-rclone-action@main
      - uses: actions/download-artifact@v2
        with:
          name: public
          path: public
      - run: echo "RCLONE_CONFIG_VPS_PASS=$(rclone obscure ${RCLONE_CONFIG_VPS_PASS_PLAIN})" >> $GITHUB_ENV
      - run: rclone -v copy public vps:.
This requires you to have a repository on Github and that your site can be built with Buildpacks. I have this running with Gatsby, but it should work with almost anything that builds into public/.

Now my Jamstack Example site is deployed on our VPS!

Top comments (0)