
Introduction
This tutorial is Part 2 of a multi-part series covering Applozic Android SDK integration into an Android app.
Our goal is to complete the following steps in this tutorial:
- Learn how to generate an access token for your application
- Create a User Object
- Register/Login the user
- Update password for user
- Update User Details
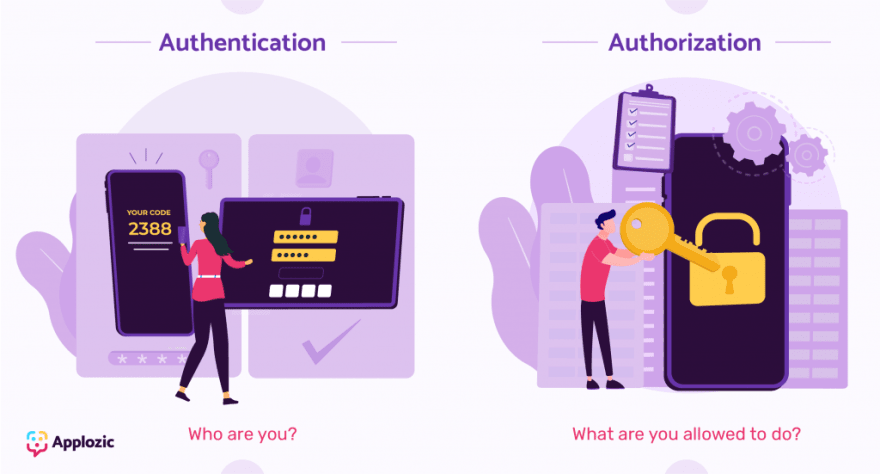
What are Authentication and Authorization?
In the simplest terms, we can classify them as:
- Authentication: Proving your identity to an entity
- Authorization: The ability to interact with an entity
Authentication and authorization with APIs have a lot of value, some of them are:
- Authenticate that calls to the API are done by registered users only
- Maintain a record to track which user is making the requests
- Track the total usage of the API calls across users and applications
- Notify any user who exceeds their plan limit
- Apply different permission levels to different users
Now that we have learnt the need for authentication and authorization, let's get started with the first step in this tutorial.
Generating Access Token
Access Token URL (Authentication URL) is required to ensure your platforms are safe from unauthorized access. This can be configured by the Application admin in Applozic Dashboard for authenticating users from your backend server.
Setup Access Token URL in Dashboard
- Login to Applozic Dashboard
- Go to Dashboard. Select Application -> Action -> Edit -> Security.
- Enter your server URL for authentication in the "Access Token URL" field.

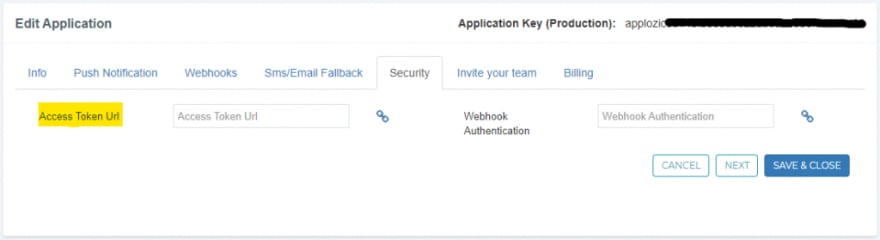
Note: Configured Access Token URL should accept POST request with data passed as request body in form-url-encoded.You can now use an API testing tool like Postman to verify your access.
Continue this Tutorial on Applozic Blog!
We have the detailed tutorial with code snippets available on our blog for you to continue with your integration!
Click here to learn how to:
- Create a User Object
- Register/Login the user
- Update password and User details
Please leave your feedback and doubts in the comments below!

Top comments (0)