What is Azure DevOps demo generator?
Azure DevOps demo generator provides different templates, from which you can build and deploy different applications. These template comes which Source code , work items and pipelines
In this blog I will provide all the information needed to start using Azure DevOps demo generator and Azure DevOps platform for building and deploying your application using CICD pipelines.
Prerequisites
1.Microsoft account
2.Login to Azure Devops demo generator platform using same account.
https://azuredevopsdemogenerator.azurewebsites.net/
3.Login to azure DevOps as well.
https://azure.microsoft.com/en-us/services/devops/
4.Local machine having Tomcat running.
Demo
Once you login into your azure Devops platform, Create your own organization.
Note: All these can be done for free, no subscription needed
Now go to Azure Devops demo generator, there are plenty of templates available, for this demo I will be choosing a Java based application.
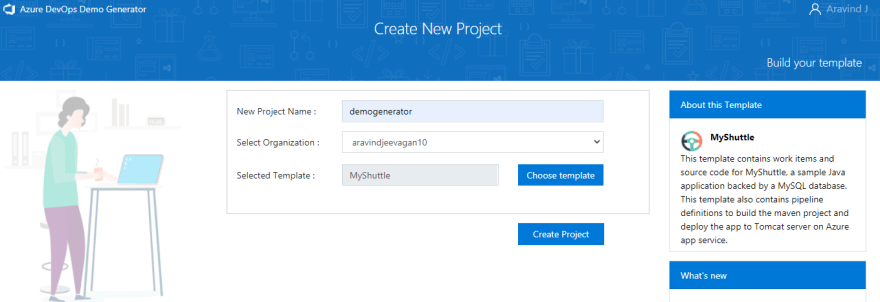
Once you click on to create project , all the details along with source code and pipeline will be cloned to your DevOps platform.
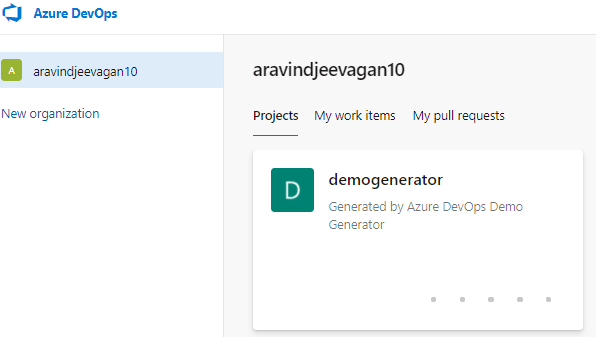
Now by going through Azure DevOps ,you can able to see the source code ,build and release pipeline.
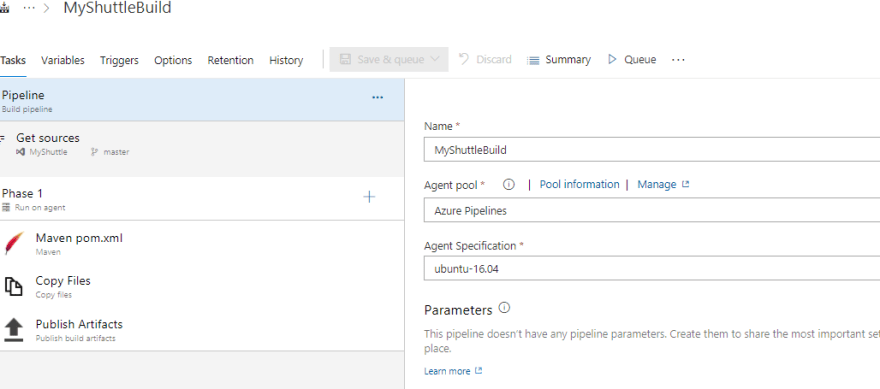
Creating build pipeline :
Here you are already provided with build pipeline ,either you can modify it or you can use the same pipeline or create new pipeline.

Tasks involved in this pipeline
1.Getting your source code from Azure repos.
2.Building your code.
3.Creating and packaging your build artifacts.
Release pipeline
For release pipeline , I will be using Deployment groups for deploying my artifacts into my local machine which has tomcat sunning in it.
Deployment groups
In deployment groups you can specify your machine in which you need your application to be
Steps to create deployment groups
1.Go to deployment groups in pipelines.
2.Create a deployment group, select machine OS ,in my case it's windows.
3.Copy and paste the given command in your machine powershell.
4.powershell should be started as administrator.
5.Create personal access token.
Which will be prompted in powershell for Authorization.
Once this steps are done , The deployment group target machine status will be shown as online as shown below.

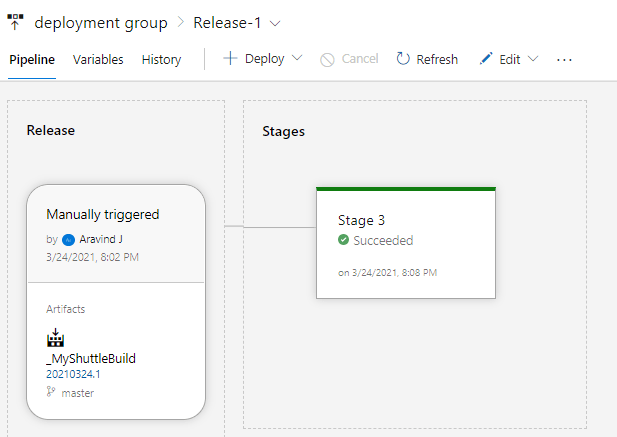
Now go back to release pipeline
Create a release pipeline , make sure it is using the artifacts we created using build pipeline.
1.Now in the tasks ,add an deployment group task as shown below.
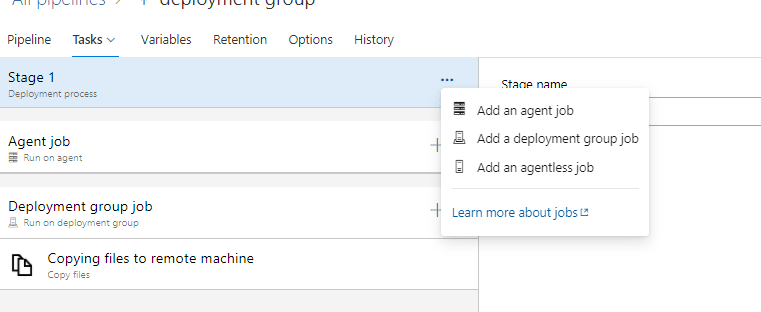
2.Add a copy task which will copy the build artifacts to our local machine.(copy war file to tomcat webapps folder)
3.Add a command line task to stop and start tomcat.
(Make sure you have tomcat setup done in your local machine)

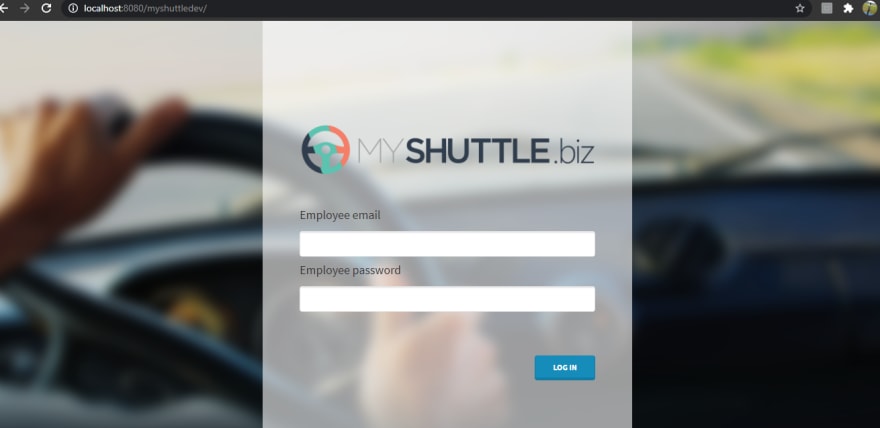
Once this is done and pipeline succeeds,
You will be able to visit your application using
localhost:8080/warfileprefix
In my case it is localhost:8080/myshuttledev

Top comments (0)