A common scenario
After deploying application to an dev/testing server hosted in EC2, you may find that the developers only need access to this servers during their work hours.
So having your instances active during hours that you know the users don't really need access to that servers may represent an unnecessary waste of money.
The solution: Schedule actions on auto-scaling groups.
The solution I'm going show you in this post uses the schedule actions of the auto-scaling groups.
You will see that with this approach you will be able to adjust the Desired Capacity, Minimum Capacity and Maximum Capacity of the group of instances you're working with at certain hours of the day.
For this example the Desired Capacity will be set to 1 instances during work hours, and for inactive hours it will be again adjusted but now to 0 instances.
You can see in the following image the architecture of the solution:

To create this solution you need to follow the next steps.
- Create an AMI of the instance
- Create a launch template using the AMI created
- Add your launch template to a load balancer
- Add your launch template to an auto-scaling group
- Add an schedule action to scale-up and another to scale-in
Full explanation step by step.
I will explain how to create this solution using the AWS web console. In a later tutorial I will explain how to create this same solution bit using an IaC tool like Terraform.
For this example I created a t2.micro instance and installed an apache web server on it. In the following image you can see the web server is running on port 80.
This instance executes the web server on each startup. This come will come in handy since we will be creating and terminating new instances every day.
Step 1: Create an AMI of the instance
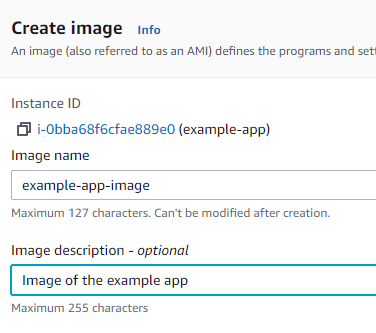
Now using AWS web console, go to the instance of the EC2 service. Right click on the instance you want to work with and choose Create image.
In the next page give a name to your image and click on Create image.

Now if you navigate to the AMI section you will see a new image is created and is on pending status.
Step 2: Create a Launch Template using the AMI created
Navigate to the Launch Template section and click on Create Launch Template.
In the Amazon machine image section search for the name of the image and select it. Also select the Latest version of the image.

Ensure to choose the same security group that your existing instance has.
Click on Create launch template
Step 3: Add your launch template to a load balancer
Select Application Load Balancer

Give a name to the load balancer

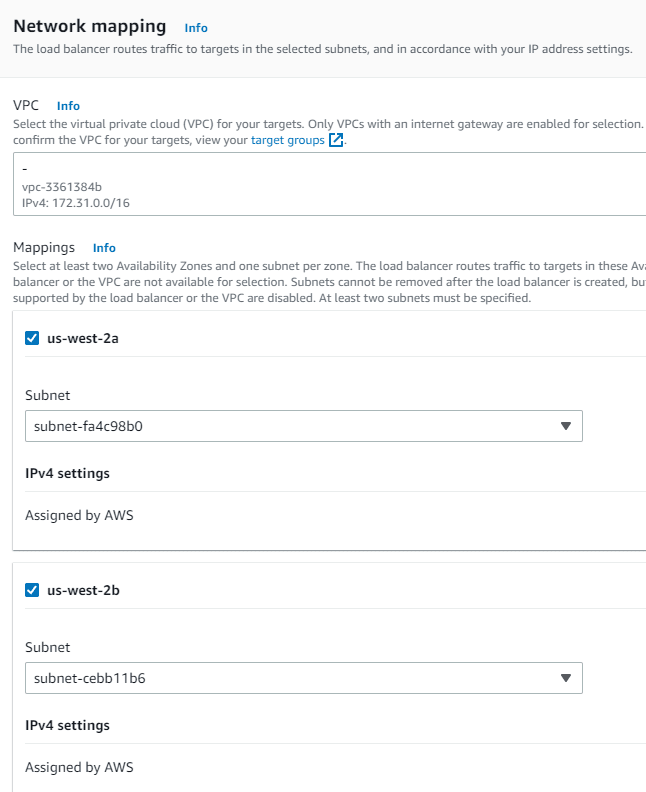
Select at least two availability zones

Use the default listener and click on create target group

It will open a new browser tab to create the target group. Give a name and choose Instances for the instance type.

Leave all the other options as default, click next and click on Create target group. Return to the tab of the load balancer creation.
Search for the target group in the default listener and select it.

Click on Create load balancer.
Step 4: Add your launch template to an auto-scaling group
Navigate to the Auto-scaling group section and click on Create auto-scaling group.
Give a name to the Auto-scaling group and choose the launch template we have created. Click on next.

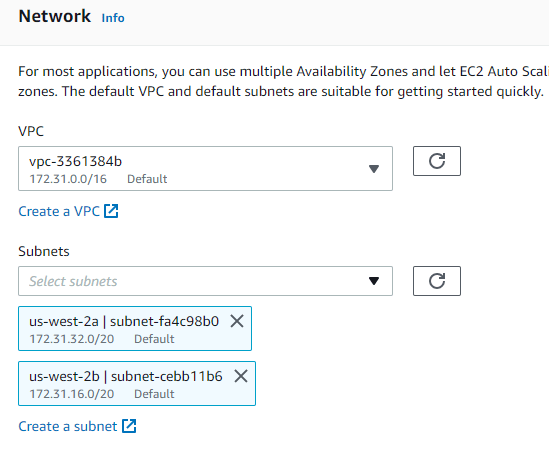
Select the two Availability zones we choose on the creation of the load balancer. Click on next.

In the next section choose Attach to an existing load balancer and select the load balancer we created in the previous step. Click on next.

For the group size I will set the values as showed in the image. Click on next.

For Add notification and Add tags just click next. To finish, click Create auto scaling group.
Step 5: Add an schedule action to scale-up and another to scale-in
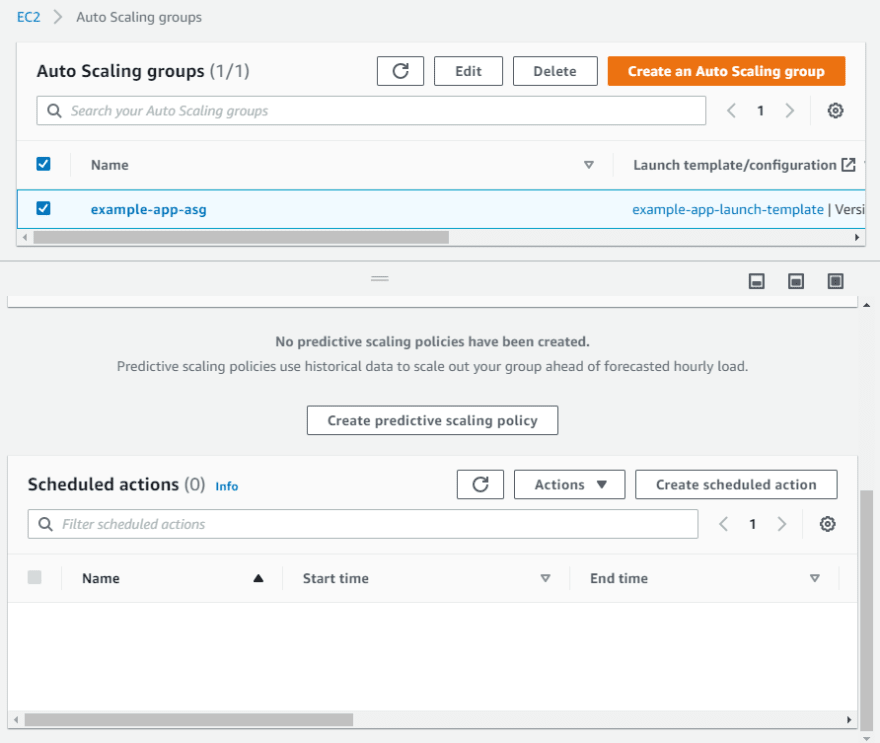
Navigate to the Load balancers section, select the recently created load balancers from the list, and click on the Automatic scaling tab.
Scroll down until you see schedule actions. Click on Create scheduled action

Give a name, set desired capacity to 1, for recurrence choose Cron, enter this cron expression 0 8 * * MON-FRI, choose your timezone and select the start time of your action.
This configuration will set the desired capacity to 1 from monday to friday at 8 am.
Now to scale-in create another schedule action but now setting the desired capacity to 0.
Terminate the existing instance
As this solution uses an image to launch new instances you can terminate the existing one and wait until the scale-out action get executed to see a new instance.
Accessing the application
To access the application use the DNS name of the application load balancer.


Top comments (0)