
I recently came across a tweet from Sara Soueidan applauding folks who provide an RSS feed on their site. Sara is someone I highly admire in frontend web development and accessibility, but I had so little knowledge of RSS feeds and so many questions:
- What the heck are they?
- What are they for?
- I thought people didn't use them anymore?
If you also have questions like this, I recommend reading How Do RSS Feeds Work? right from RSS.com. The first few words really sum it up:
Imagine being able to log into one dashboard and getting the latest news and events from all of your favorite websites, blogs, or podcasts? With RSS feeds, it’s possible!
RSS feeds mean I can read all of my favorite blogs in one place?? And I don't have to subscribe to newsletters to know when a new post has been published?? That sounds so lovely! I knew then that I definitely needed to figure out how to provide an RSS feed for my own site.
In order to better understand how to create an RSS feed for my site, I needed to better understand how they are used. This is where I got the idea to create my own RSS reader app! Once I had the app finished, it also doubled as a way for me to test my RSS feed as I developed it.
I had a ton of fun with it so I decided to share my findings with y'all in case you also want to make your own RSS reader app. I hope you find the instructions below helpful and as always, let me know on Twitter if you have any questions!
How to Create Your Own Next.js RSS Reader App
Fork and clone the repo
First, you need to create a fork of the starter code.
- Go to the GitHub repository
- Click the "Fork" button at the top right of the page
- Follow the steps provided by GitHub
Second, clone the fork you've created onto your machine and install the dependencies.
git clone <your fork>    # Clones the fork
yarn                     # Installs the dependencies
Set up Firebase Authentication
Third, you need to create a Firebase project since it'll handle authentication. You want this app to have authentication so that other people aren't driving up your API requests that will be made to RSS to JSON (we'll set that up next).
- Go to console.firebase.google.com and make sure you're logged in with the Google account you want to use.
- Click the card that says "Add project". It should be the first one listed.
- Enter a project name. I'm going to use
nextjs-rss-reader. - Toggle "Enable Google Analytics for this project" to off.
- Click "Create project".
- Click "Continue" when your new project is ready.
Here's a video showing these steps (the project name is different):
Firebase makes it easy for us to set up email/password authentication in our app. It's also easy to add a user for ourselves right from the console. Make sure you use a real email address and a secure password for your user. This is how you're protecting your feed!
- Go to the Firebase console for your project.
- Go to the "Authentication" page under "Build".
- Click "Get Started".
- You should be on the "Sign-in method" tab.
- Click "Email/Password".
- Enable the first toggle.
- Click "Save".
- Switch to the "Users" tab.
- Click "Add user".
- Enter a secure email and password.
- Click "Add user".
Here's a video showing these steps:
Create an RSS to JSON account
Next, let's set up an RSS to JSON account so we can get an API key for making API requests. I personally have a paid plan because of the number of feeds I subscribe to, but the free plan is pretty nice! At the time of this writing, the free plan updates a feed once an hour, allows 10,000 requests per day, and supports 25 feeds. The starter code is currently set up to generate your site no more than once per day, so at the very most, you'll be making 1 request per feed per day.
- Sign up for an RSS to JSON account at this link
- Get your API key from the My Account page and have it ready for the next step.
Create a .env file
In the root of your forked project, create a file called .env. It will have four items in it.
RSS_2_JSON_API_KEY=<your RSS to JSON api key>
NEXT_PUBLIC_FIREBASE_API_KEY=<your Firebase project's API key>
NEXT_PUBLIC_FIREBASE_AUTH_DOMAIN=<your Firebase project's auth domain>
NEXT_PUBLIC_FIREBASE_PROJECT_ID=<your Firebase project ID>
Put your RSS to JSON API key from the previous step with the RSS_2_JSON_API_KEY item. You can get the other items from Firebase after registering your app. Here are the steps for that:
- Go to the Firebase console for your project.
- Go to the project settings.
- Scroll to the bottom of the page where it says "Your apps."
- Click the "</>" button to register your app for web.
- For "App nickname", enter
nextjs-rss-reader. - Click the "Register app" button.
- Copy and paste the
apiKey,authDomain, andprojectIdvalues with the last three items in your.envfile.
Start the app
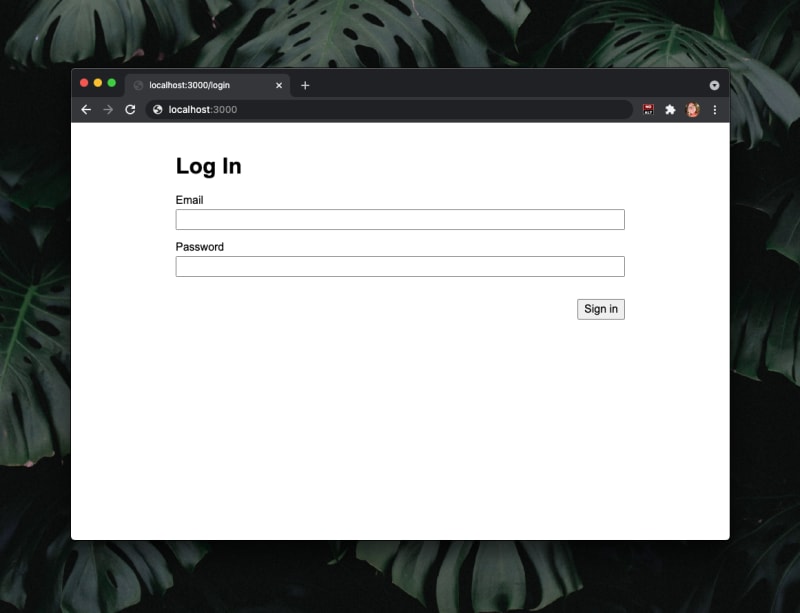
We're ready to go! Start the app with yarn dev and go to http://localhost:3000/ in your browser. You should be redirected to the login page where you can enter your email and password for the user you created in the second part of the Set up Firebase Authentication section above.
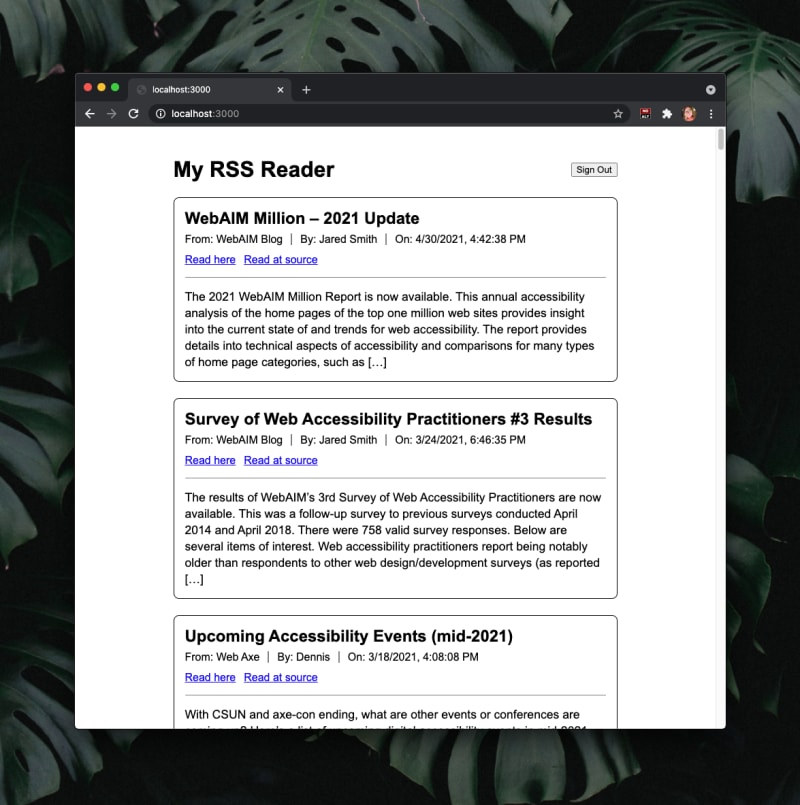
After logging in, you should see a list of articles. You can click the "Read here" links to read the article within your app, or you can click the "Read at source" link to read the original version of the article!
Customize your feed
The app knows what feeds to fetch by the feed.txt file in the root of the project. If you open the file, you'll see three listed with each one on its own line in the file:
https://www.a11yproject.com/feed/feed.xml
https://webaim.org/blog/feed/
http://www.webaxe.org/feed/
If you want to remove a feed, just delete the line. If you want to add a feed, make sure it's on its own line. That's it! Happy reading. :)

Top comments (1)
incredible.. can this be embedded in websites and communities? great article!