
Hello everyone, ever thought of creating a site that can allow you to accept sponsors? Let's build a site to accept sponsors, today!
Setup
Setting up Next.js app
I am going to use Tailwind CSS for styling our app, so I will use the with-tailwindcss template-
npx create-next-app -e with-tailwindcss sponsors-site
Setting up Stripe
For accepting the payments, I am going to use Stripe. So, go to Stripe and sign in/up. Go ahead and create a new account this account is like a store and it would be different for every app.

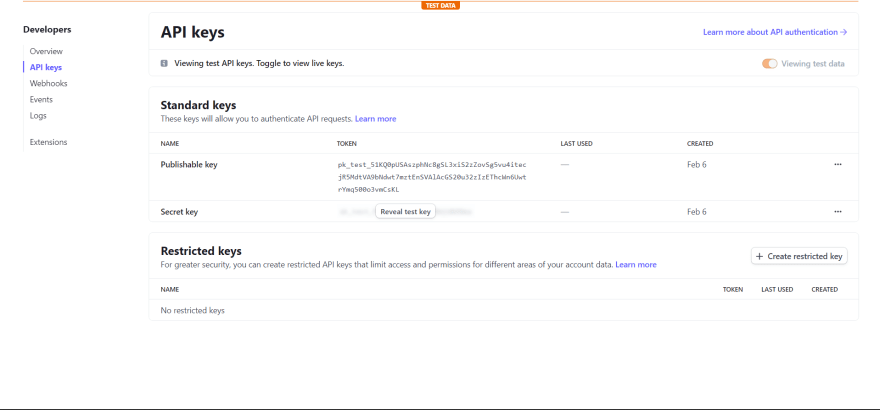
Getting the API keys
Click on the "Developers" tab at the top-

If you click on API keys, then you would be able to see your API keys
Making the frontend
I am going to make a simple UI for the front end. Feel free to change this UI to what you like. This is what I am building-

Delete everything inside the main div, and add the following styles to the div-
<div className="flex h-screen w-screen items-center justify-evenly bg-slate-900 p-10"></div>
You should now see a blank screen with a dark blue background.
Adding the text
If you see there, is some text in the left part, so add the following-
<div className="w-1/2">
  <h2 className="text-5xl font-bold text-cyan-300">
    Love what I do? Feel free to support me with a donation!
  </h2>
  <p className="mt-20 text-gray-50">
    Thanks in advance. Each donation of yours means a lot, however little it
    might be!
  </p>
</div>
This will add some basic text-

It is more or less in the center because there is nothing for the right side so let's build the card.
Building the sponsor card
Creating the container
This is going to hold all the content inside of the card. So create a div with some basic stylings-
<div className="flex w-96 flex-col items-center space-y-5 rounded-md bg-blue-500 p-10">
</div>
Adding an Input
We want people to be able to type how much they wanna sponsor and also show the currency we are using. So, inside the div add this-
<div className="flex w-full items-center rounded-lg bg-gray-100/30 text-white focus:outline-none">
  <p className="rounded-l-lg bg-gray-300 px-4 py-3 text-lg text-black">
    INR
  </p>
  <input
    type="number"
    className="w-full rounded-lg bg-transparent px-4 py-3 text-white placeholder-gray-50 transition duration-200 focus:outline-none"
    placeholder="Enter Amount"
    value={amount ? amount : ""}
    onChange={(e) => setAmount(parseInt(e.target.value))}
  />
</div>
Since we need to store the input, we are going to use the useState hook-
const [amount, setAmount] = useState<number | null>(200);
Typescript comes out of the box with the new Next-Tailwind template, so I have also added the types!
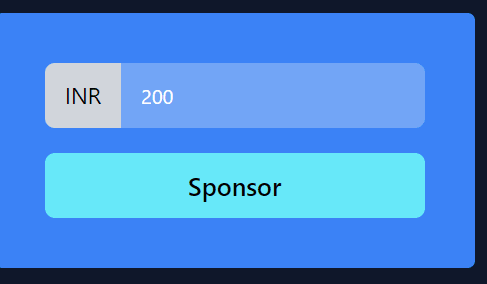
You should now see a card like this-

Adding a submit button
I have created a simple button that does nothing for now-
<button className="w-full rounded-lg bg-cyan-300 py-3 text-xl font-semibold hover:bg-cyan-400 ">
  <span>Sponsor</span>
</button>
It now shows the button 🎉
Adding buttons with amount
I am also adding 3 buttons that show a recommended price like 200, 500, and 1000 inr. To keep the code clean, we will use a map. So, create a new variable defaultAmounts
const defaultAmounts = [200, 500, 1000];
Between the input and submit button add a map now-
<div className="flex w-full items-center space-x-2">
  {defaultAmounts.map((buttonAmount) => (
    <button
      className={`${
        amount === buttonAmount ? "bg-cyan-300" : "bg-gray-300"
      }  rounded-full px-6 py-3 transition duration-200`}
      onClick={() => setAmount(buttonAmount)}
      key={buttonAmount}
    >
      ₹{buttonAmount}
    </button>
  ))}
</div>
This will add 3 buttons between the input and the button which change the amount!

Creating Stripe checkout
Installing the packages needed
We need 3 packages, so install them-
npm i axios @stripe/stripe-js stripe # npm

yarn add axios @stripe/stripe-js stripe # yarn
I am going to use stripe checkout, so after the user clicks the button they will be redirected to a stripe page.
Adding the env variables
Create a new .env.local file and add the API keys that you got from the stripe dashboard-
STRIPE_SECRET_KEY=<secret_key>
NEXT_PUBLIC_STRIPE_PUBLIC_KEY=<public_key>
You also need to restart the server after adding in the env variables.
Making an API endpoint
To interact with stripe, we have to create an API endpoint. So, inside pages/api create a new file create-checkout-session.ts. And add the following-
const stripe = require("stripe")(process.env.STRIPE_SECRET_KEY);
import { NextApiRequest, NextApiResponse } from "next";

const URL = "http://localhost:3000";

const handler = async (req: NextApiRequest, res: NextApiResponse) => {
  const { amount } = req.body;

  const items = [
    {
      price_data: {
        currency: "inr",
        product_data: {
          name: `Sponsoring Avneesh`,
        },
        unit_amount: amount * 100,
      },
      quantity: 1,
    },
  ];

  const session = await stripe.checkout.sessions.create({
    line_items: items,
    mode: "payment",
    success_url: `${URL}/success`,
    cancel_url: URL,
  });

  res.status(200).json({ id: session.id });
};

export default handler;
Here you can replace the currency and the name. According to your use.
Using the API in frontend
Create a new async function createCheckOutSession and add it to the button-
const createCheckOutSession = async () => {};
<button
  onClick={createCheckOutSession}
  className="w-full rounded-lg bg-cyan-300 py-3 text-xl font-semibold hover:bg-cyan-400 "
>
  <span>Sponsor</span>
</button>
Now let's write out the function-
 const createCheckOutSession = async () => {
    const stripe = await stripePromise;
    const checkoutSession = await axios.post("/api/create-checkout-session", {
      amount: amount,
    });

    const result = await stripe?.redirectToCheckout({
      sessionId: checkoutSession.data.id,
    });

    if (result?.error) {
      alert(result?.error.message);
    }
  };
We also need to add stripePromise like this-
const stripePromise = loadStripe(process.env.NEXT_PUBLIC_STRIPE_PUBLIC_KEY!);
Finally, add the following 2 imports-
import { loadStripe } from "@stripe/stripe-js";
import axios from "axios";
The payment now works 🥳
https://www.loom.com/share/dc3197dc6892436b88bf4b7bdf6fc5e7
But the success shows a 404 page, so let's create that.
Creating a success page
Create a new file success.tsx in the pages folder and add the following-
const Success = () => {
  return (
    <div className="flex h-screen w-screen items-center justify-center bg-slate-900">
      <h1 className="text-3xl font-bold text-cyan-300">
        Thank you for sponsoring me 💙
      </h1>
    </div>
  );
};

export default Success;
This will give you a simple page like this-

Feel free to change this to match your theme!
Deploying
Changing the URL in create checkout session
Go to create-checkout-session.ts and replace the URL variable with this-
const URL =
  process.env.NODE_ENV === "development"
    ? "http://localhost:3000"
    : "https://sponsor.avneesh.tech";
Here, replace my URL with yours.
Adding code to a GitHub repo
Committing the code-
git add .
git commit -m "built my sponsor site"
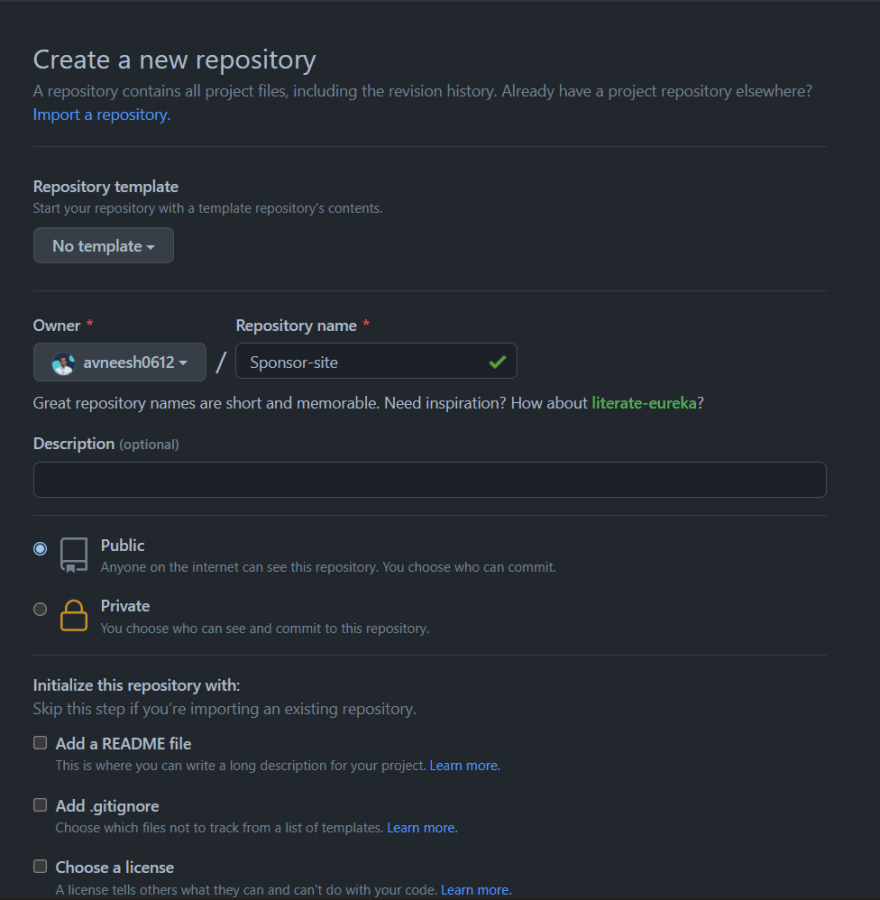
Create a new repo on GitHub.
Copy the commands in pushing to an existing repo and paste it into your terminal

If you refresh the site, you will be able to see your code.

Switching to production in Stripe
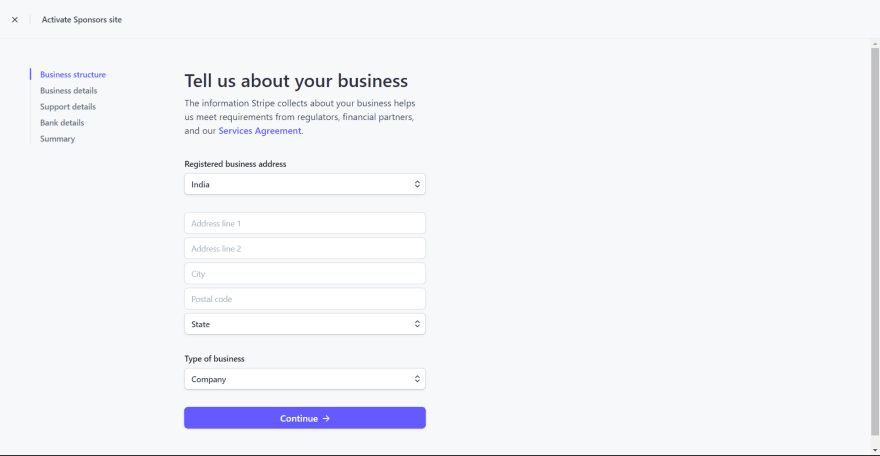
Click on Activate account in stripe dashboard

Now, fill out all your details
Switch off the test mode and get your API keys. We are going to need this while deploying our app to vercel

Deploying to vercel
Go to Vercel, and create a new project. Select your GitHub repo and hit deploy

Wait for some time for it to be deployed. After it is deployed go to Environment variables inside of settings. And add in the stripe variables-

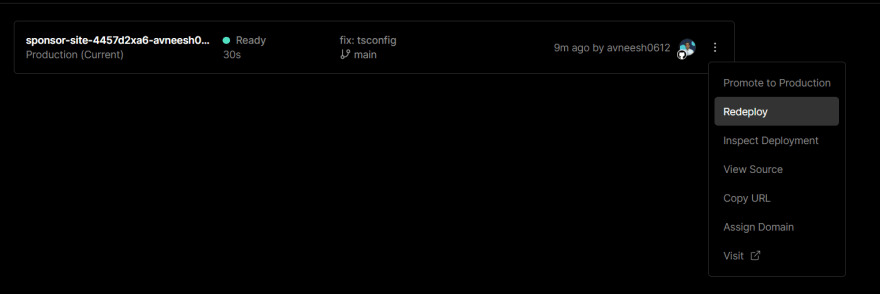
Go to deployments and redeploy the latest version-
Your sponsors app is ready, show it to the world 🥳🥳
Conclusion
Hope you liked this tutorial and were able to build out your sponsor's site. If you did then feel free to share it in the comments. See ya next time ✌️

Top comments (0)