In this article, I am going to show you how to set up Terraform to use remote backend state. At first, We will set up our S3 bucket where we want to store our state file, and then set up a locking table in DynamoDB. Afterwards, We will create our remote backend configuration and deploy our resources. In the end, We will check to make sure our state file was written to our S3 bucket successfully.
What is Terraform backend?
Terraform Backend is a configuration option in Terraform that allows you to store and manage the state of your infrastructure in a remote or local location. The backend is responsible for storing the state file and providing an interface for reading and writing state data. When you run Terraform, it checks the backend to see if there are any changes to the state file, and if there are, it applies those changes to your infrastructure.
When using Terraform, it’s important to configure a backend to store the state of your infrastructure. The state file contains a representation of your resources and their current configuration, which allows Terraform to make changes to your infrastructure in a safe and predictable way. Without a backend, you would need to manage the state file manually, which can be error-prone and lead to inconsistencies.
Remote Backend
A remote backend is a type of Terraform backend that stores the state file in a remote location, such as a cloud object storage service or a database. Remote backends provide several benefits, such as enabling collaboration between team members, versioning state files, and providing a history of changes which can help with troubleshooting and auditing, and remote state locking which prevent conflicts and ensure consistency. There are several remote backend providers available, such as Amazon S3, Azure Storage, Google Cloud Storage, and HashiCorp Consul.
Please visit my GitHub Repository for Terraform articles on various topics being updated on constant basis.
Let’s get started!
Objectives:
1. Login to AWS Management Console
2. Environment Setup - Create S3 bucket and a DynamoDB table
3. Create infrastructure for resources block
4. Under terraform_files resources directory - Create 4 files - backend.tf, main.tf, variables.tf, and outputs.tf.
5. Initialize Terraform
6. To generate the action plans
7. Create all the resources declared in main.tf configuration file
8. Validate all resources created
Pre-requisites:
- AWS user account with admin access, not a root account.
- Cloud9 IDE with AWS CLI.
Resources Used:
Terraform documentation.
Terraform documentation for AMI.
What is Amazon S3?.
What is Amazon DynamoDB?
Steps for implementation to this project:
1. Login to AWS Management Console
- Make sure you're in the N. Virginia (us-east-1) region
2. Environment Setup - Create S3 bucket and a DynamoDB table
Create S3 bucket
- 3.
Create DynamoDB table
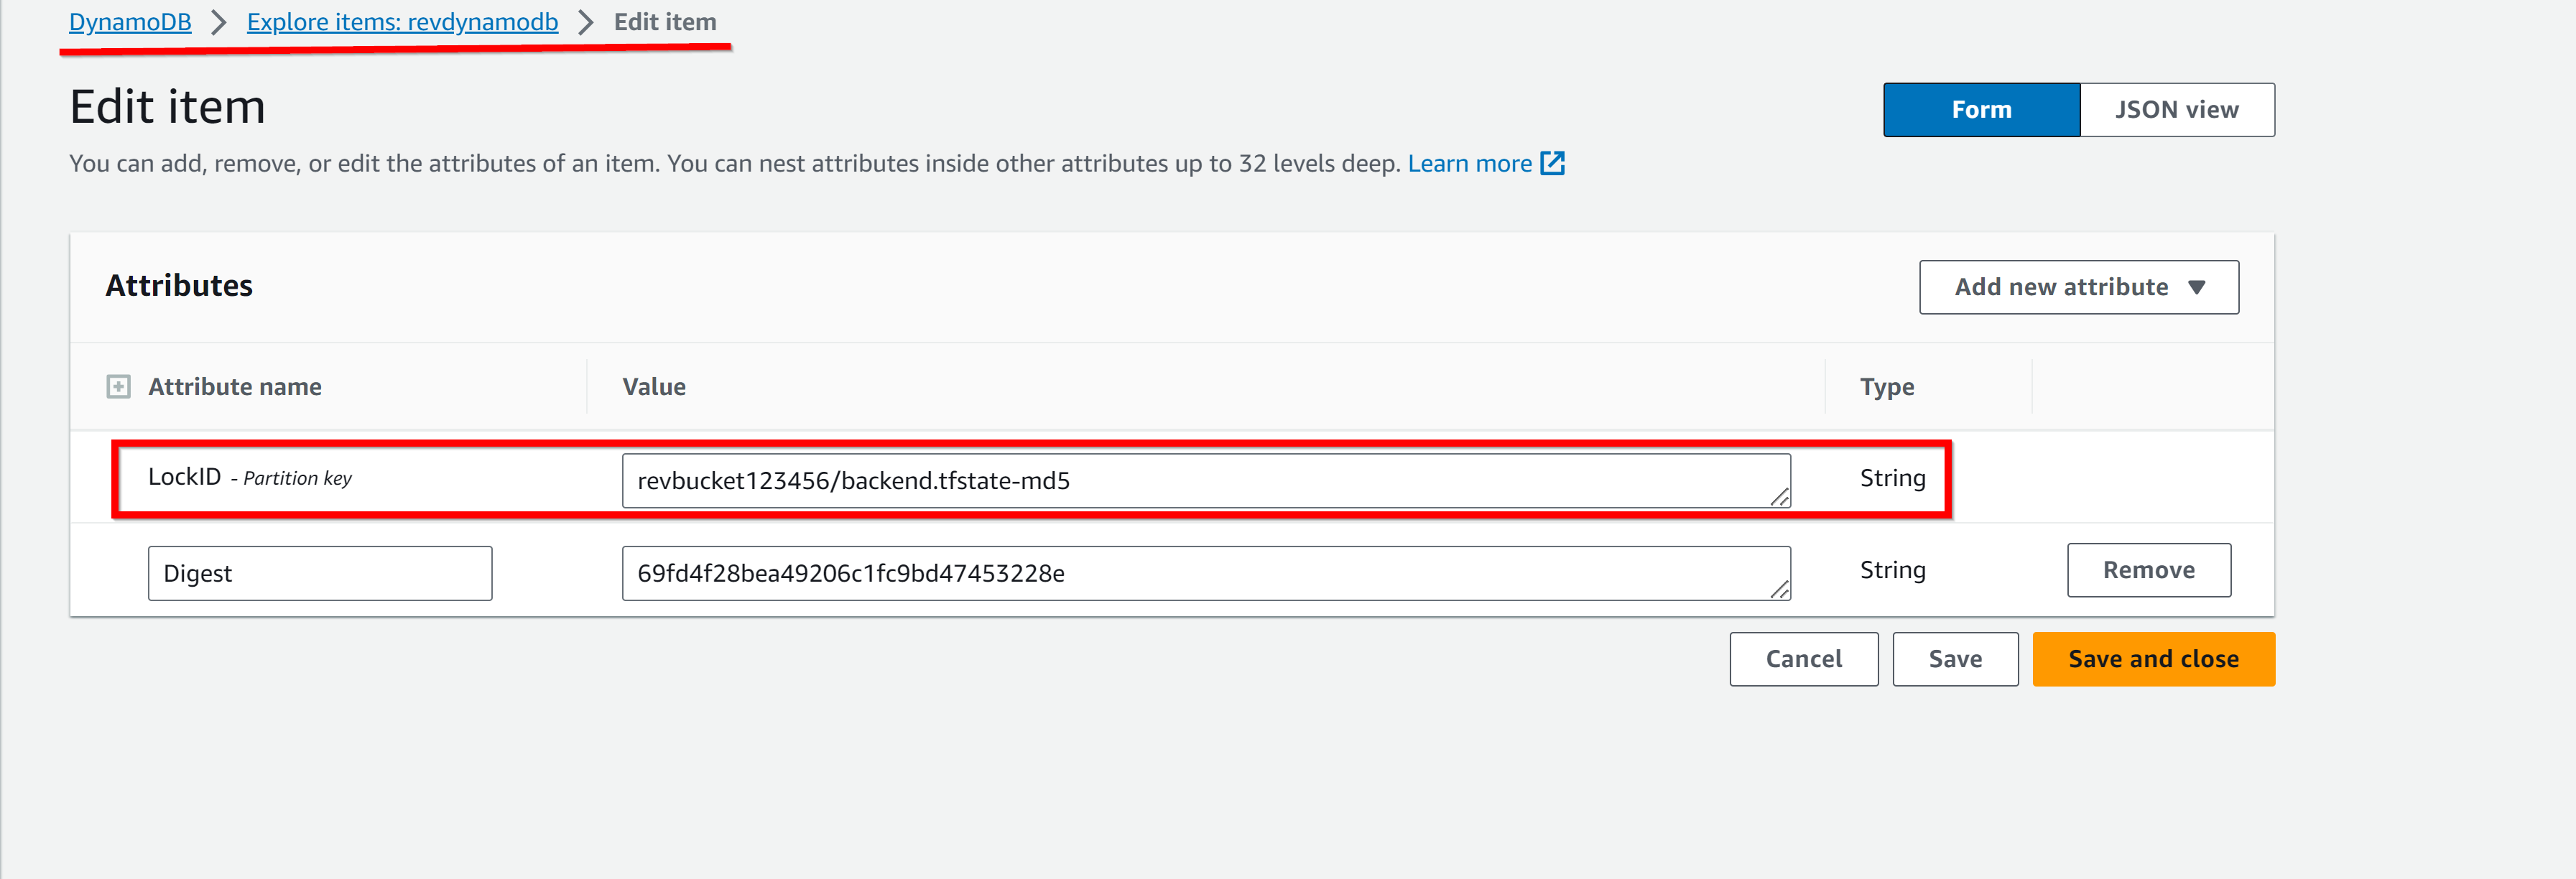
create a table for Terraform state locking with a simple hash LockID key and one string attribute
- 1.
take all the defaults
Create table
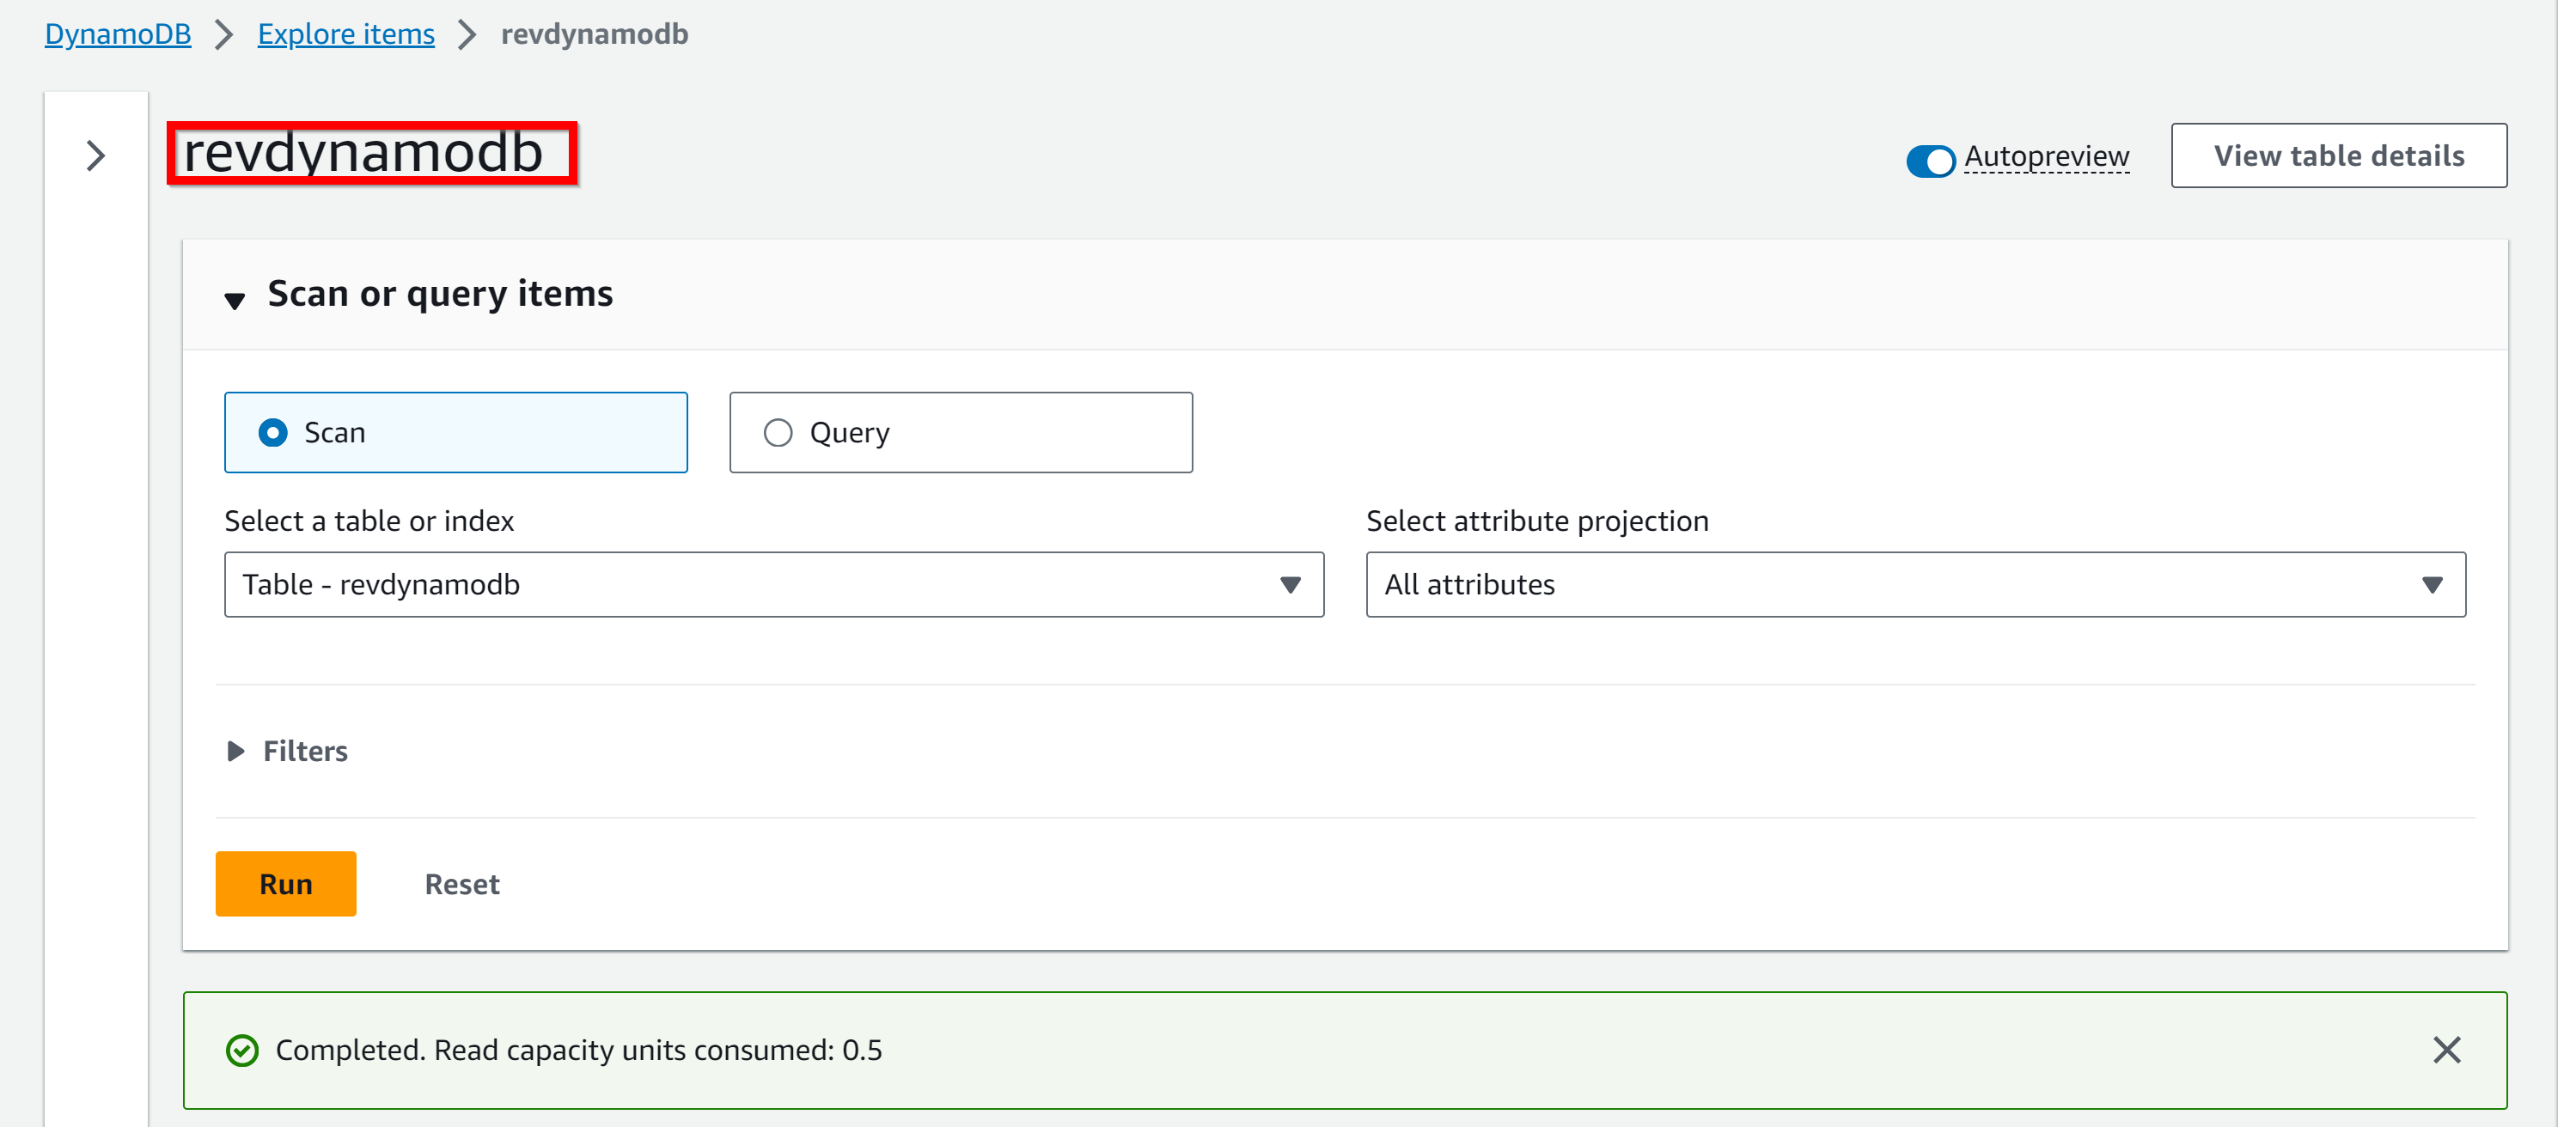
Dynamo DB Name - revdynamodb
3. Create infrastructure for resources block
- Let’s create the following organizational structure as shown below.
4. Under terraform_files resources directory - Create 4 files - backend.tf, main.tf, variables.tf, and outputs.tf.
Create a directory -
terraform-filesCreate 4 files -
backend.tf,main.tf,variables.tf, andoutputs.tf.- backend.tf
S3 Backend: Amazon S3 is a popular cloud object storage service that can be used as a backend for storing Terraform state files.
terraform {
  backend "s3"{
    bucket                 = "<YOUR_BUCKET_NAME>"
    region                 = "<YOUR_BUCKET_REGION>"
    key                    = "backend.tfstate"
    dynamodb_table         = "<YOUR_DYNAMODB_TABLE_NAME>"
  }
- substitute your bucket name and dynamodb table name
terraform {
  backend "s3"{
    bucket                 = "revbucket123456"
    region                 = "us-east-1"
    key                    = "backend.tfstate"
    dynamodb_table         = "revdynamodb"
  }
}
- 2.
main.tf
terraform {

  required_providers {
    aws = {
      source  = "hashicorp/aws"
      version = "~> 4.23"
    }
  }

  required_version = ">= 0.14.9"
}

provider "aws" {
  profile = "default"
  region  = var.region
}

data "aws_ami" "linux" {
   most_recent = true
   owners      = ["amazon"]

  filter {
    name   = "name"
    values = ["amzn2-ami-hvm-*-x86_64-gp2"]
  }

  filter {
    name   = "virtualization-type"
    values = ["hvm"]
  }
}

resource "aws_instance" "app_server" {
  ami           = data.aws_ami.linux.id
  instance_type = var.instance_type
  availability_zone = var.az_1a

  tags = {
    Name = "var.instance_name"
  }
}
- 3.
variables.tf
variable "region" {
  description = "region"
  type        = string
  default     = "us-east-1"
}

variable "az_1a" {
  description = "availability zone 1"
  type        = string
  default     = "us-east-1a"
}

variable "instance_type" {
  description = "Value of the Name tag for the EC2 instance type"
  type        = string
  default     = "t2.micro"
}


variable "instance_name" {
  description = "Value of the Name tag for the EC2 instance"
  type        = string
  default     = "MyInstance"
}
- 4.
outputs.tf
output "instance_id" {
  description = "ID of the EC2 instance"
  value       = aws_instance.app_server.id
}

output "instance_ip" {
  description = "Public IP address of the EC2 instance"
  value       = aws_instance.app_server.public_ip
}

output "instance_name" {
  description = "Name of the EC2 instance"
  value       = aws_instance.app_server.tags.Name
}
5. Initialize Terraform
cd terraform-files
-
terraform status```
terraform version
Since the Terraform version is returned, you have validated that the Terraform binary is installed and functioning properly.
#### Note:
If you receive a notification that there is a newer version of Terraform available, you can ignore it — it will run safely with the version installed on the VM.

- ***`terraform fmt`***
to format all of your resources
terraform fmt

- ***`terraform init`*** will check for all the plugin dependencies and download them if required, this will be used for creating a deployment plan.
terraform init
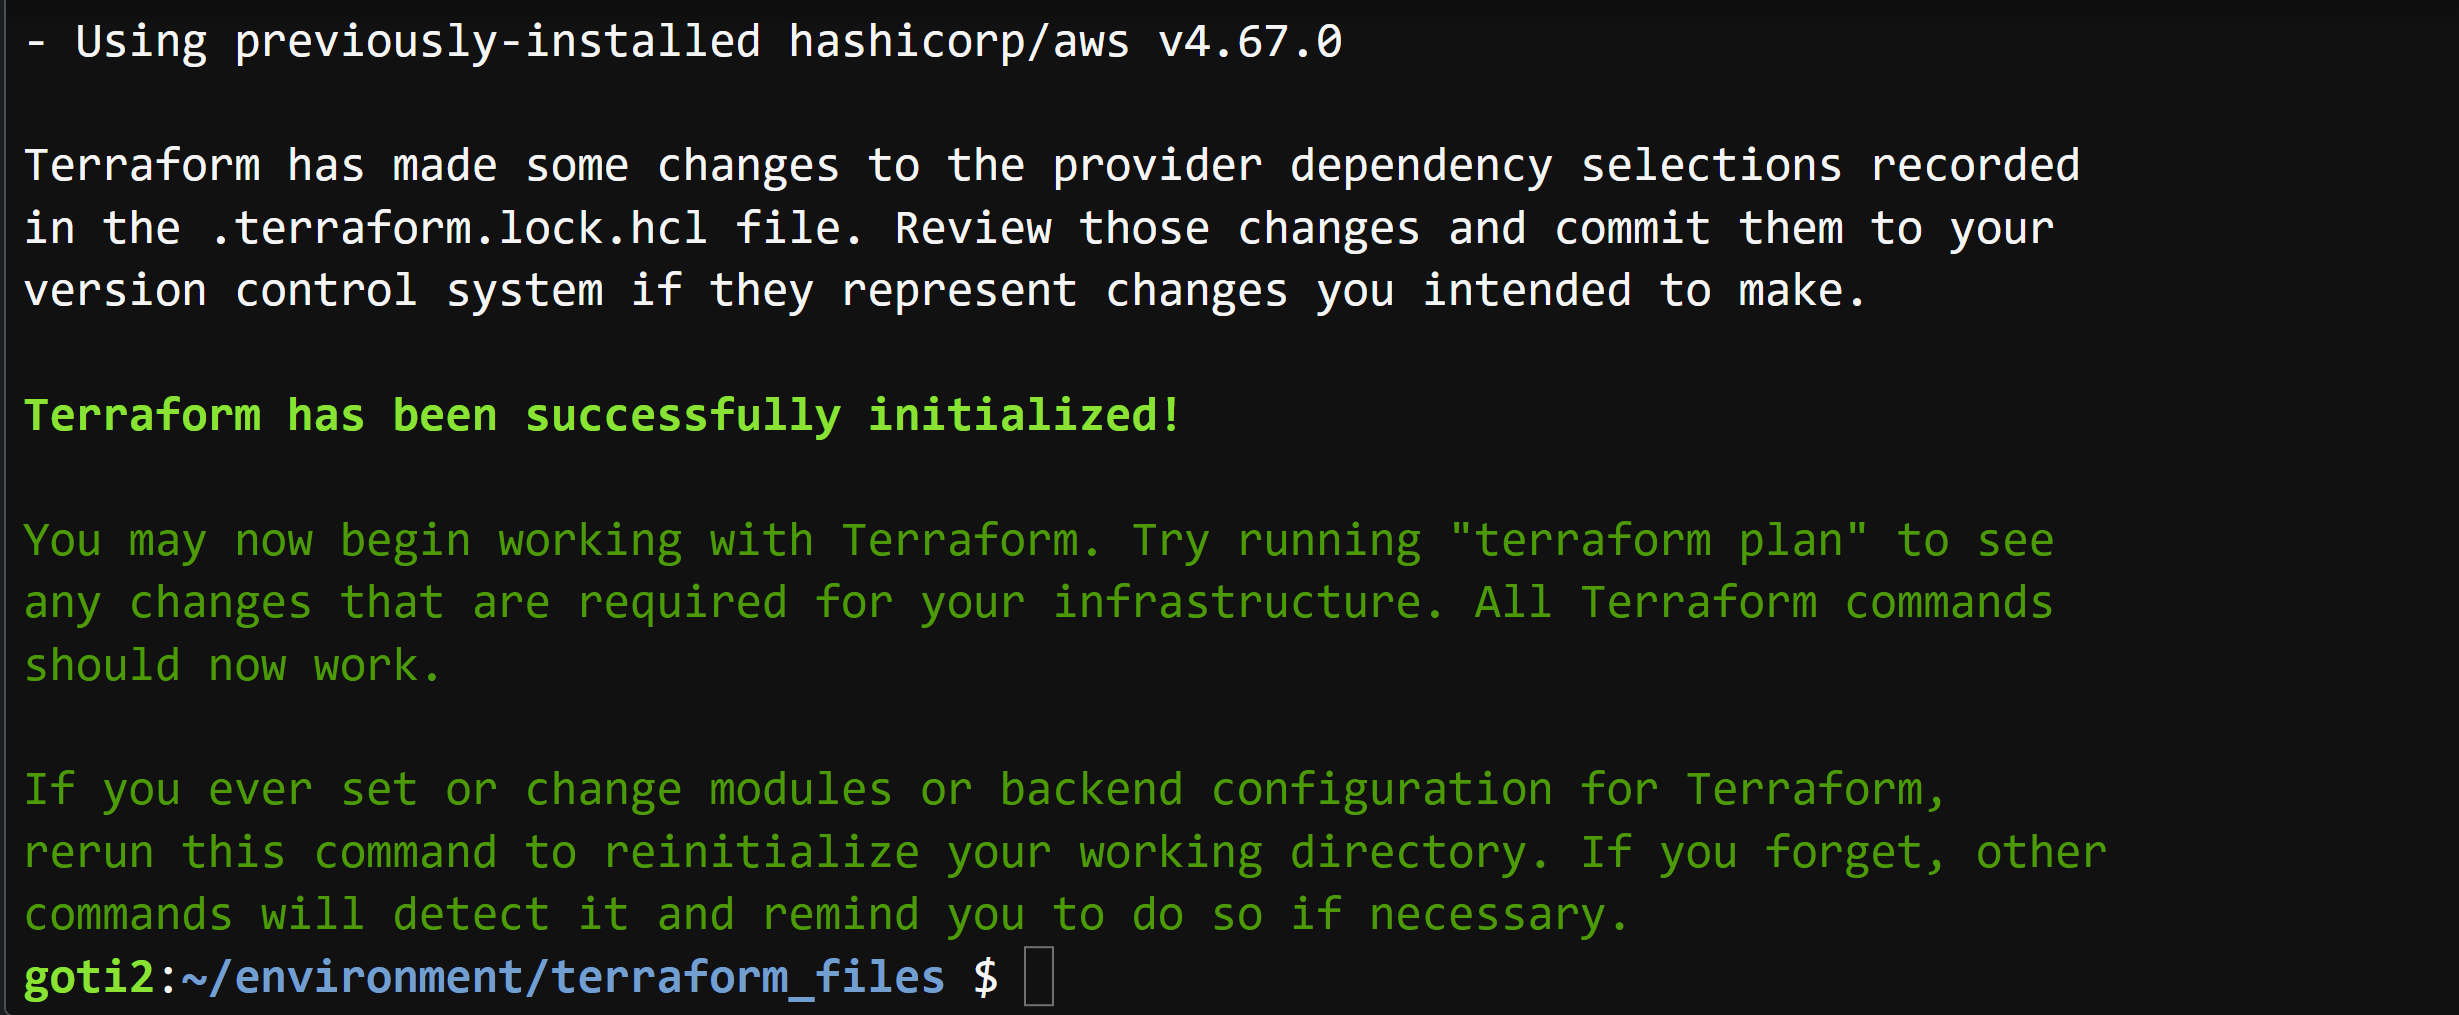
- Validate your Terraform syntax
terraform validate

## 6. To generate the action plans
terraform plan

## 7. Create all the resources declared in main.tf configuration file
#### Note:
The --auto-approve flag will prevent Terraform from prompting you to enter yes explicitly before it deploys the code.
terraform apply --auto-approve
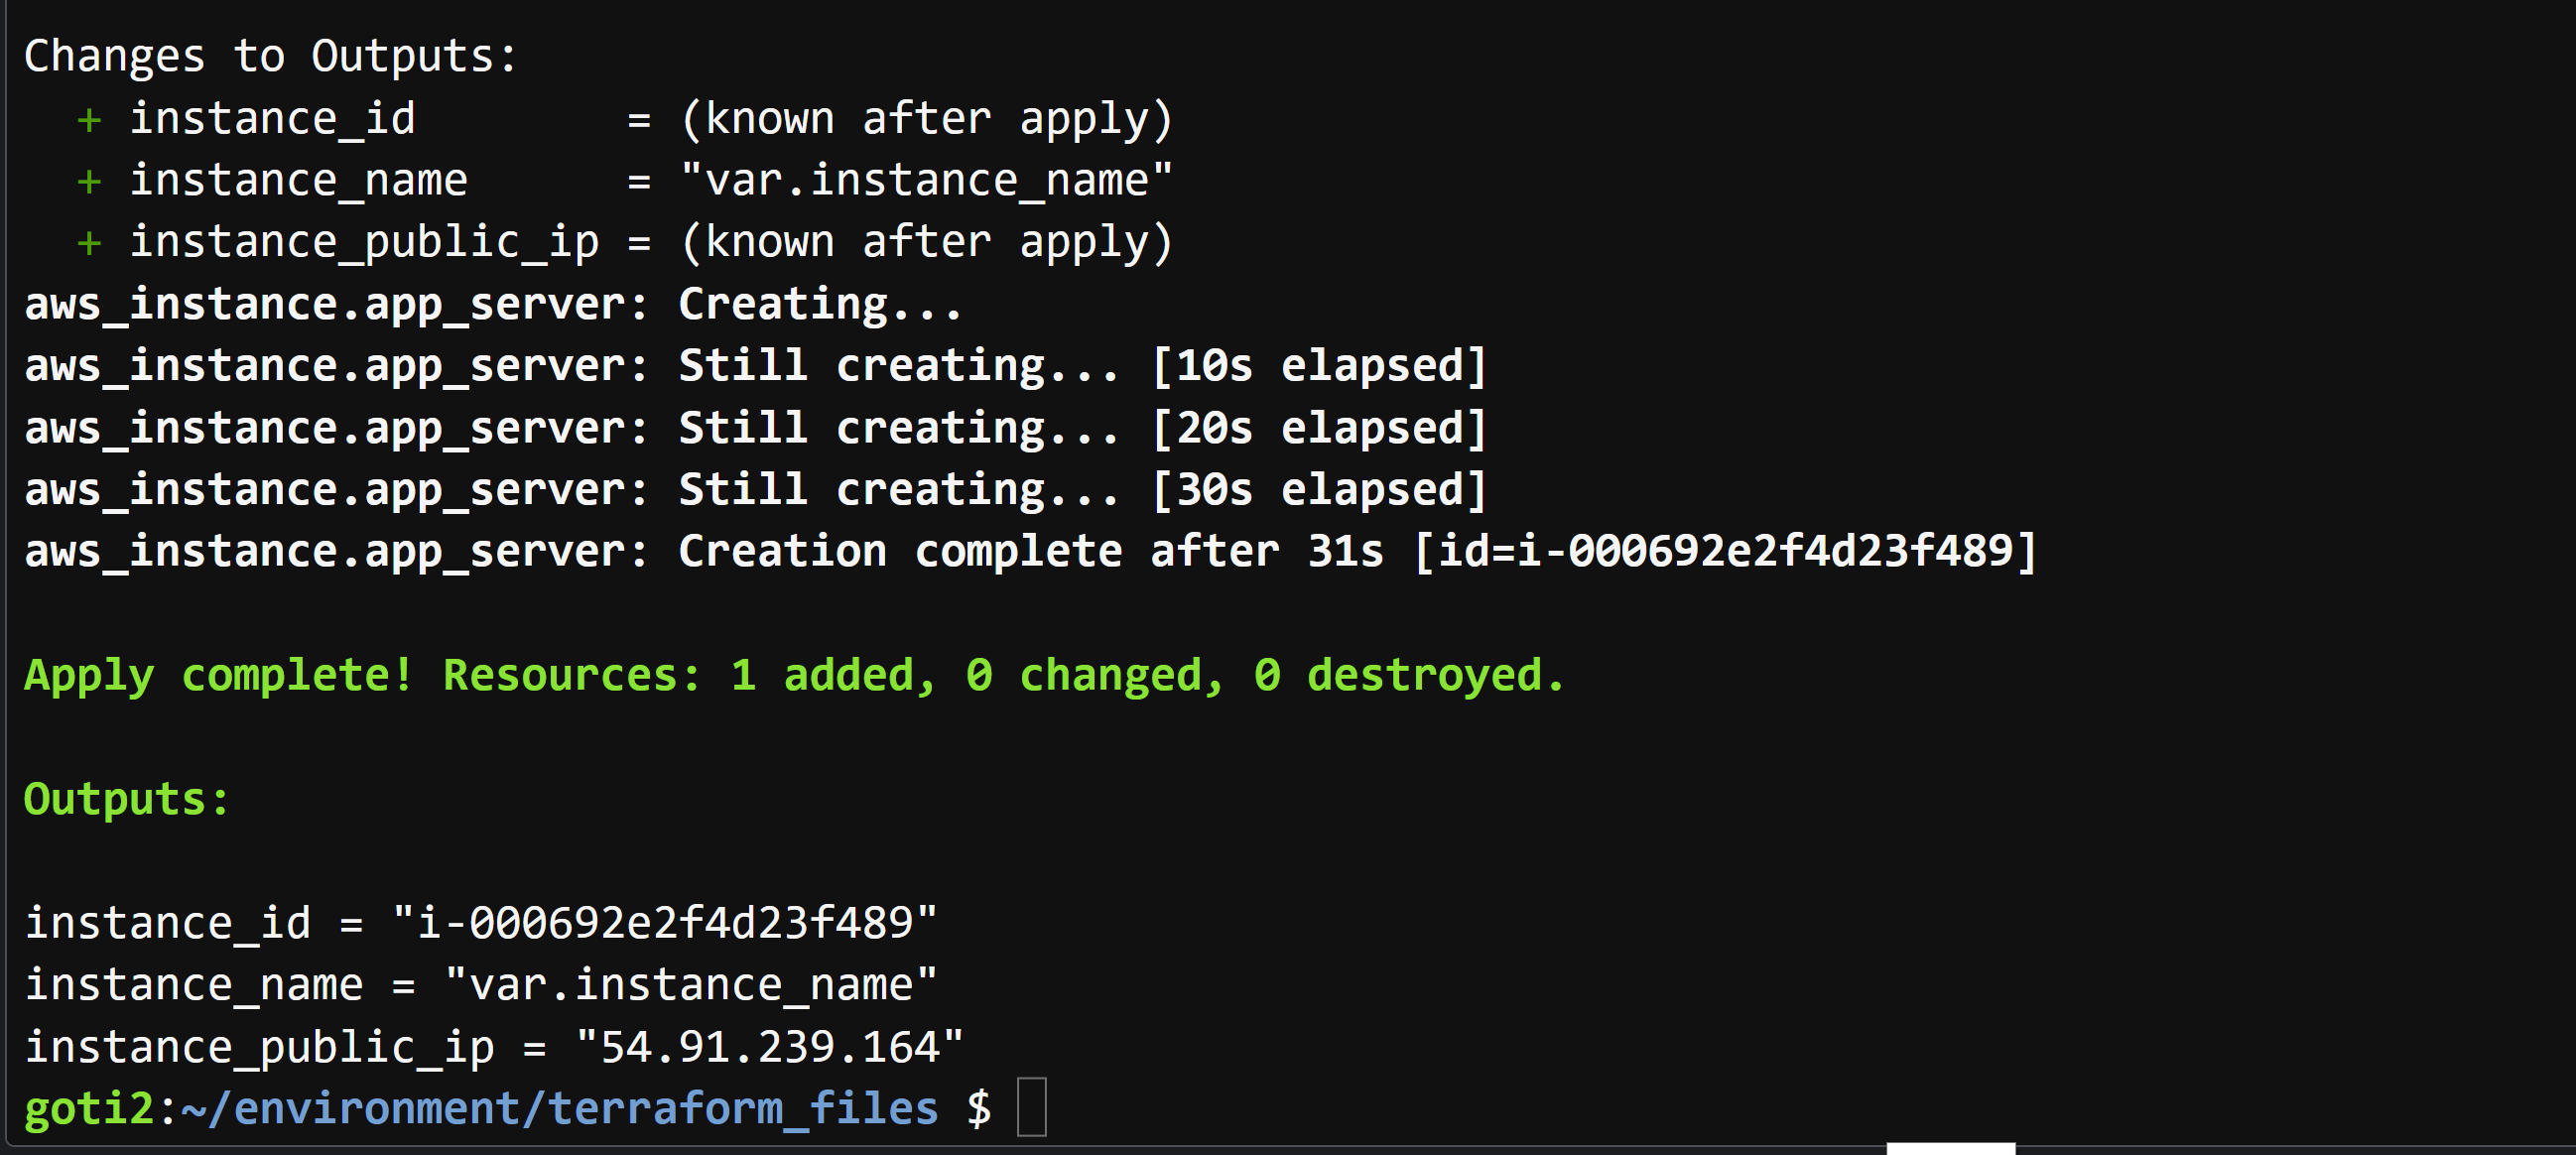
## 8. Validate all resources created
- 1. AMI Name

- 2. instance_name, instance_id, and instance_ip

- 3. availability zone

- 4. s3 bucket
Navigate back to your S3 bucket in the AWS Management Console.
Click on your bucket and there should be a backend.tfstate file.
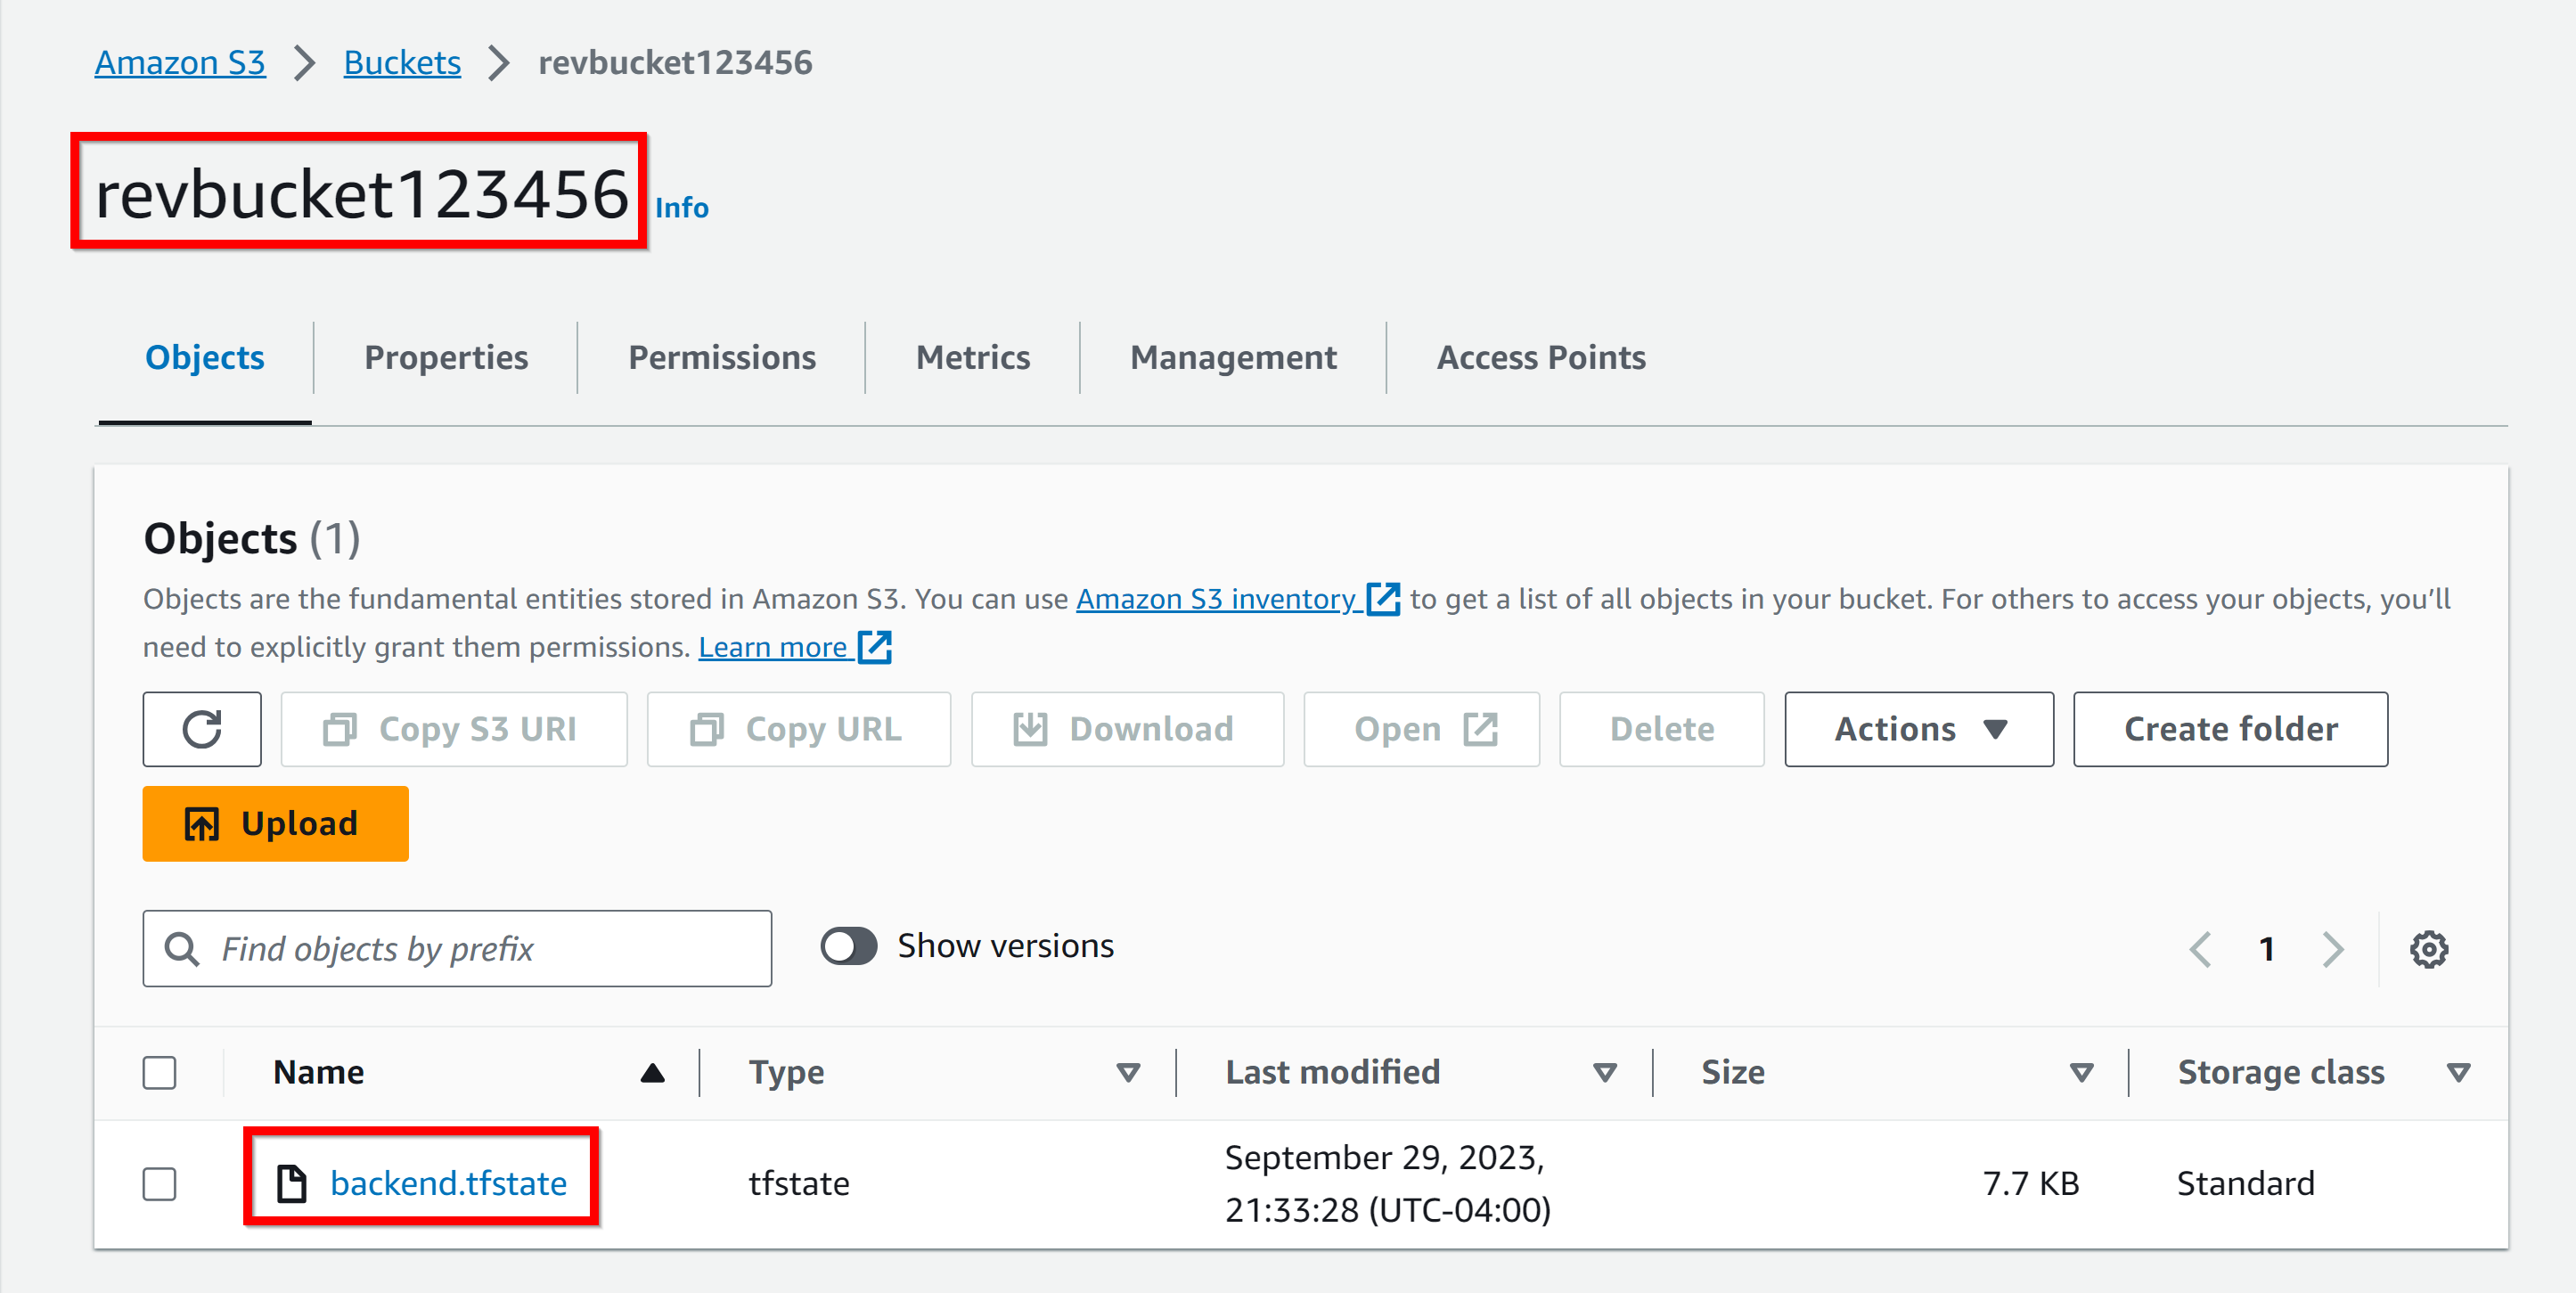
- At the same time if we open our terraform.tfstate locally on our machine, we will see that the file is empty.
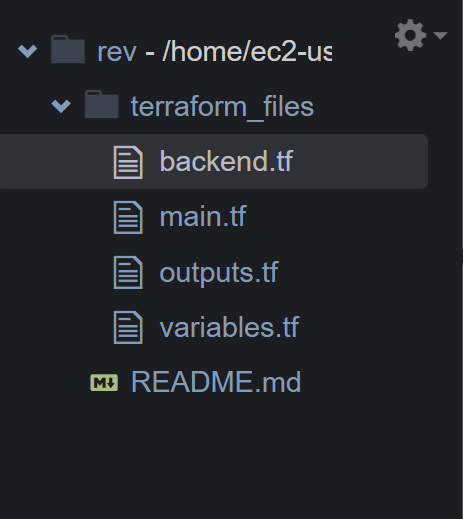

- we have successfully built our Terraform backend where instead of using our terraform.tfstate file that we have locally, we are using ***backend.tfstate*** file remotely from our S3 bucket,
- 5. dynamodb table

# Cleanup
- terraform destroy
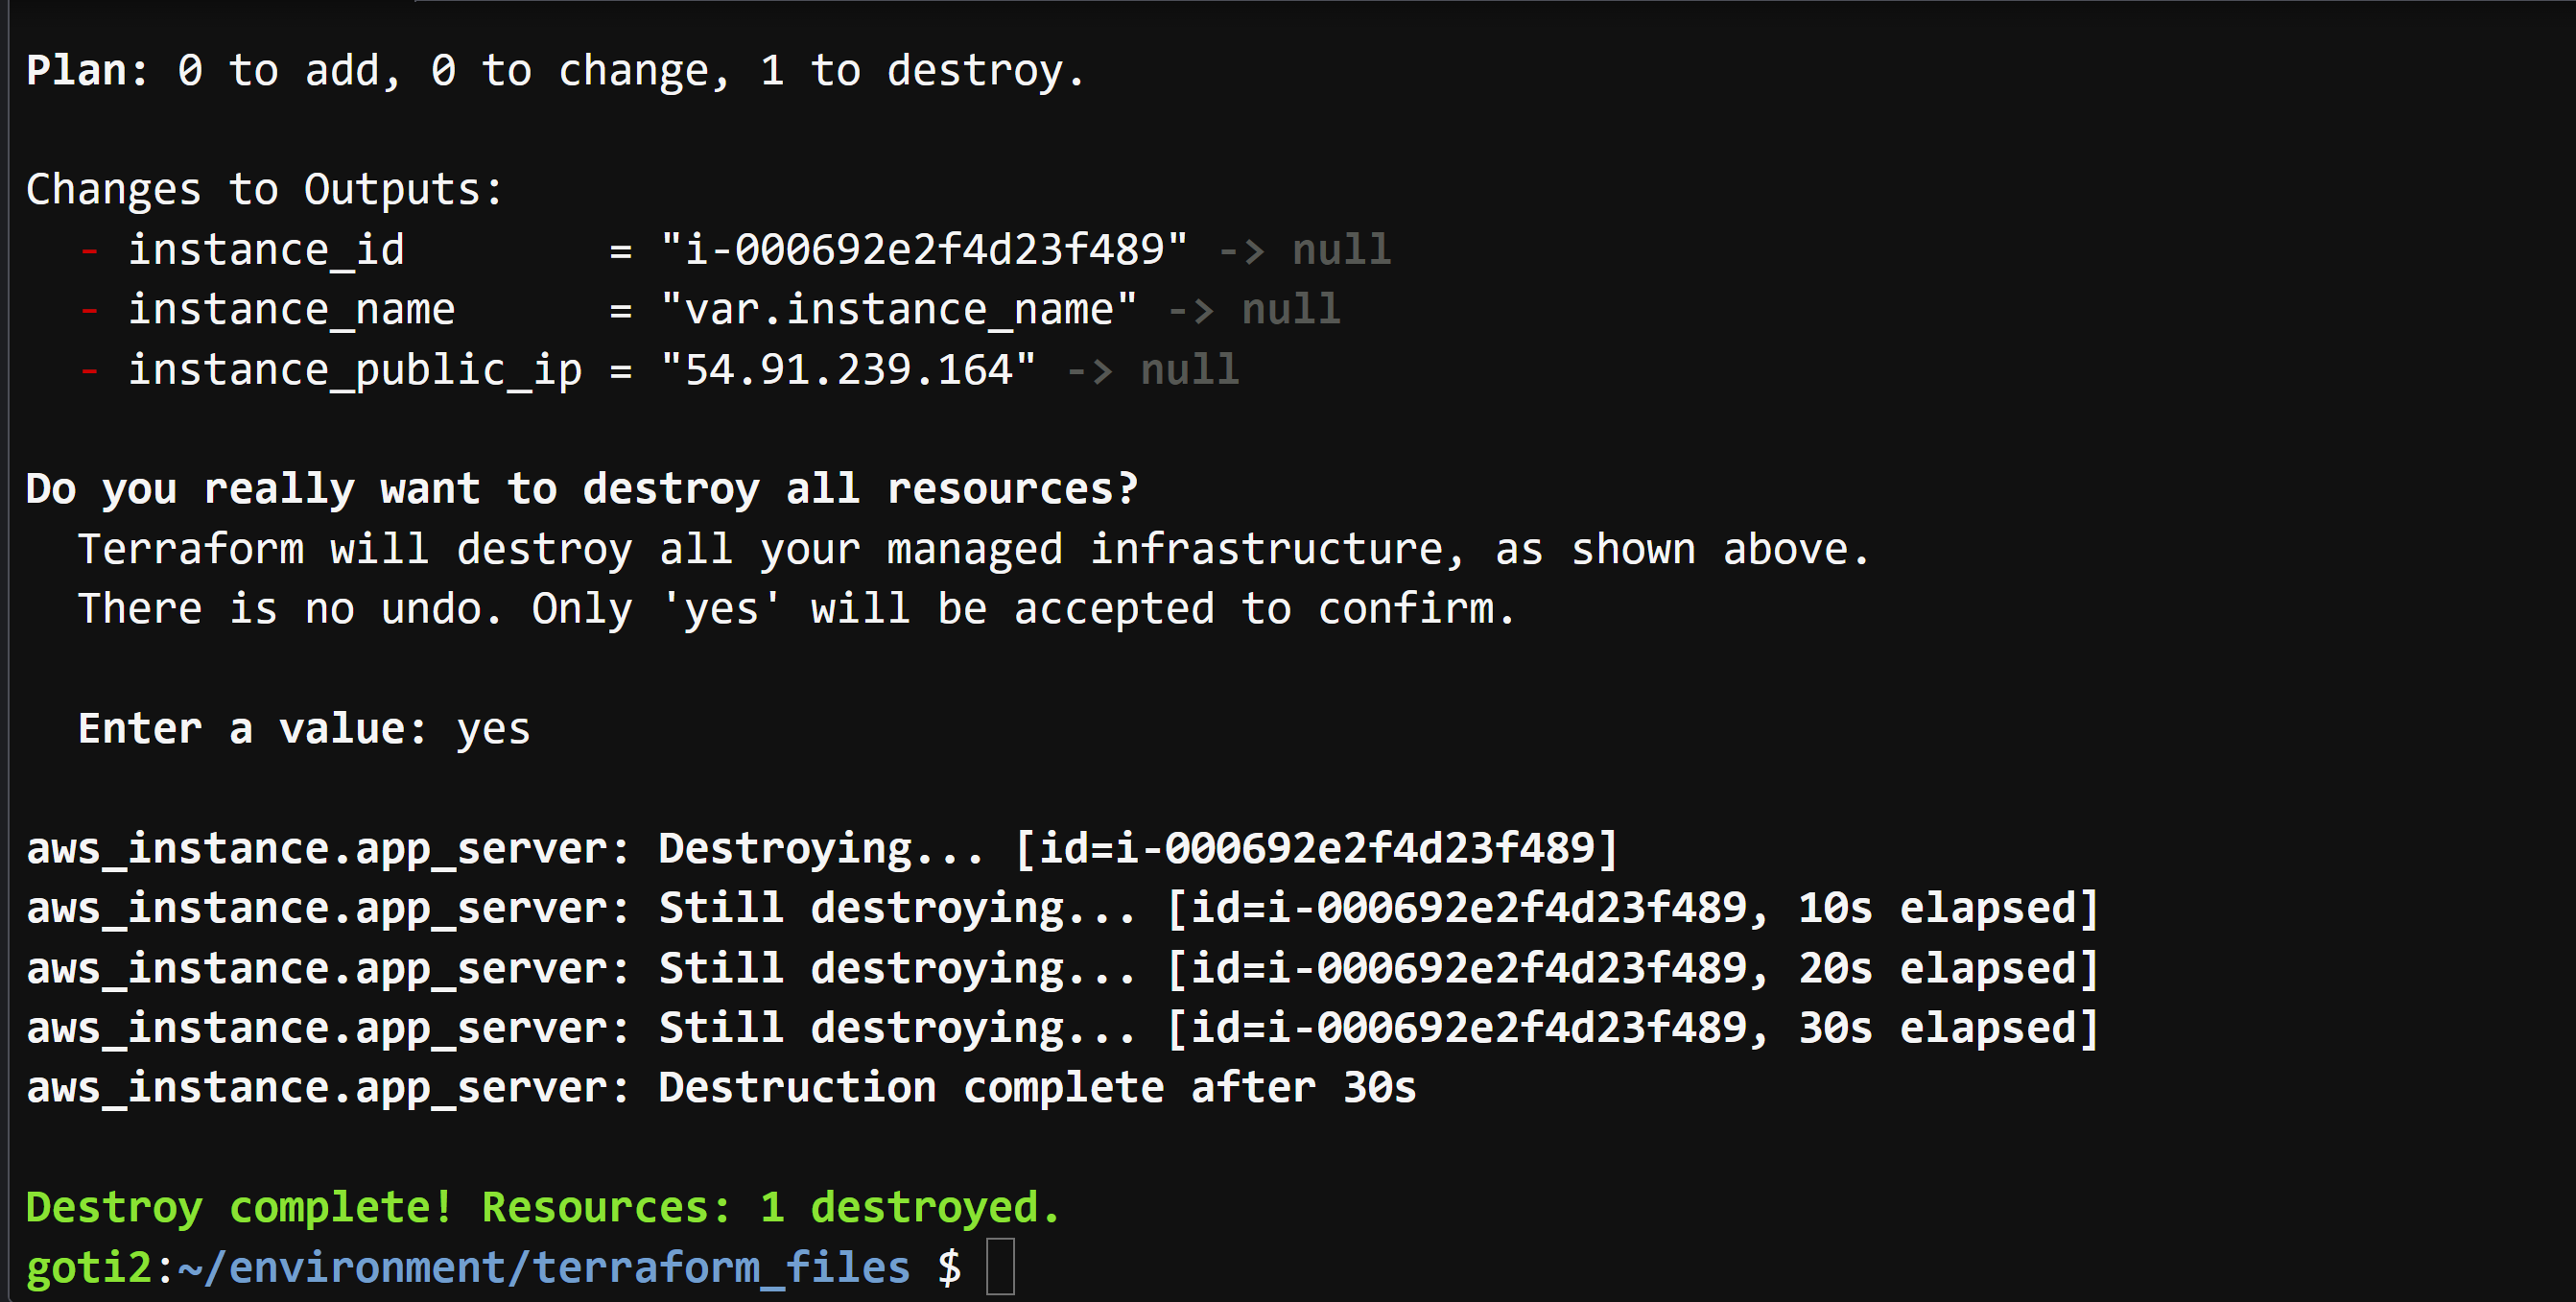
# What we have done so far
- We have successfully created an S3 bucket, DynamoDB lock table, add backend configuration, and then deployed our environment.
- Then we confirmed by looking in our S3 bucket if our state file was created.


Top comments (0)