Creating your first Jenkins pipeline.
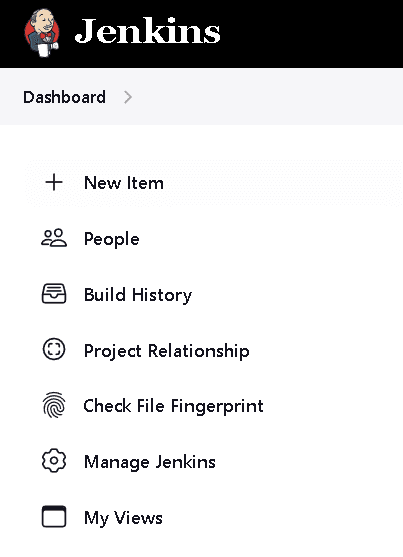
Step 1: Log into Jenkins and select ‘New item’ from the dashboard.
Step 2: Next, enter a name for your pipeline and select ‘pipeline’ project. Click on ‘ok’ to proceed.
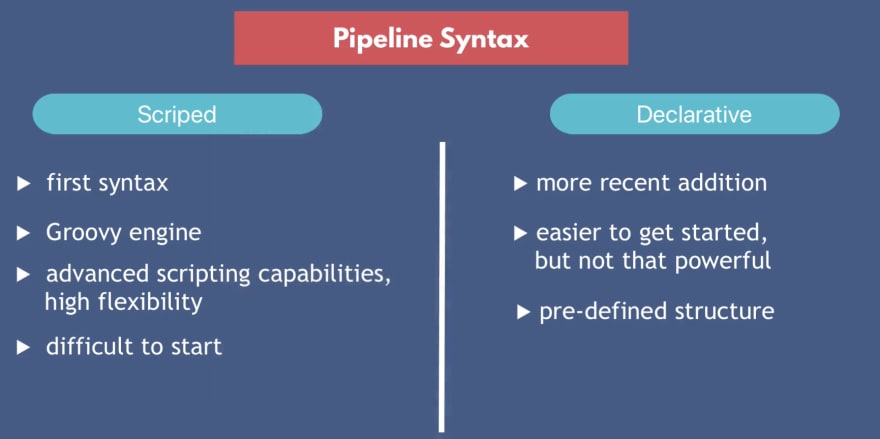
Step 3: Scroll down to the pipeline and choose if you want a declarative pipeline or a scripted one.
Step 4a: If you want a scripted pipeline then choose ‘pipeline script’ and start typing your code.
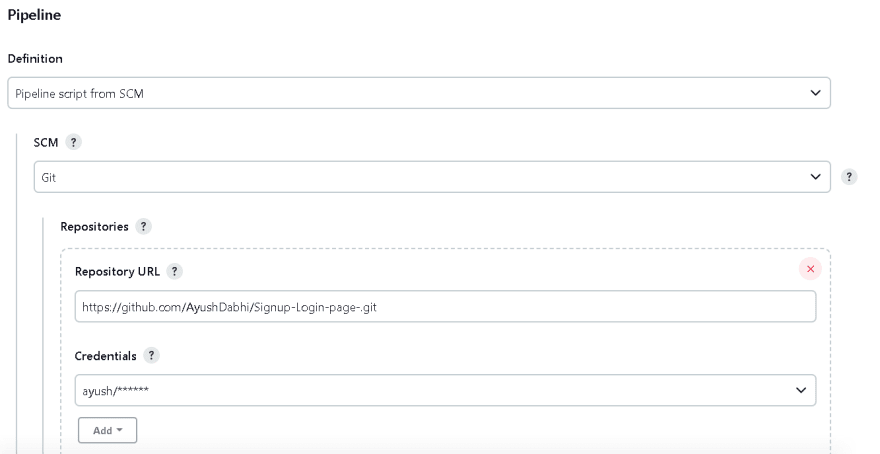
Step 4b: If you want a declarative pipeline then select ‘pipeline script from SCM’ and choose your SCM. In my case, I’m going to use Git throughout this demo. Enter your repository URL.
Step 5: Within the script path is the name of the Jenkinsfile that is going to be accessed from your SCM to run. Finally, click on ‘apply’ and ‘save’. You have successfully created your first Jenkins pipeline.
Scripted Pipeline Vs Declarative Pipeline
Declarative Pipeline Demo
The first part of the demo shows the working of a declarative pipeline.
Refer the above ‘Creating your first Jenkins pipeline’ to start.
Let me start the demo by explaining the code I’ve written in my Jenkinsfile.
Since this is a declarative pipeline, I’m writing the code locally in a file named ‘Jenkinsfile’ and then pushing this file into my global git repository.
While executing the ‘Declarative pipeline’ demo, this file will be accessed from my git repository.
The following is a simple demonstration of building a pipeline to run multiple stages, each performing a specific task.
Required Fields of Jenkinsfile
Jenkinsfile code
pipeline {

   agent any

   stages {

     stage("build") {

       steps {
           echo 'building the application...'
       }
     }
     stage("test") {

       steps {
          echo 'testing the application...'
       }
     }
     stage("deploy") {

       steps {
          echo 'deploying the application...'
       }
     }
  }
}
push this Jenkinsfile into global git repository
Output
Click on "Build Now"
I hope this blog helped you understand the basics of scripted and declarative pipeline and you able to perform declarative pipeline demo !


Top comments (0)