
Hello everyone, this is a step-by-step process on how to add a data disk to a Virtual machine.
What is a data disk?
In Azure, a data disk is a managed disk that is used to store application data, databases, or any other files separate from the OS disk. It acts like an extra hard drive attached to the VM.
Now let's delve right into it.
In the Search resources, services and docs field, type virtual machines.

Click the Create button to start the virtual machine creation process

From the options choose Create a virtual machine hosted by Azure.

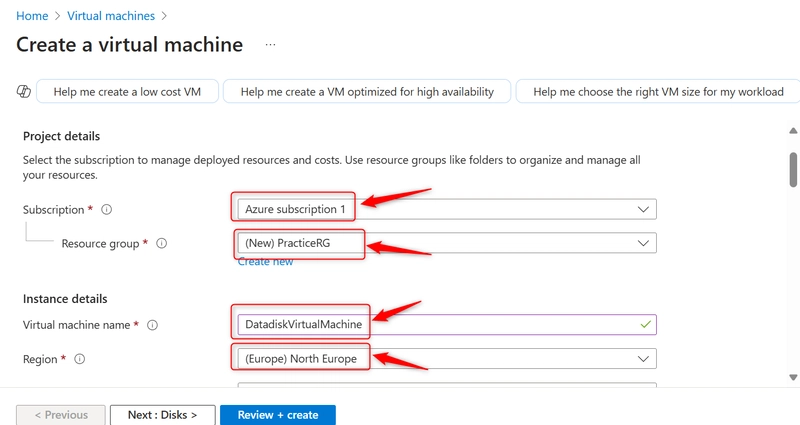
Enter Project details, this would be our subscription, resource group, Virtual Machine Name and Region.
Select your preferred Image; this is the operating system you would like to use.
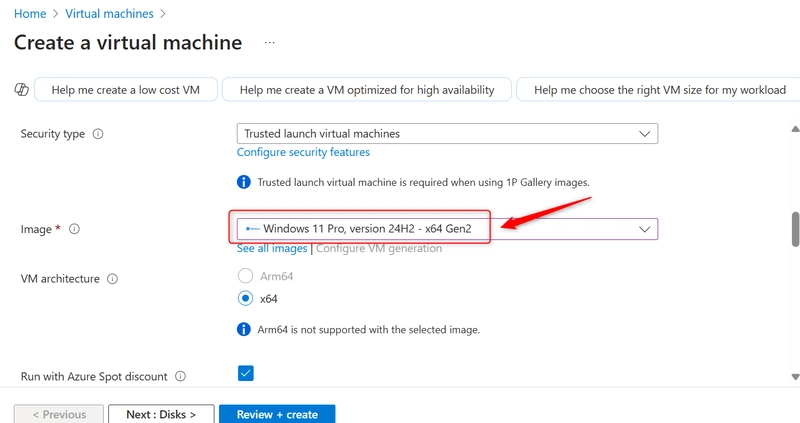 .
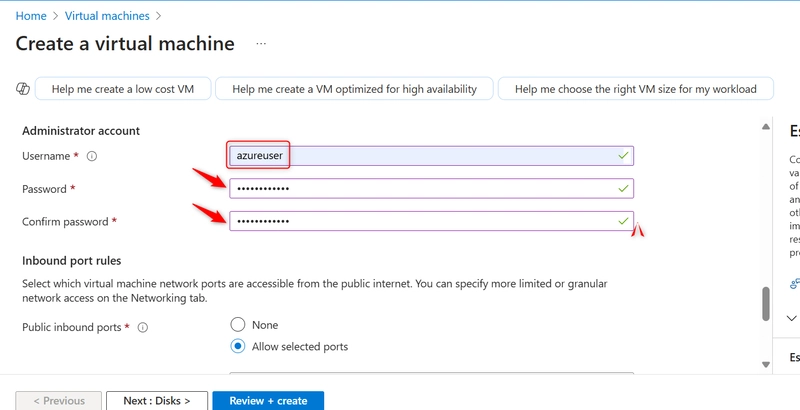
.Set up the administrator account for Log in once the virtual machine has been deployed.
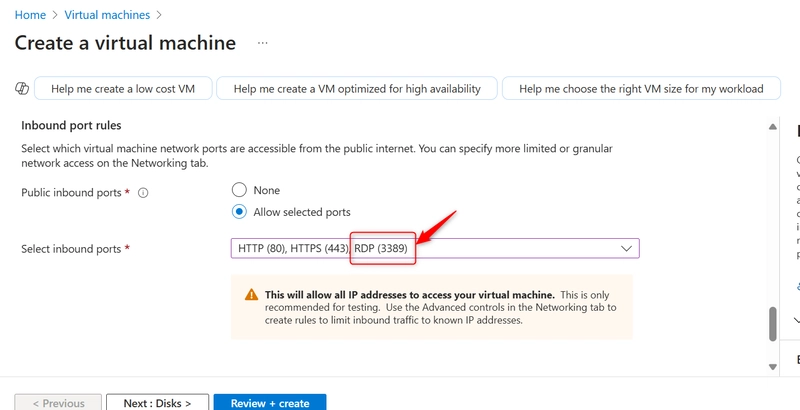
Select Inbound Port Rule as RDP if you are creating a Windows VM
Check the licensing.

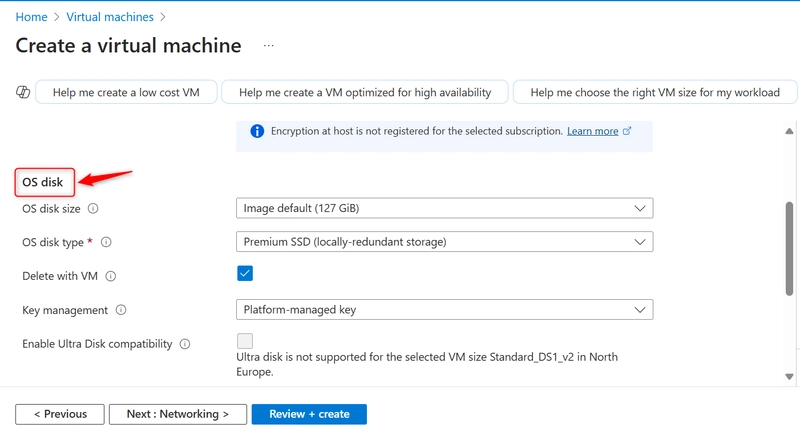
Leave OS disk settings as default
Click on the Monitoring tab, and click on disable under boot diagnostics.

Click on the Tags tab, and assign name/value pairs to categorize resources. (Optional depending on use-case.)

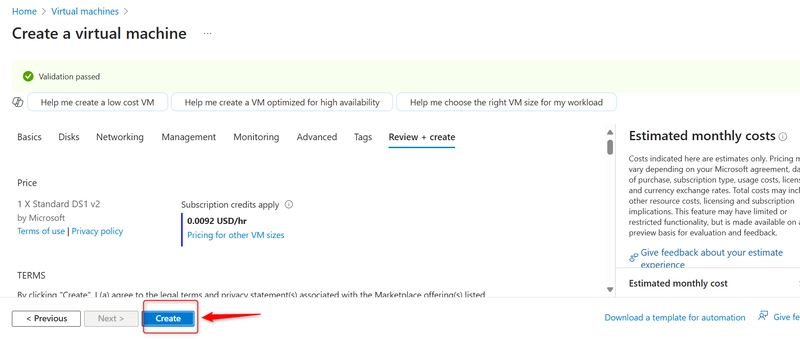
Click on Create, After Validation has passed.
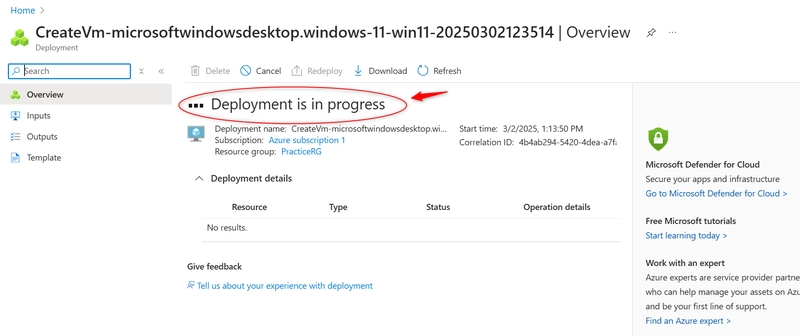
Deployment in Progress
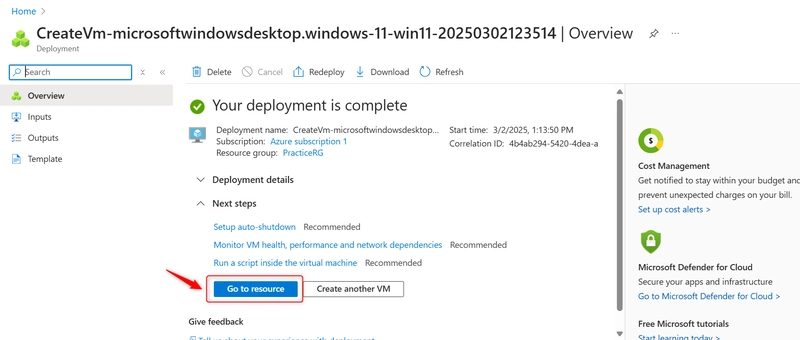
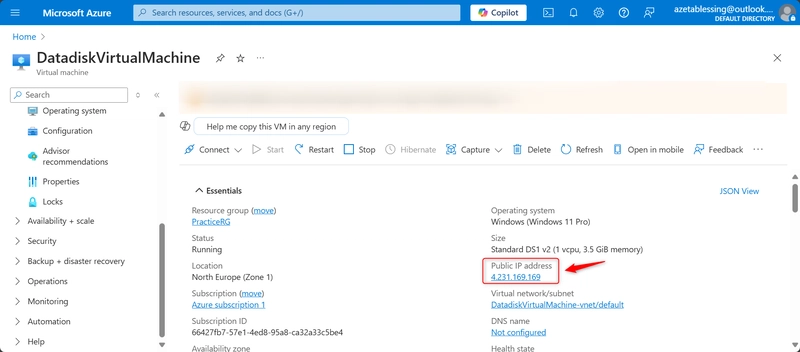
Click on Go to Resource, once deployment is complete.
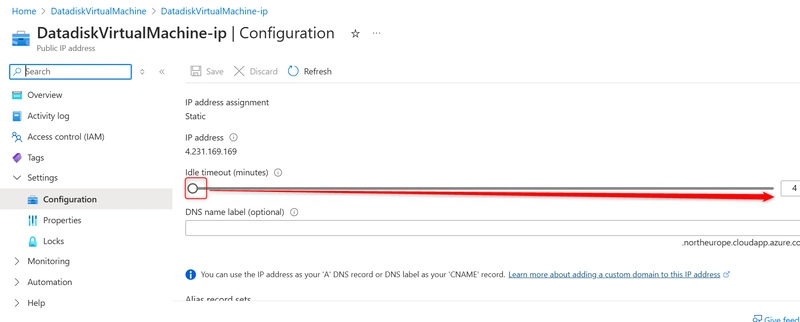
Click on PublicIPAddress to extend idle time
Extend till the end 30 minutes
Adding the DataDisk to the Virtual Machine
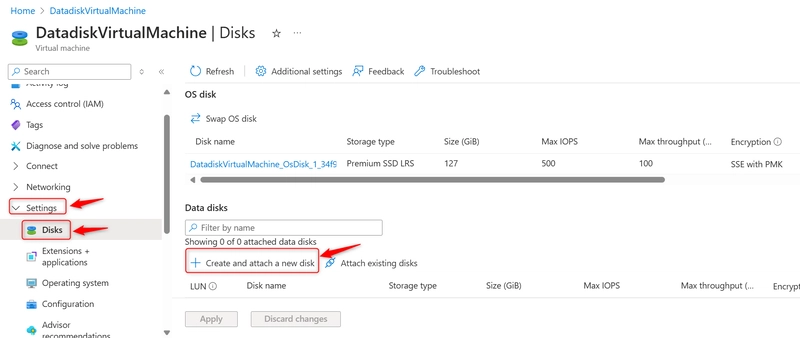
- Click on Settings on the Virtual Machine interface
- Click on Disk; The OS disk has been automatically created by the cloud provider.
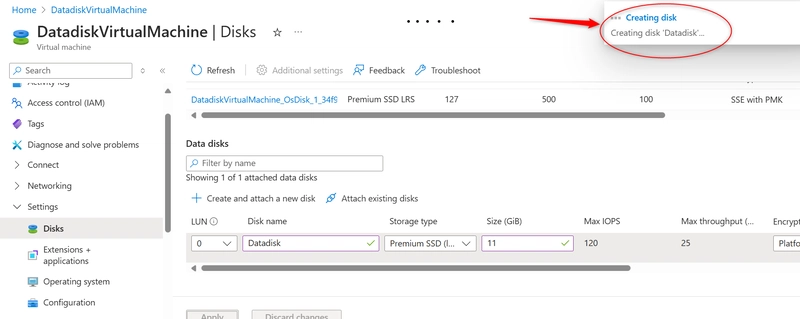
Click on + create and attach a new disk under the data disks section.
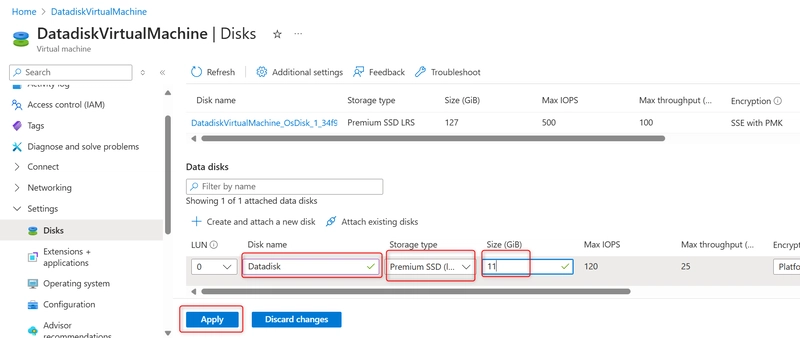
Input the details requested; the data disk name, the storage type and size
Click Apply

Connect to the Virtual Machine to access and use the disk.
Once the data disk is attached, you will need to initialize and format it within the VM's operating system.
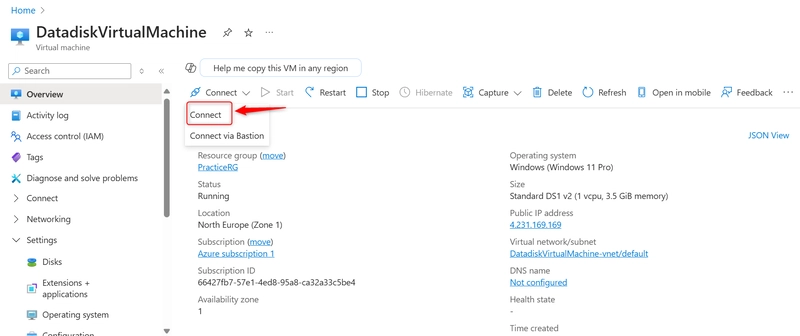
- Go to the Virtual Machine Overview page.
Click on Connect
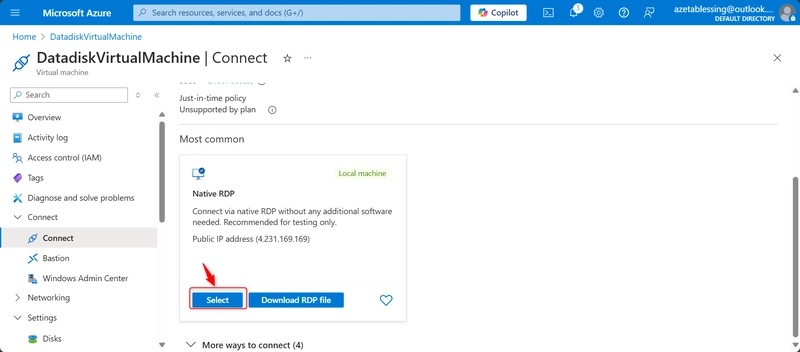
Click on Select on the Native RDP box
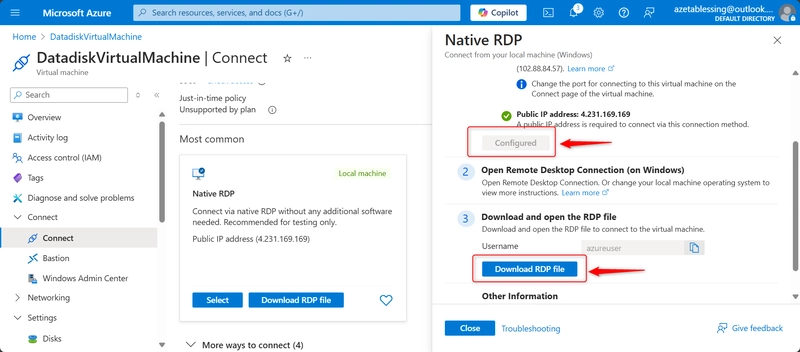
Click on Download RDP file once configured.
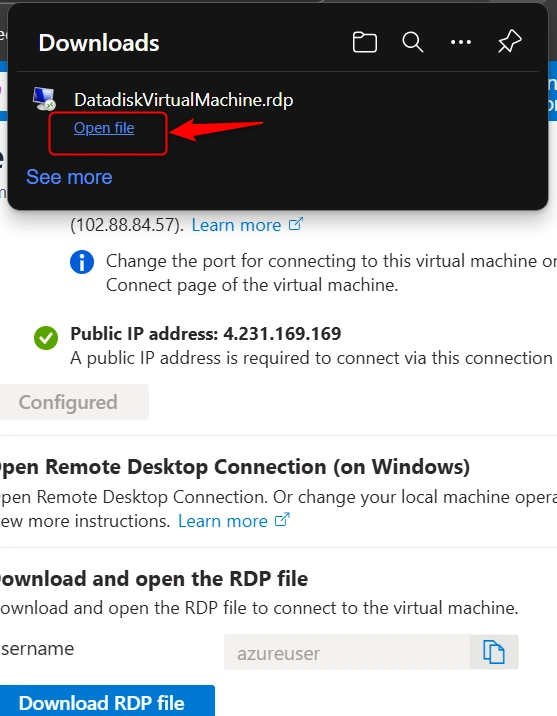
Click on the downloaded RDP file once completed.
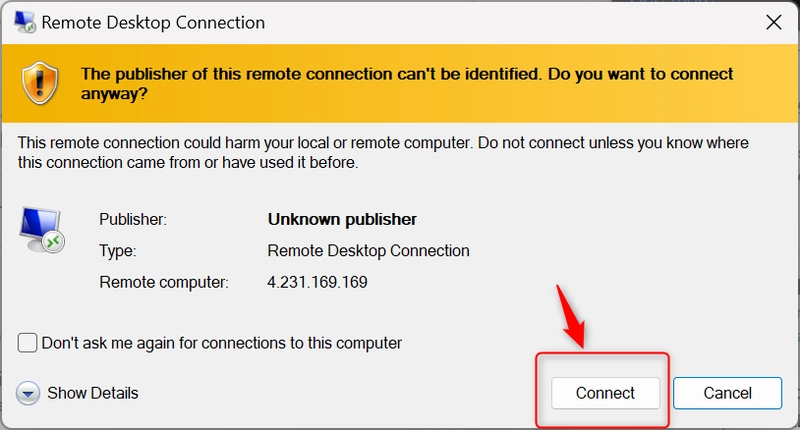
Click on Connect in the pop up message
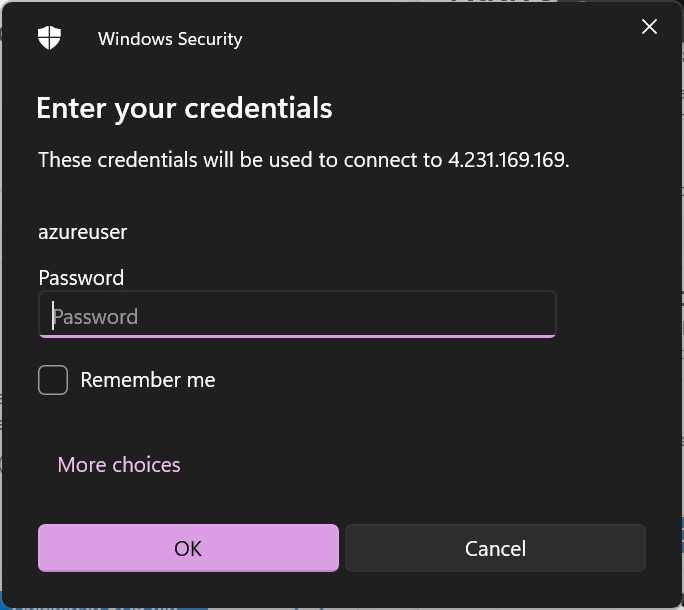
Input your previously saved admin password
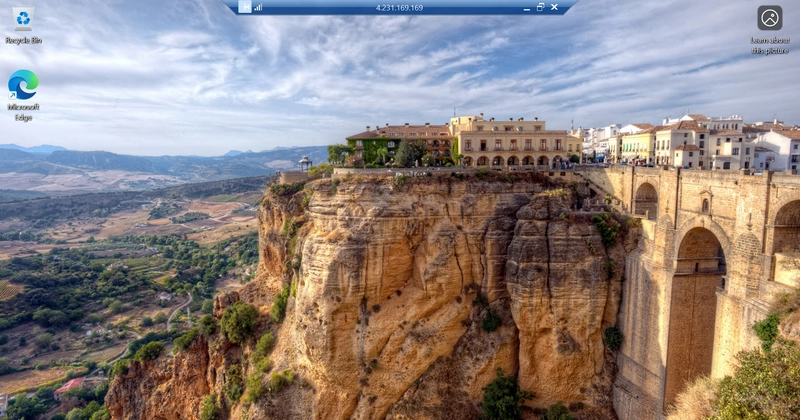
Follow the instructions to Log in and set up your virtual machine

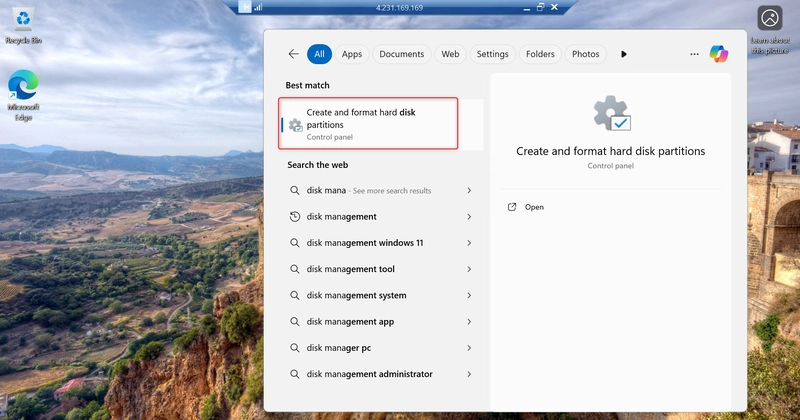
On the search bar, type disk management
Click on create and format hard disk partitions.

Click Ok to initialize the disk
The disk is still unallocated; meaning not ready for use.
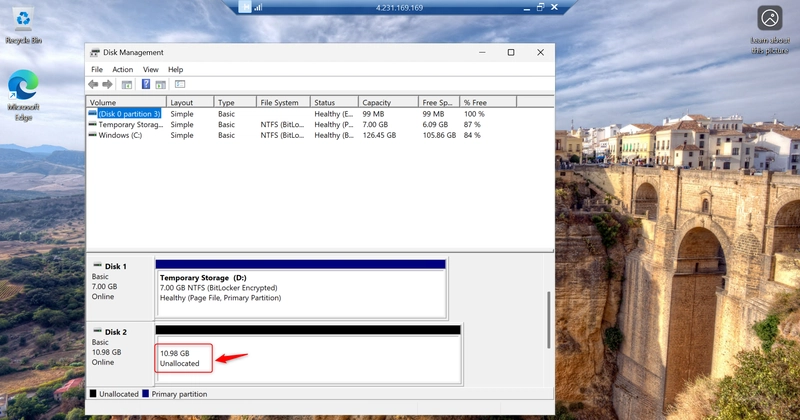
Format the data disk for it to be ready for use.
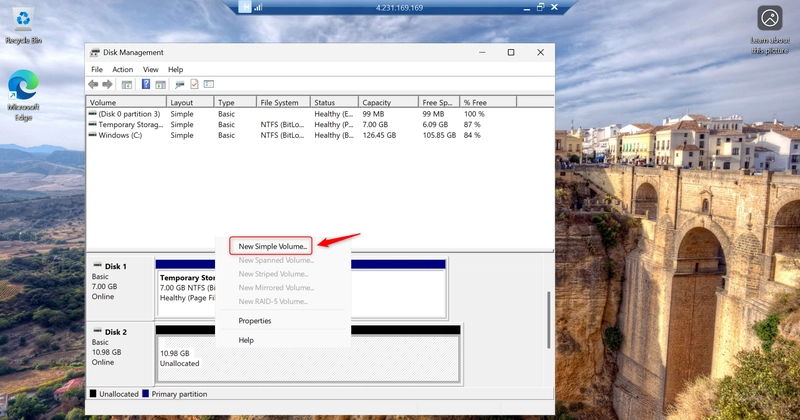
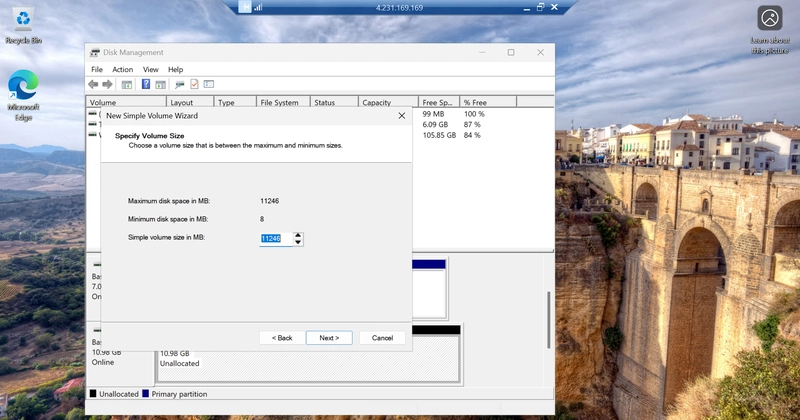
Right click on the disk, a provision has been made to make the formatting easier. It is called New Simple Volume
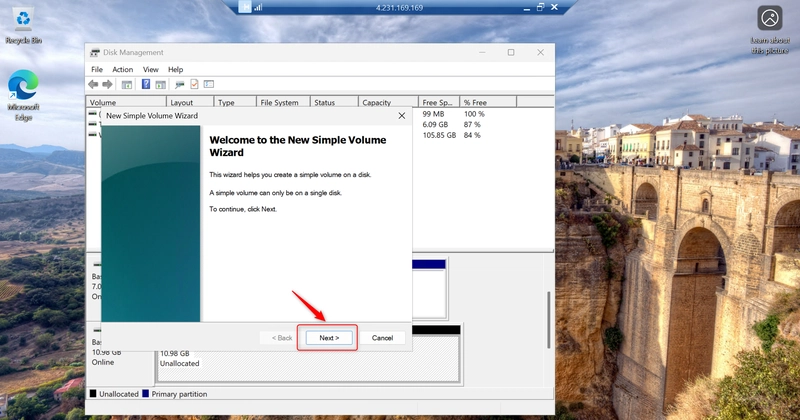
Click on Next, Leave everything as Default
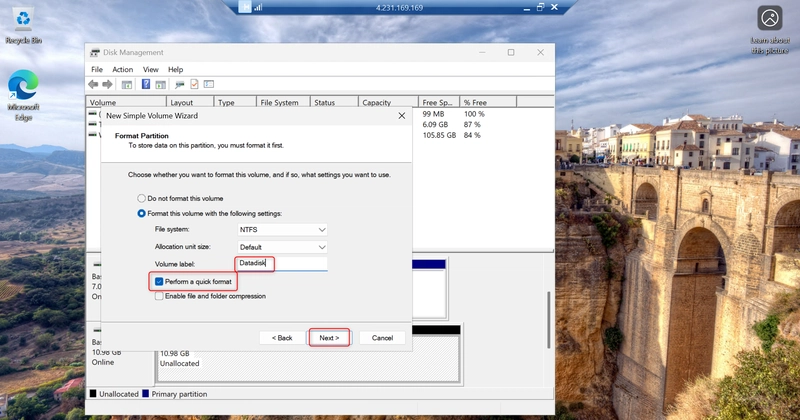
You can Rename the data disk under the volume label.

Click on Next to perform the format operation.
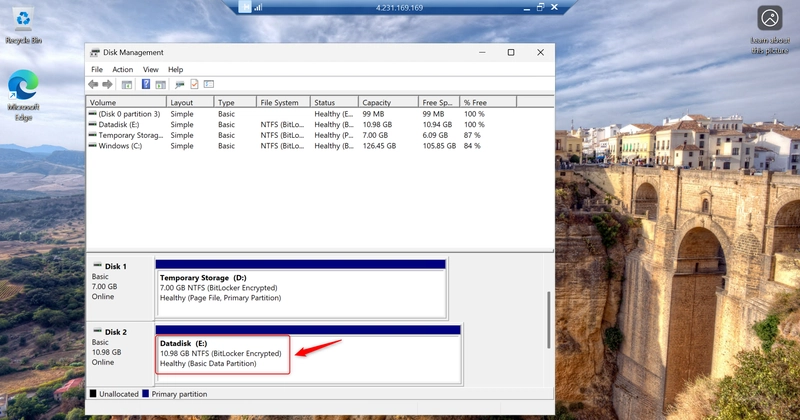
Click on Finish

Now the Data disk is Healthy and Ready for use.
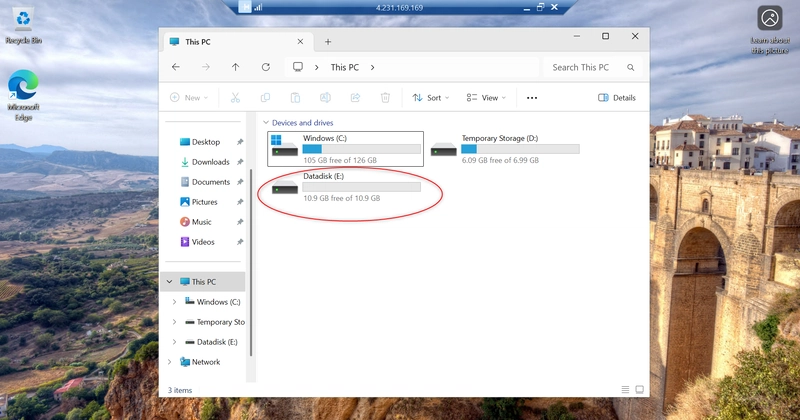
The Data Disk is now listed amongst the available storage.

Top comments (0)