DEV Community

Cover image for All about the "Capture" button on a Virtual Machine Interface in Azure.
Blessing Azeta
Blessing Azeta

Posted on

All about the "Capture" button on a Virtual Machine Interface in Azure.

The Capture Button in the Azure Virtual Machine (VM) interface is a feature that allows you to create an image of an Azure VM.

This image also called Operating systems can then be used to create additional VMs with the same configuration, operating system, and software as the original VM.

Images are stored in the Azure Compute Gallery.

So, How do we CAPTURE?

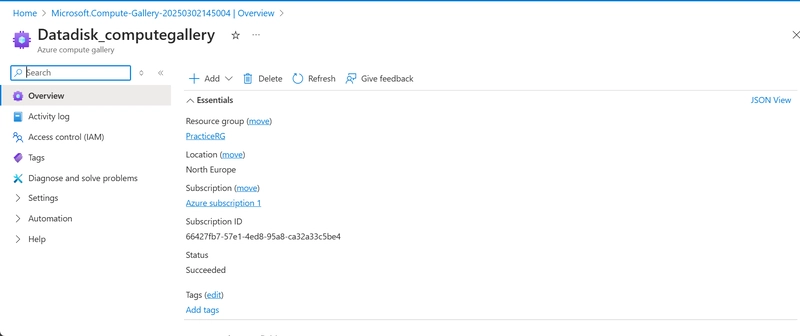
Step 1: Create an Azure Compute Gallery.

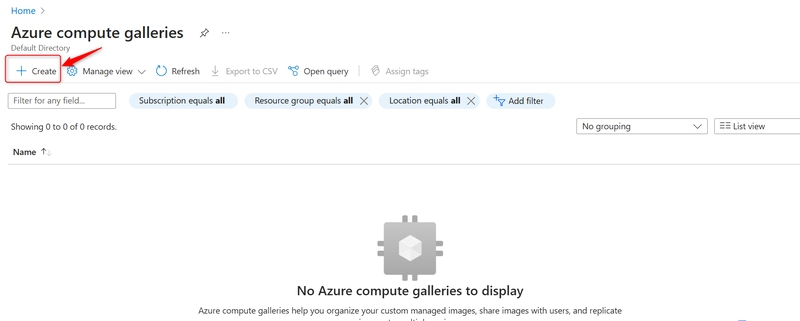
  • Search for Azure Compute Gallery on Azure.
    gallery

  • Click on + Create
    create

  • Input your project details, resource group, region, and name.
    project

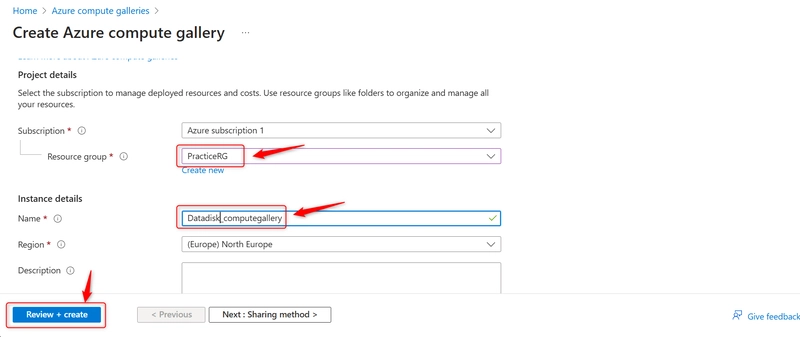
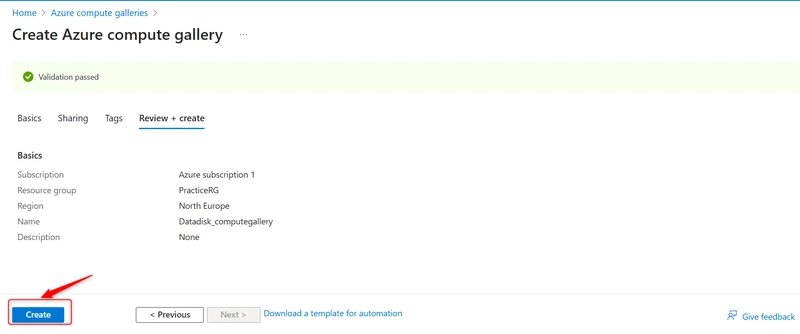
  • Click on Create once validation is passed
    create

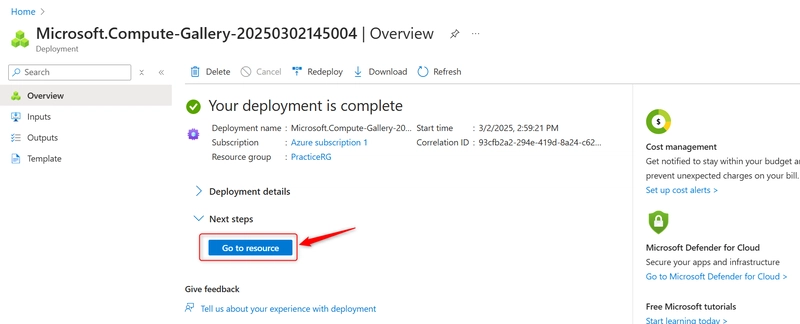
  • Click on Go to Resource once the deployment is complete.
    gotoresource
    DEPLOYED

Let's go back to the virtual machine we created before and capture the image.
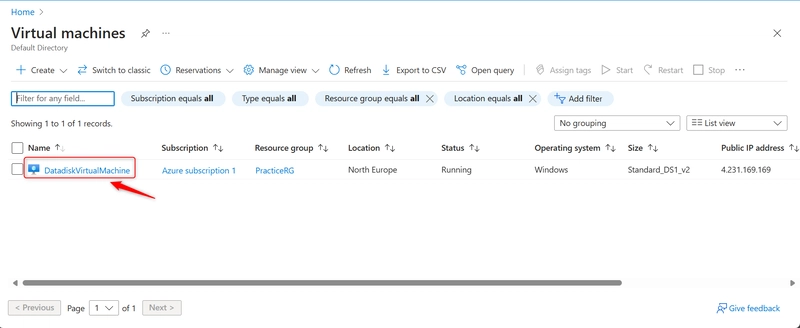
  • Go to the homepage
  • Click on "Virtual machine"
  • Select an existing virtual machine; we would be using the: DiskdataVirtualMachine
    diskdata

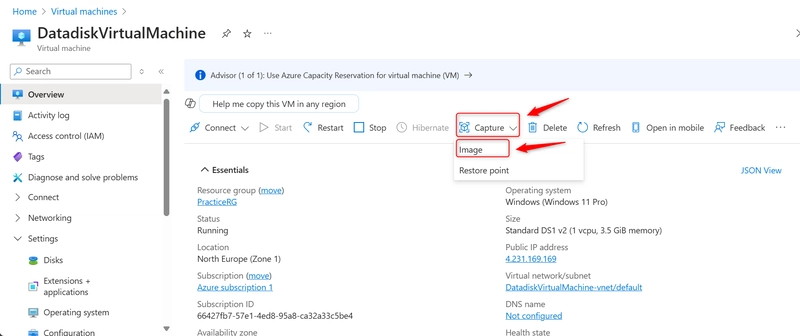
  • On the overview interface, Click on Capture and select Image.
    Capture

  • The project details have been automatically filled by the current operating system.
    projectdetails

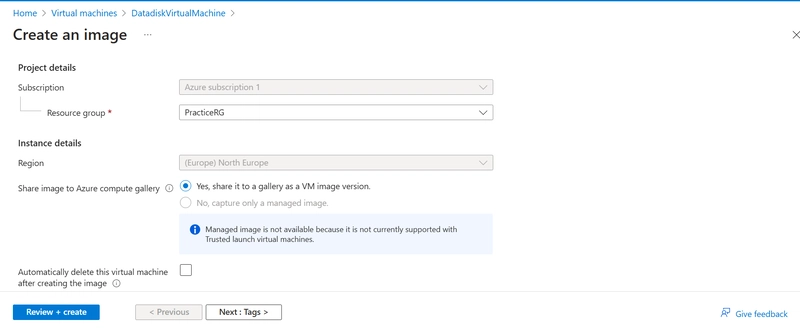
  • For the Gallery details, Select the created Azure Compute Gallery as the target azure compute gallery and the Operating System State as Specialized.
    gallerydetails
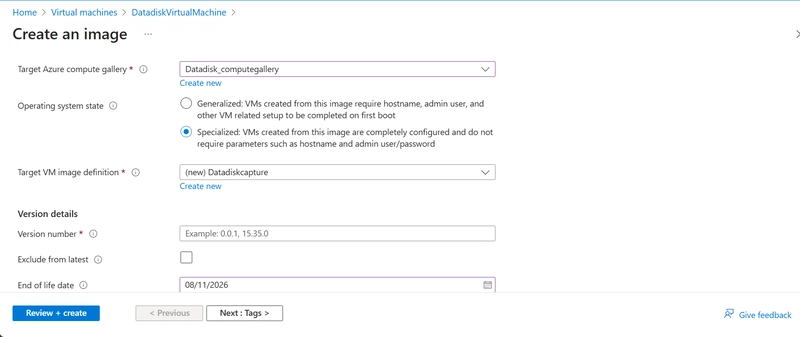
    For Generalised: You would require a username and password.
    For Specialised: No username and password required.

  • Click on Create new for target VM image definition.
    targetVM

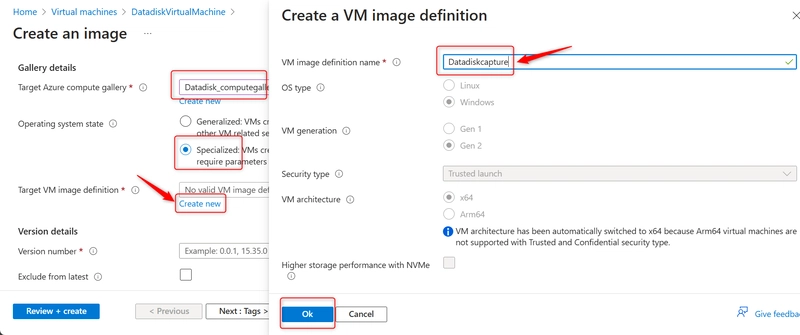
  • The new VM image definition would inherit the properties of the previous virtual machines.

  • Give it an expiry date
    EXPIRYDATE

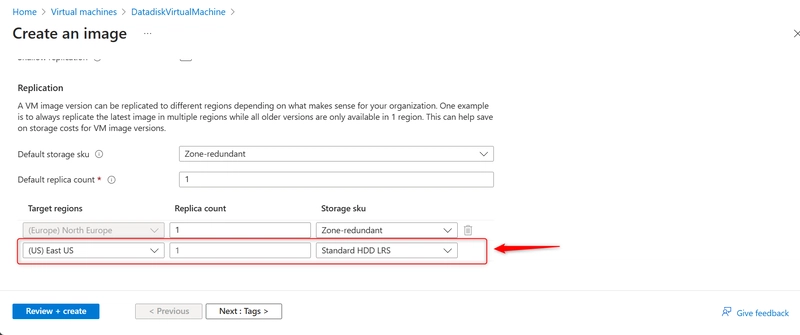
  • Replication would be done in another Region
    replication

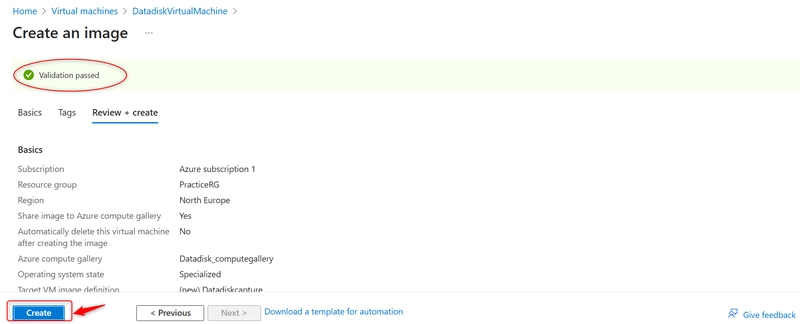
  • Click on Review and create

  • Click on Create after validation has passed.
    validation

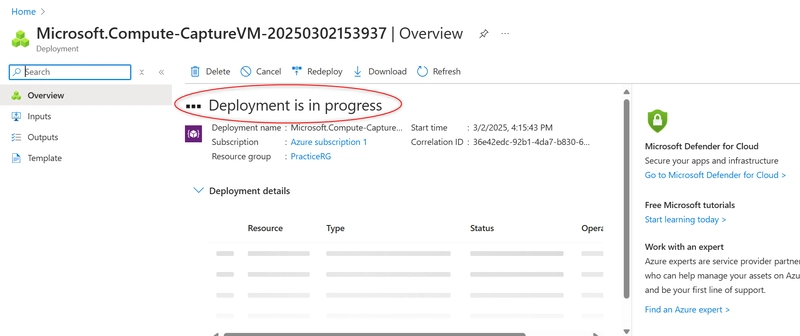
  • Deployment in progress
    Deployment

  • Deployment is complete
    completedeployment

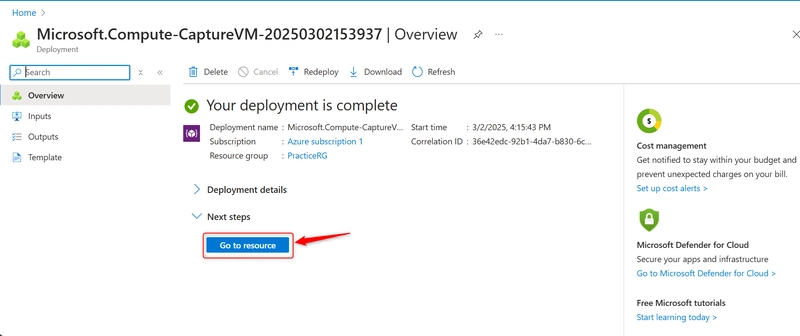
  • Click on Go to Resource to see the captured image.
    capturedimage

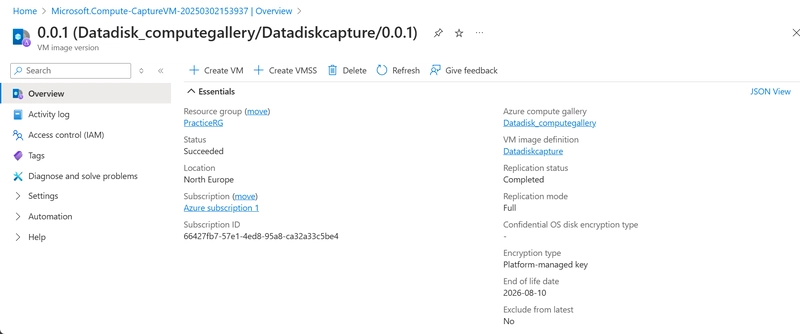
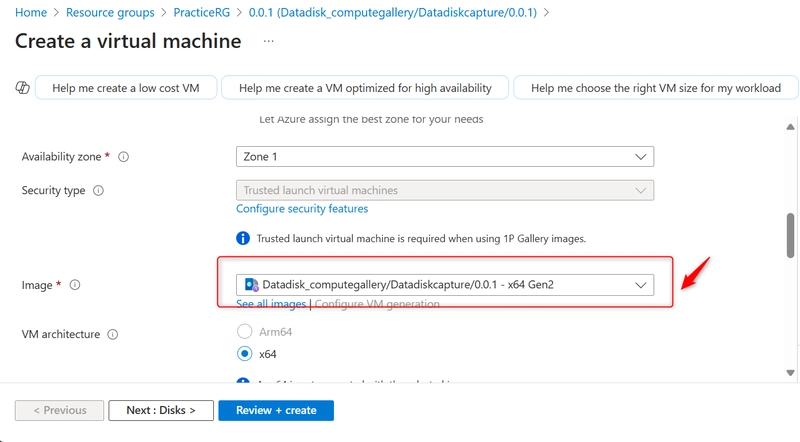
  • You can use this image to create other virtual machines as needed.
    create VM

Heroku

Built for developers, by developers.

Whether you're building a simple prototype or a business-critical product, Heroku's fully-managed platform gives you the simplest path to delivering apps quickly — using the tools and languages you already love!

Learn More

Top comments (0)

Playwright CLI Flags Tutorial

5 Playwright CLI Flags That Will Transform Your Testing Workflow

  • 0:56 --last-failed: Zero in on just the tests that failed in your previous run
  • 2:34 --only-changed: Test only the spec files you've modified in git
  • 4:27 --repeat-each: Run tests multiple times to catch flaky behavior before it reaches production
  • 5:15 --forbid-only: Prevent accidental test.only commits from breaking your CI pipeline
  • 5:51 --ui --headed --workers 1: Debug visually with browser windows and sequential test execution

Learn how these powerful command-line options can save you time, strengthen your test suite, and streamline your Playwright testing experience. Click on any timestamp above to jump directly to that section in the tutorial!

Watch Full Video 📹ī¸

👋 Kindness is contagious

If you found this article helpful, a little ❤ī¸ or a friendly comment would be much appreciated!

Got it