How browser rendering works — behind the scenes
The purpose of this article is to explain, in very simple terms, the steps your browser takes to convert HTML, CSS and JavaScript into a working website you can interact with.
Knowing the process your browser takes to bring websites to life will empower you to optimize your web applications for faster speed and performance.
If you’re ready, let’s get started.
Introduction
How exactly do browsers render websites?
I’ll deconstruct the process shortly, but first, it’s important to recap some basics.
A web browser is a piece of software that loads files from a remote server (or perhaps a local disk) and displays them to you — allowing for user interaction.
I know you know what a browser is :)
However, within a browser there exists a piece of software called the browser engine.
Within different browsers, there’s a part of the browser that figures out what to display to you based on the files it receives. This is called the browser engine.
The browser engine is a core software component of every major browser, and different browser manufacturers call their engines by different names.
The browser engine for Firefox is called Gecko, and that of Chrome is called Blink, which happens to be a fork of Webkit. Don’t let the names confuse you. They are just names. Nothing serious.
For illustration purposes, please assume we’ve got a universal browser engine, this browser engine will be graphically represented as seen below.

You can have a look at a comparison of the various browser engines — if that interests you.
In this article, I use “browser” and ‘browser engine” interchangeably. Don’t let that confuse you. What’s important is that you know the browser engine is the key software responsible for what we’re discussing.

Sending & receiving information
This is not supposed to be a computer science networks class, but you may remember that data is sent over the internet as “packets” sized in bytes.

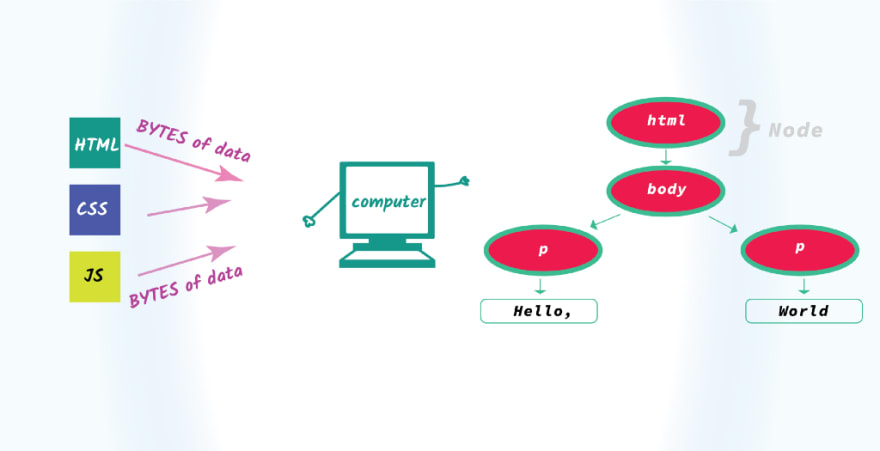
The point I’m trying to make is that when you write some HTML, CSS and JS, and attempt to open the HTML file in your browser, the browser reads the raw bytes of HTML from your hard disk (or network).
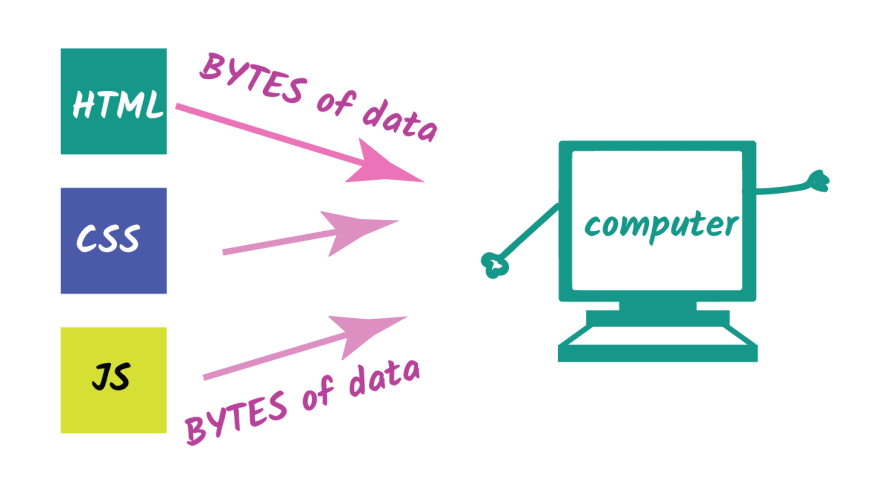
Got that? The browser reads the raw bytes of data, and not the actual characters of code you have written.
Let’s move on.
The browser receives the bytes of data but it can’t really do anything with it.
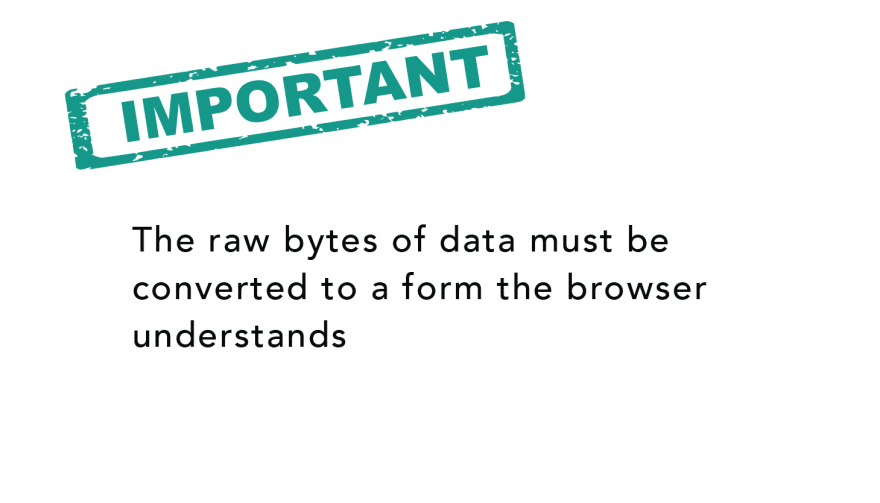
The raw bytes of data must be converted to a form it understands.
This is the first step.
From raw bytes of HTML to DOM
What the browser object needs to work with is a Document Object Model (DOM) object.
So, how is the DOM object derived?
Well, pretty simple.
Firstly, the raw bytes of data are converted into characters.

You may see this with the characters of code you have written. This conversion is done based on the character encoding of the html file.
At this point, the browser’s gone from raw bytes of data to the actual characters in the file.
Characters are great, but they aren’t the final result.
These characters are further parsed into something called tokens.

So, what are these tokens?
A bunch of characters in a text file does not do the browser engine a lot of good.
Without this tokenization process, the bunch of characters will just result in a bunch of meaningless text i.e html code — that doesn’t produce an actual website.
When you save a file with the .html extension, you signal to the browser engine to interpret the file as an html document. The way the browser “interprets” this file is by first parsing it.
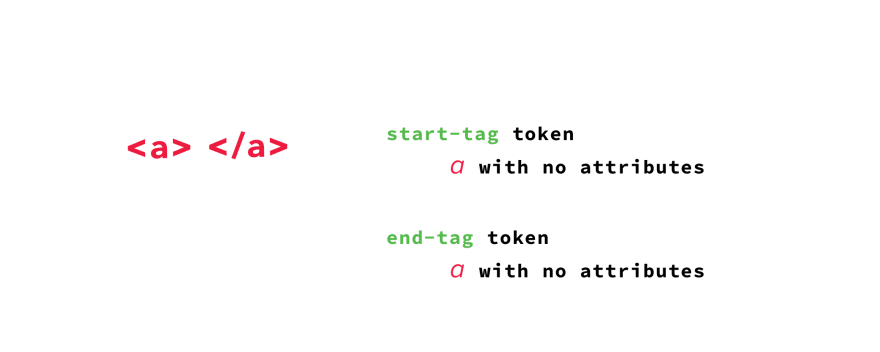
In the parsing process, and particularly during tokenization, every start and end html tags in the file are accounted for.
The parser understands each string in angle brackets e.g "", "
", and understands the set of rules that apply to each of them. For example, a token that represents an anchor tag will have different properties from one that represents a paragraph token.
Conceptually, you may see a token as some sort of data structure that contains information about a certain html tag. Essentially, an html file is broken down into small units of parsing called tokens. This is how the browser begins to understand what you’ve written.
Tokens are great, but they are also not our final result.
After the tokenization is done, the tokens are then converted into nodes.
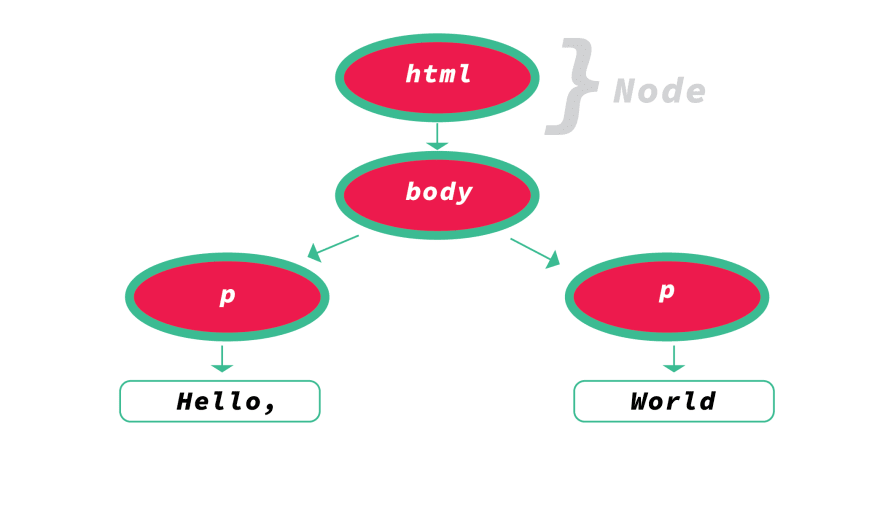
You may think of nodes as distinct objects with specific properties. In fact, a better way to explain this is to see a node as a separate entity within the document object tree.
Nodes are great, but they still aren’t the final results.
Now, here’s the final bit.
Upon creating these nodes, the nodes are then linked in a tree data structure known as the DOM.
The DOM establishes the parent-child relationships, adjacent sibling relationships etc.
The relationship between every node is established in this DOM object.
Now, this is something we can work with.
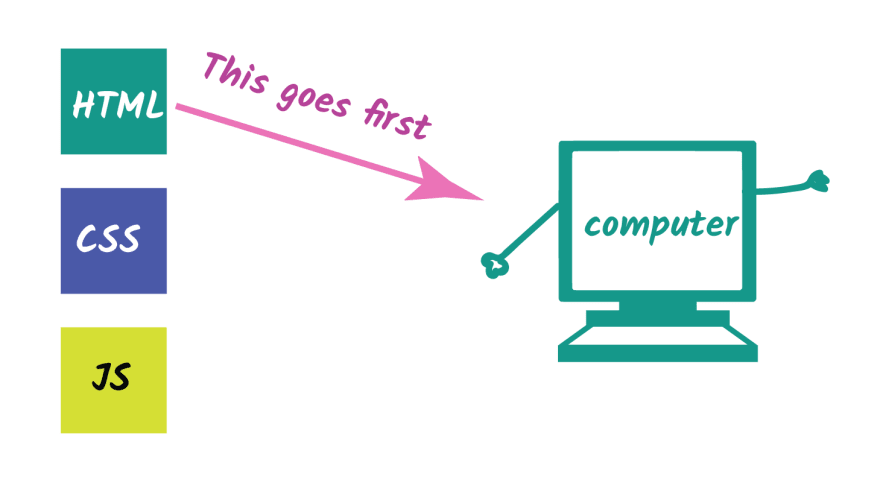
If you remember from web design 101, you don’t open the CSS or JS file in the browser to view a webpage. No. You open the HTML file, most times in the form index.html
This is exactly why you do so: the browser must go through transforming the raw bytes of html data into the DOM before anything can happen.
Depending on how large the html file is, the DOM construction process may take some time. No matter how small, it does take some time (no matter how minute) regardless of the file size.

But wait. What about CSS ?
The DOM has been created. Great.
A typical html file with some CSS will have the style sheet linked as shown below:
<!DOCTYPE html>
<html>
<head>
    <link rel="stylesheet" type="text/css" media="screen" href="main.css" />
</head>
<body>

</body>
</html>
While the browser receives the raw bytes of data and kicks off the DOM construction process, it will also make a request to fetch the main.css stylesheet linked.
As soon the browser begins to parse the html, upon finding a link tag to a css file, it simultaneously makes a request to fetch that.
As you may have guessed, the browser also receives the raw bytes of CSS data, whether from the internet or your local disk.
But what exactly is done with these raw bytes of CSS data?
From raw bytes of CSS to CSSOM
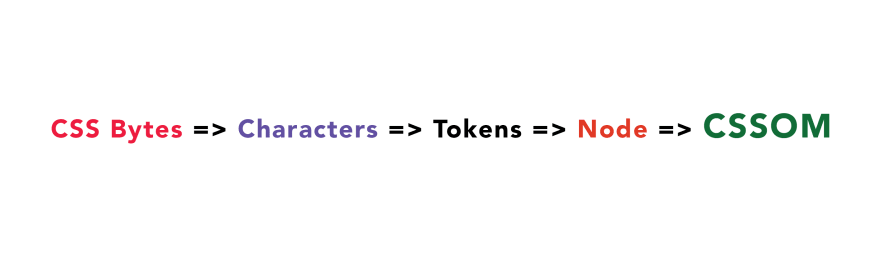
You see, a similar process with raw bytes of HTML is also initiated when the browser receives raw bytes of CSS.
By that I mean, the raw bytes of data are converted to characters, then tokenized , nodes are also formed, and finally, a tree structure is also formed.
What is a tree structure?
Well, most people know there’s something called the DOM. In the same way, there’s also a CSS tree structure called the CSS Object Model, CSSOM for short.
You see, the browser can’t work with either raw bytes of HTML or CSS. This has to be converted to a form it recognizes — and that happens to be these tree structures.
CSS has something called the Cascade. The Cascade is how the browser determines what styles are applied to an element.
Owing to the fact that styles affecting an element may come from a parent element i.e via inheritance, or have been set on the element themselves, the CSSOM tree structure becomes important.
Why?
This is because the browser has to recursively go through the CSS tree structure and determine the styles that affect a particular element.
All well and good.
The browser has the DOM and CSSOM objects. Can we have something rendered to the screen now?
The render tree
What we’ve got right now are two independent tree structures that don’t seem to have a common goal.
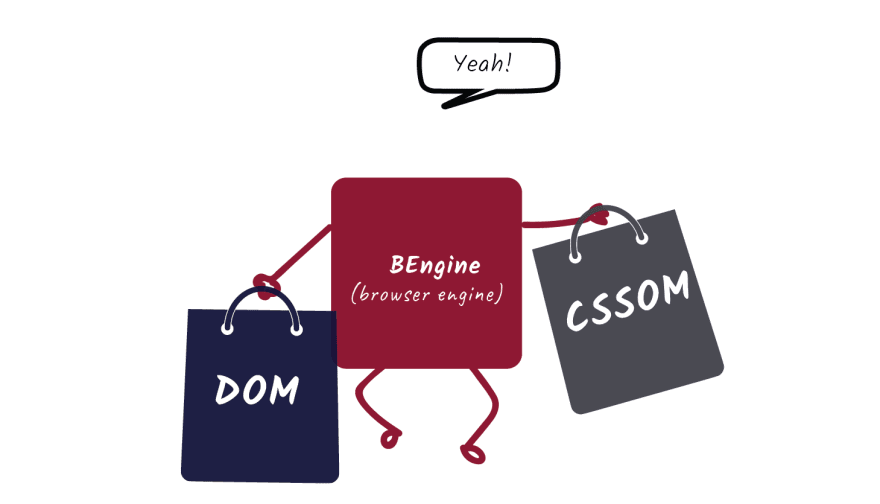
The DOM and CSSOM tree structures are two independent structures.
The DOM contains all the information about the page’s HTML element’s relationships, while the CSSOM contains information on how the elements are styled.
Okay, the browser now combines the DOM and CSSOM trees into something called a render tree.

The render tree contains information on all visible DOM content on the page, and all the required CSSOM information for the different nodes.
Note that if an element as been hidden by CSS e.g. by using display; none, the node will not be represented in the render tree.
The hidden element will be present in the DOM but not the render tree.
The reason being the render tree combines information from both the DOM and the CSSOM, so it knows not to include a hidden element in the tree.
With the render tree constructed, the browser moves on to the next step, layout!
Lay ’em Out.
With the render tree constructed, the next step is to perform the ‘layout’.
Right now we have the content and style information of all visible content on the screen — but we haven’t actually rendered anything to the screen.
Well, first, the browser has to calculate the exact size and position of each object on the page.
It’s like passing on the content and style information of all elements to be rendered on the page to a talented mathematician. This mathematician then figures out the exact position and size of each element with the browser viewport.

Amazing, right?
This layout step takes into consideration the content and style received from the DOM and CSSOM and does all the necessary layout computing.
You’ll sometimes hear this ‘layout’ stage also called ‘reflow’.
Let the artist out
With the information about the exact positions of each element now computed, all that is left is to ‘paint’ the elements to the screen.
Think about it. We’ve got every information required to actually display the elements on the screen. Let’s just get it shown to the user, right?
Yes! That’s exactly what this stage is all about.
With the information on the content (DOM), style (CSSOM), and exact layout of the elements computed, the browser now “paints” the individual node to the screen.
Finally, the elements are now rendered to the screen!
Render-blocking resources
When you hear ‘render-blocking’ what comes to mind?
Well, my guess is, ‘something that prevents the actual painting of nodes on the screen’.
If you said that, you’re absolutely right!
The first rule for optimizing your website is to get the most important HTML and CSS delivered to the client as fast as possible.
The DOM and CSSOM must be constructed before a successful paint, so both HTML and CSS are render blocking resources.
The point is, you should get your html and css to the client as soon as possible to optimize the time to the first render of your applications.
But wait. What about JavaScript?
A decent web application will definitely use some JavaScript. That’s a given.
The “problem” with JavaScript is that you can modify the content and styling of a page using JavaScript. Remember?
By implication, you can remove and add elements from the DOM tree, and you may modify the CSSOM properties of an element via JavaScript as well.
This is great!
However, it does come at a cost.
Consider the following HTML document:
<!DOCTYPE html>
<html>

<head>
    <meta name="viewport" content="width=device-width,initial-scale=1">
    <title>Medium Article Demo</title>
    <link rel="stylesheet" href="style.css">
</head>

<body>
    <p id="header">How Browser Rendering Works</p>
    <div><img src="https://i.imgur.com/jDq3k3r.jpg"></div>
</body>

</html>
It’s a pretty simple document.
The style.css stylesheet has a single declaration as shown below:
body {
  background: #8cacea;
}
And the result of this is:

A simple text and image are rendered on the screen.
From previous explanations, the browser reads raw bytes of the html file from the disk (or network) and transforms that into characters. The characters are further parsed into tokens.
As soon as the parser reaches the line with , a request is made to fetch the CSS file, style.css
The DOM construction continues, and as soon as the CSS file returns with some content, the CSSOM construction begins.
What happens to this flow once we introduce Javascript?
Well, one of the most important things to remember is that whenever the browser encounters a script tag, the DOM construction is paused!
The entire DOM construction process is halted until the script finishes executing.
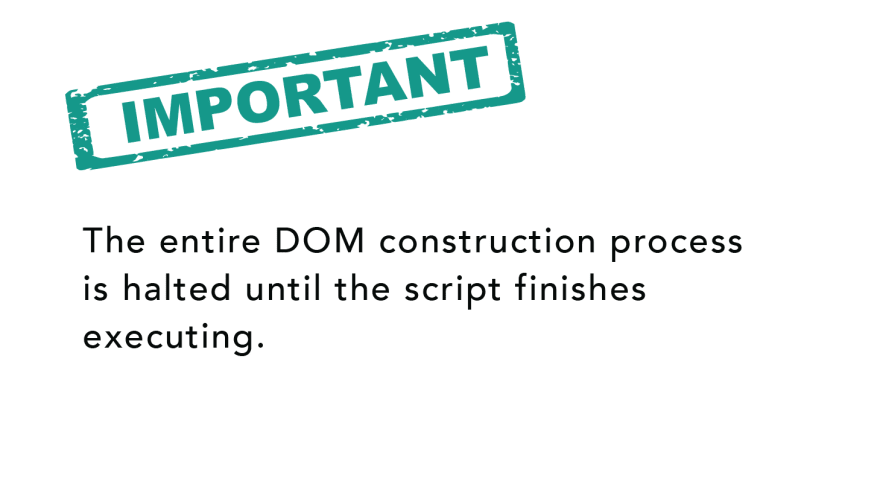
This is because JavaScript can alter both the DOM and CSSOM. Since the browser isn’t sure what this particular Javascript will do, it takes precaution by halting the entire DOM construction all together.
How bad can this be?
Let’s have a look.
In the basic html document I shared earlier, let’s introduce a script tag with some basic JavaScript:
<!DOCTYPE html>
<html>

<head>
    <meta name="viewport" content="width=device-width,initial-scale=1">
    <title>Medium Article Demo</title>
    <link rel="stylesheet" href="style.css">
</head>

<body>

    <p id="header">How Browser Rendering Works</p>
    <div><img src="https://i.imgur.com/jDq3k3r.jpg"></div>

    <script>
        let header = document.getElementById("header");

        console.log("header is: ", header);
    </script>
</body>

</html>
Within the script tag I’m accessing the DOM for a node with id, header and then logging it to the console.
This works fine, as seen below:
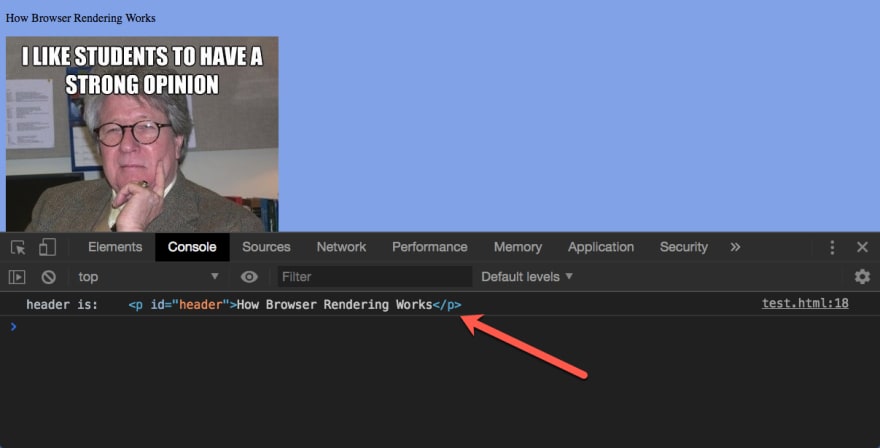
However, do you notice that this script tag is placed at the bottom of the body tag?
Let’s place it in the head and see what happens:
<!DOCTYPE html>
<html>

<head>
    <meta name="viewport" content="width=device-width,initial-scale=1">
    <title>Medium Article Demo</title>
    <link rel="stylesheet" href="style.css">
    <script>
        let header = document.getElementById("header");

        console.log("header is: ", header);
    </script>
</head>

<body>

    <p id="header">How Browser Rendering Works</p>
    <div><img src="https://i.imgur.com/jDq3k3r.jpg"></div>
</body>

</html>
Once I do this, the header variable is resolved to null.

Why?
Pretty simple.
While the HTML parser was in the process of constructing the DOM, a script tag was found. At this time the body tag and all its content had NOT been parsed.
The DOM construction is halted until the script’s execution is complete:
By the time the script attempted to access a DOM node with an id of header, it didn’t exist because the DOM had not finish parsing the document!
This brings us to another important point.
The location of your script matters.

And that is not all.
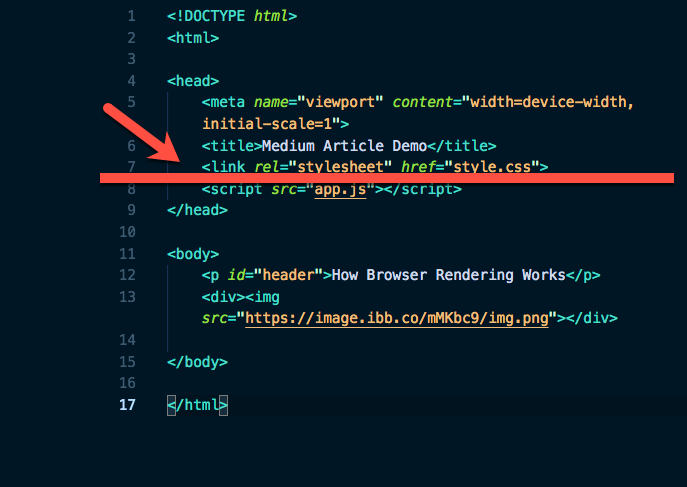
If you extract the inline script to an external local file app.js, the behavior is just the same. The DOM construction is still halted:
<!DOCTYPE html>
<html>

<head>
    <meta name="viewport" content="width=device-width,initial-scale=1">
    <title>Medium Article Demo</title>
    <link rel="stylesheet" href="style.css">
    <script src="app.js"></script>
</head>

<body>

    <p id="header">How Browser Rendering Works</p>
    <div><img src="https://i.imgur.com/jDq3k3r.jpg"></div>
</body>

</html>
That’s not all.
What if this app.js wasn’t local but had to be fetched over the internet?
<!DOCTYPE html>
<html>

<head>
    <meta name="viewport" content="width=device-width,initial-scale=1">
    <title>Medium Article Demo</title>
    <link rel="stylesheet" href="style.css">
    <script src="https://some-link-to-app.js"></script>
</head>

<body>

    <p id="header">How Browser Rendering Works</p>
    <div><img src="https://i.imgur.com/jDq3k3r.jpg"></div>
</body>

</html>
If the network is slow and it takes thousands of milliseconds to fetch app.js, the DOM construction will be halted for the thousands of milliseconds as well!!!
That’s a big performance concern, and that’s not all.
Remember that JavaScript can also access the CSSOM and make changes to it. For example, this is valid JavaScript:
document.getElementsByTagName("body")[0].style.backgroundColor = "red";
So, what happens when the parser encounters a script tag but the CSSOM isn’t ready yet?
Well, the answer turns out to be simple.
The Javascript execution will be halted until the CSSOM is ready.

So, even though the DOM construction stops until an encountered script tag is encountered, that’s not what happens with the CSSOM.
With the CSSOM, the JS execution waits. No CSSOM, no JS execution.
The async attribute
By default, every script is a parser blocker! The DOM construction will always be halted.
There’s a way to change this default behavior though.
If you add the async keyword to the script tag, the DOM construction will not be halted. The DOM construction will be continued, and the script will be executed when the DOM is ready.
Here’s an example:
<!DOCTYPE html>
<html>

<head>
    <meta name="viewport" content="width=device-width,initial-scale=1">
    <title>Medium Article Demo</title>
    <link rel="stylesheet" href="style.css">
    <script src="https://some-link-to-app.js" async></script>
</head>

<body>

    <p id="header">How Browser Rendering Works</p>
    <div><img src="https://i.imgur.com/jDq3k3r.jpg"></div>
</body>

</html>
The critical rendering path
All this while we have discussed the steps taken between receiving the HTML, CSS and JS bytes and turning them into rendered pixels on the screen.
This entire process is called the critical rendering path.
Optimizing your websites for performance is all about optimizing the critical rendering path.
A well-optimized site should undergo progressive rendering and not have the entire process blocked.

This is the difference a web app perceived as slow or fast.
A well thought out critical rendering path (CRP) optimization strategy enables the browser to load a page as quickly as possible by prioritizing which resources get loaded and in the order in which they are loaded.
Conclusion
Having understood the basics of how the browser renders your HTML, CSS, and JS, I implore you to take time to explore how you may take advantage of this knowledge in optimizing your pages for speed.
A good place to start is the performance section of the Google Web fundamentals documentation.
Plug: LogRocket, a DVR for web apps

LogRocket is a frontend logging tool that lets you replay problems as if they happened in your own browser. Instead of guessing why errors happen, or asking users for screenshots and log dumps, LogRocket lets you replay the session to quickly understand what went wrong. It works perfectly with any app, regardless of framework, and has plugins to log additional context from Redux, Vuex, and @ngrx/store.
In addition to logging Redux actions and state, LogRocket records console logs, JavaScript errors, stacktraces, network requests/responses with headers + bodies, browser metadata, and custom logs. It also instruments the DOM to record the HTML and CSS on the page, recreating pixel-perfect videos of even the most complex single page apps.
Try it for free.

Top comments (0)