Building and deploying mobile applications can be challenging. I like developing mobile applications for iOS and Android. My framework of choice to do this is Ionic. Now Capacitor became the preferred way to access your native SDK’s in your hybrid app, building apps with App Center became a lot easier.
If you’re building a hybrid application with Ionic, you probably are using Capacitor as your native bridge to get access to API’s like your camera, push notifications and others. If you’re not using it yet then you should definitely give it a try.
Capacitor is a spiritual successor to Apache Cordova and Adobe PhoneGap, with inspiration from other popular cross-platform tools like React Native and Turbolinks, but focused entirely on enabling modern web apps to run on all major platforms with ease. Capacitor has backwards-compatible support for many existing Cordova plugins.
Check out the Capacitor docs for a brief introduction and how to add capacitor to your application.
App Center
Visual Studio App Center is a Microsoft product for continuously build, test, release and monitor your apps. In this article we’re only going to focus on the building part of App Center.App Center supports a variety of operating systems: iOS, Android, Windows, MacOS and even tvOS. The platforms, besides the native ones, that are available are: React Native, Cordova (preview), Xamarin and Unity. Enough to cover your needs, I guess!
Before the introduction of Capacitor, it was not possible to build your Ionic + Cordova app with App Center. There is a Cordova (preview) feature but unfortunately it does not support building. Capacitor has a different philosophy than Cordova. With Capacitor you have full access to your iOS and Android projects and these will also be part of your git repository. Cordova generates these projects on every build, so you can not make changes without making use of the Cordova config.xml file.
Ionic AppFlow
Of course there are alternatives to build you mobile application. If you’re primarily building Ionic applications then Ionic AppFlow will maybe be the better choice for you. They also have got ‘Publishing to Store’ functionality since a couple of months! So no need to manually download your artifacts from AppFlow and upload them to the stores anymore.But if you’re working in a company that also builds Xamarin and React Native apps and is also using Microsoft Azure, then App Center makes more sense.
Create a test app
Skip this section if you already have an Ionic+Capacitor app
So let’s start with creating a Ionic + Capacitor app so we can use that as our app that we’re going to use in App Center.
You can also fork this demo application from GitHub.
First install the Ionic CLI
npm install -g @ionic/cli
Create an Angular application with Capacitor integration. At this point we just have a normal Angular web application, nothing special so far.
ionic start myApp tabs --capacitor --type=angular
cd myApp
Start the application to verify everything went well
ionic serve
Okay, you should now see a tabbed application with some dummy data in it.
Let’s add the native platforms to it. In order to do this, we should have at least build our application once, so run:
ionic build
Add the native platforms after that:
npx cap add ios
npx cap add android
Push your changes to a (private) repository and you are good to go!
Configuring App Center
We’re now going to create an app in App Center and connect it to our repository.
Go to App Center to create a new application: https://appcenter.ms/apps
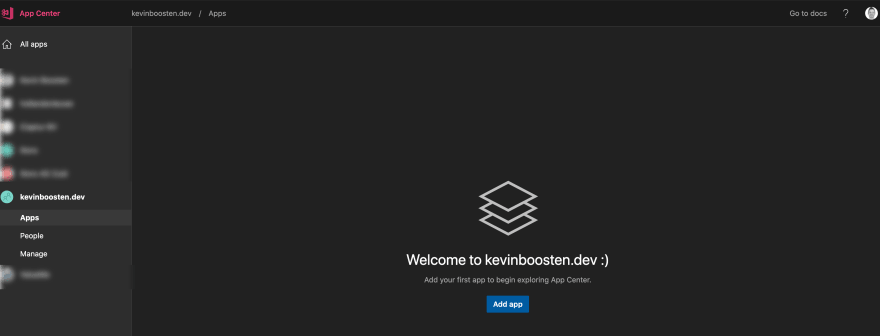
Enter a name for your application, select iOS en choose a release type. The release type is just a label and it does not have any affect on your build.

Select Build from the side-menu and connect your git repo.
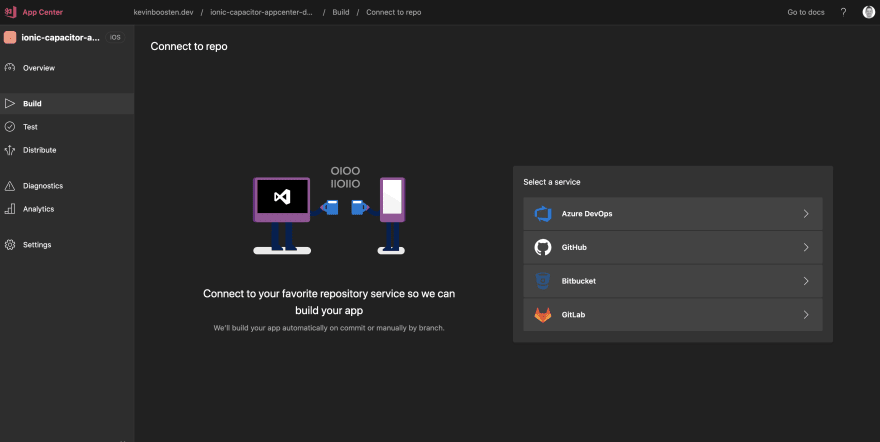

Now click on the branch that you would like to configure for building (or click on the wrench icon). And click on Configure build


It’s possible that you see the error You must add a shared scheme.
Follow the instructions in the link to set your workspace scheme to
“Shared”. Also add the necessary Provisioning Profile and Certificate to build a valid .ipa file.
In case you forked the demo repo, you need to change the Team ID and
App ID in Xcode manually and push these changes to your fork. Also
provide a provisioning profile and certificate that matches your app.
You don’t need to have paid developer account to create a valid
provisioning profile, just export the certificate and profile from
your machine that you use in Xcode._Still having trouble? Maybe this
can help you: iOS signing issues explained
You can also change other settings like building on each push and auto incrementing your build number.
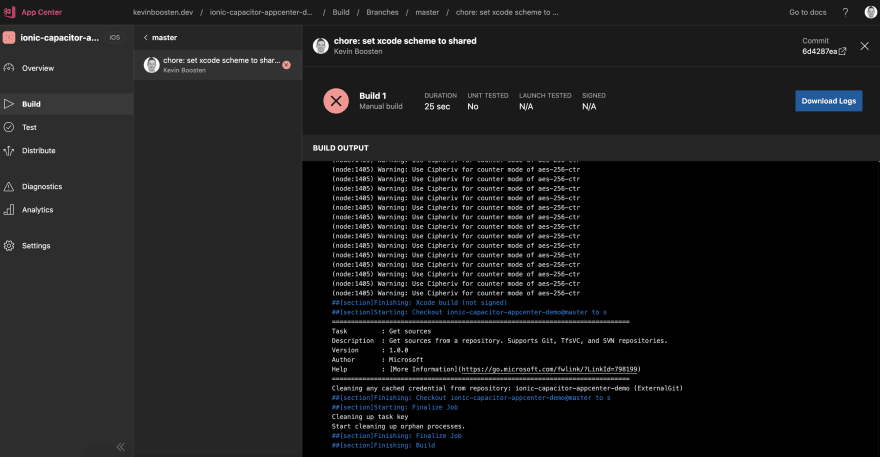
Now click on Save & Build to see what happens!

❌ Aiiii, that escalated quickly! What happened? Remember we are trying to build a hybrid application? So what did we do to actually build the web part of the app?
And here comes the ‘trick’💡! App Center supports several build scripts that run at pre-defined stages: post-clone, pre-build and post-build. That’s exactly what we need to build our hybrid application with App Center. We’re going to use the post-clone script in order to perform some steps that are required to build our app. Let’s add a file appcenter-post-clone.sh to the iOS (ios/App/appcenter-post-clone.sh) and Android (android/app/appcenter-post-clone.sh) projects.
#!/usr/bin/env bash

# fail if any command fails
set -e
# debug log
set -x

# Required nodeJS version
NODE_VERSION=10.17.0

# workaround to override the v8 alias
npm config delete prefix
. ~/.bashrc
nvm install "$NODE_VERSION"
nvm alias node10 "$NODE_VERSION"

# go to root of project
cd ../..

# install dependencies
npm i

# run optimized production build
npm run build -- --prod

# copy the web assets to the native projects and updates the native plugins and dependencies based in package.json
npx cap sync
The first couple of lines are just to override the default NodeJS version that App Center is using. After that, we’re installing our npm dependencies, running an production build and finally invoking a Capacitor specific command to sync our web part of the application to the native projects.
Go back to the configuration and be sure to click on “Save & Build” button to let App Center know that new build specific files need to be indexed.
Your build should now succeed after waiting for a couple of minutes 🎉.

Conclusion
So, long story short: add the appcenter-post-clone.sh script to both native projects in your Ionic + Capacitor project, and you will be able to use App Center as your CI/CD platform.
You obviously can extend this script with all the things you need. For example: you could change the dev/prod mode based on an environment variable that you can set in your App Center build configuration. Definitely take a look at the Microsoft sample-build-scripts repo.
Next steps?
- Extend your build configuration to your needs
- Distribute builds to distribution groups
- Publish your application to the public stores
In my next blog I will describe how to properly distribute your app for testing purposes and how to add new test devices to your apps provisioning profile for your iOS distribution.
Stay tuned and happy building 🏗👷🏻♂️👷🏻♀️!

Top comments (1)
Hi Kevin. Thanks for tutorial.
From what i have tried, appcenter clones only the android project inside root folder and i am not able to see the parent ionic project folders. so i am not able to do ionic build commands. Any help would be appreciated.