Introduction
MindsDB is an open-source machine learning framework that empowers individuals and businesses to create predictive models with ease.
It simplifies the process of building, training, and deploying machine learning models, making them accessible to a broader audience, even those without extensive data science expertise.
It utilizes automated machine learning (AutoML) techniques, enabling users to generate accurate predictions and gain valuable insights from their data.
In this tutorial, we'll walk through the steps to deploy a PostgreSQL database powered by MindsDB on the Vercel platform.
Create a new Vercel Postgres Instance.
Vercel is a popular cloud platform that helps simplify the deployment and hosting of web applications.
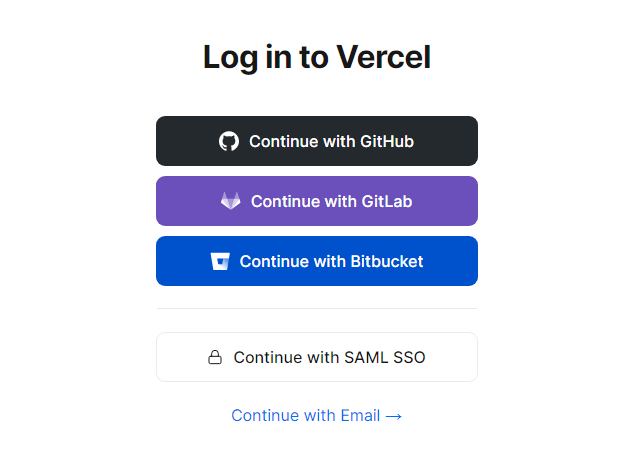
Step 1: Log in to your Vercel account or sign up for one here. Vercel provides a free tier hobby plan that allows you to deploy and host up to 50 projects.
It is a good way to get up to speed with Vercel and experiment with its features before upgrading to a paid plan.
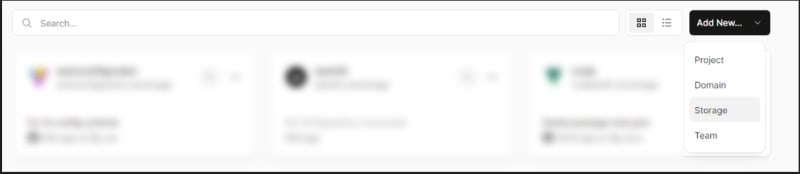
Step 2: Once you are signed in, navigate to your dashboard, and create or select the project you want to work with, select the Storage tab, then select the Create Database button

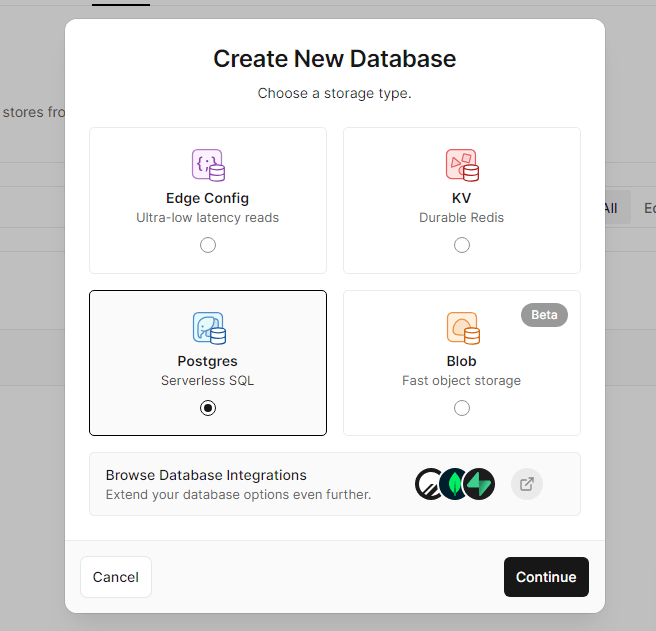
Step 3: You will be prompted to select a database type. We'd go for Postgres
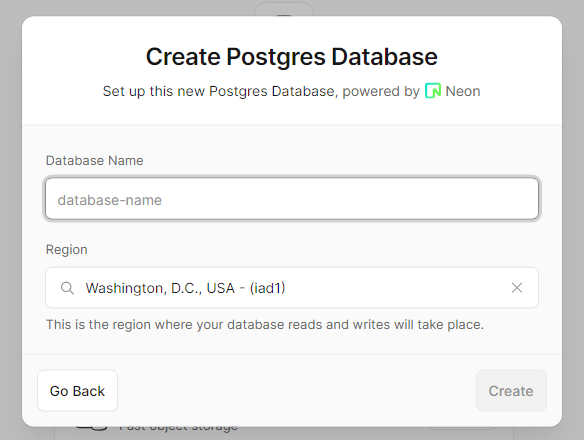
Step 4: You will be asked to input a database name. It can only contain alphanumeric letters (including "_" and "-") and can't exceed 32 characters. We'll opt for mindsdb_postgres
Vercel recommends choosing the same region as your Serverless and Edge Functions for lower latency and faster responses. After creating a database, you *cannot * change its region.
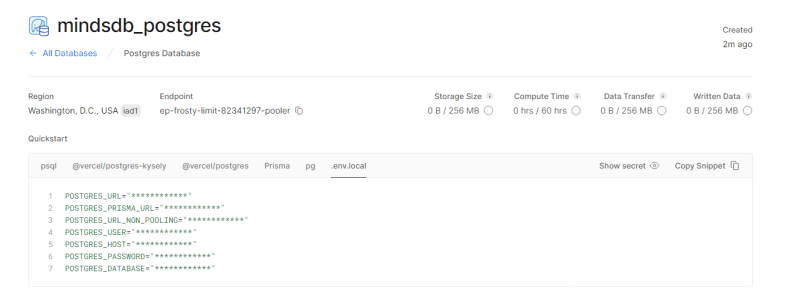
Step 5:
You will be directed to a new page displaying an overview of your Database instance. Navigate to the .env.local tab to view your environment variables, as we would require them to establish a connection between MindsDB and the Vercel Postgres Instance.
Connecting to MindsDB framework
Now that our instance is prepared, we will proceed by installing and running MindsDB within it, enabling us to access its graphical user interface (GUI). To continue, please ensure you follow the instructions provided below.
Step 1:
Install Docker.
If you haven’t done that already, install Docker on your machine following the instructions enumerated here.
To make sure Docker is successfully installed on your machine, run a test container as follows:
docker run hello-world
Step 2
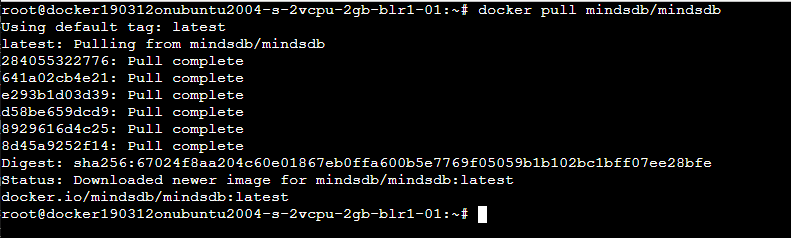
To install the latest version of MindsDB please pull the following Docker image:
docker pull mindsdb/mindsdb
The above command should pull the latest Mindsdb production image. You should see an output that resembles this:
Step 3:
Spin up the MindsDB GUI editor
docker run -p 47334:47334 -p 47335:47335 mindsdb/mindsdb
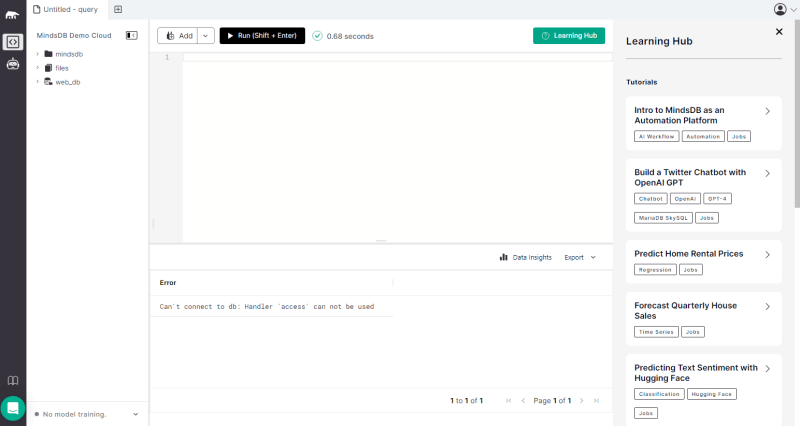
Step 4:
Navigate to localhost:47334 on your favorite browser, you should now see the MindsDB self-hosted GUI instance
Step 5:
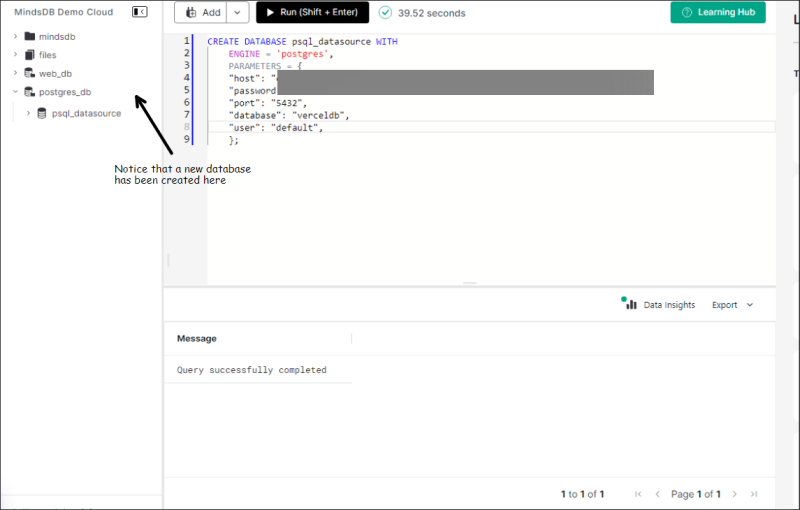
Paste the following SQL query into the editor, substituting the values with the variables you got from your .env.local file in the Vercel Postgres instance
CREATE DATABASE [database name] WITH
    ENGINE = 'postgres',
    PARAMETERS = {
    "host": "<vercel db host string>",
    "port": " <vercel db connection port>",
    "database": "<verceldb name>",
    "user": "<verceldb user>",
    "password": "<verceldb password>"
    };
This would connect the Vercel Postgres instance to MindsDB Postgres db
Bonus
*Step 5:
Seed the Database
Next, we need to seed the database with some data to perform some MindsDB magic on it.
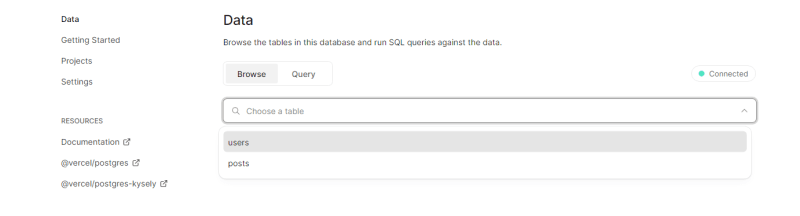
Navigate to the Data tab on your Vercel storage instance_(The MindsDB editor currently does not support running PostgreSQL-specific queries)_

Run the following command :
CREATE TABLE users (
  id INT NOT NULL AUTO_INCREMENT,
  name VARCHAR(255) NOT NULL,
  email VARCHAR(255) NOT NULL,
  role text DEFAULT NULL,
  PRIMARY KEY (id)
);

CREATE TABLE posts (
  id INT NOT NULL AUTO_INCREMENT,
  title VARCHAR(255) NOT NULL,
  content TEXT NOT NULL,
  author_id INT NOT NULL REFERENCES users(id),
  PRIMARY KEY (id)
);

-- Insert data into the users table
INSERT INTO users (email, role, name) VALUES
  ( 'john.doe@example.com', 'user', 'John'),
  ('jane.doe@example.com', 'user', 'Jane'),
  ('john@gmail.com', 'user', 'John'),
  ('chris@gmail.com', 'user', 'Chris'),
  ('conor@gmail.com', 'admin', 'Conor'),
  ('stefan@gmail.com', 'admin', 'Stefan'),
  ('andrew@gmail.com', 'user', 'Andrew');

-- Insert data into the posts table
INSERT INTO posts (title, content, author_id) VALUES
  ('My First Post', 'This is my first post.', 1),
  ('My Second Post', 'This is my second post.', 2);
The query above creates two tables, users and posts, in a PostgreSQL database. The users table stores information about users, such as their name, email address, and role. The posts table stores information about posts, such as their title, content, and author ID.
The query also inserts data into the two tables. The users table is populated with seven rows, representing seven different users. The posts table is populated with two rows, representing two different posts.
Step 6
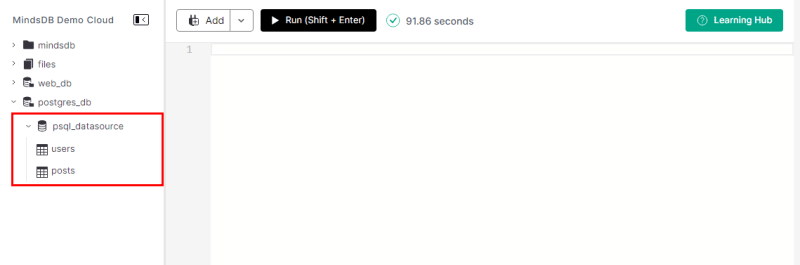
Two new tables users and posts would now be created on both your MindsDB and Vercel PostgresDB instances
Step 7:
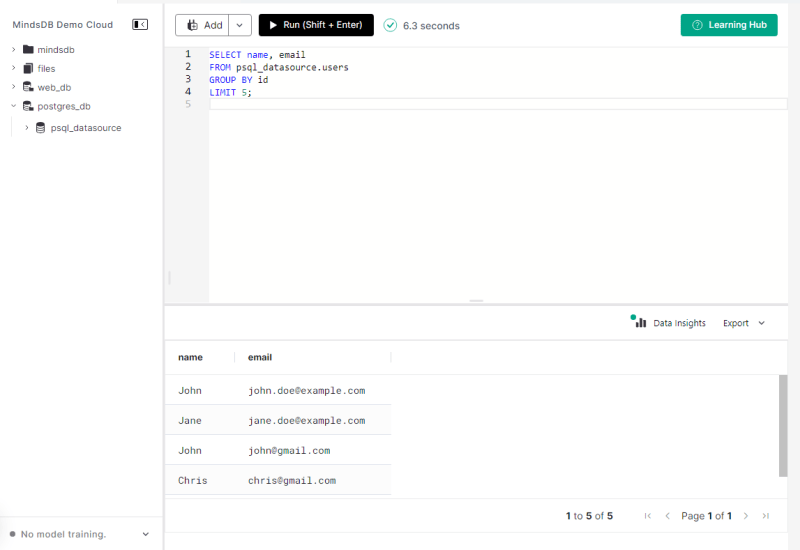
Let's confirm the data in the tables in the database. Run:
SELECT name, email
FROM psql_datasource.users
GROUP BY id
LIMIT 5;
Conclusion
In summary, this tutorial has provided a comprehensive guide for establishing a connection between a PostgreSQL database hosted on Vercel and MindsDB. By meticulously following the steps outlined in this tutorial, you've successfully bridged these two critical components in a technical environment. This integration offers a potent solution for data analysis and predictive modeling. With the connectivity in place, you now can efficiently process data and leverage the power of machine learning through MindsDB, enhancing your analytical and decision-making capabilities.

Top comments (0)