Using a Raspberry Pi as a 1080p IP camera is a cost-effective and versatile solution for home security, monitoring, or streaming. By connecting a compatible camera module or USB webcam to the Raspberry Pi, you can stream live video over a network. Below is a step-by-step guide to set up your Raspberry Pi as a 1080p IP camera:
1. Required Components
Raspberry Pi (any model with Wi-Fi, such as Raspberry Pi 3/4 or Zero W).
Camera Module:
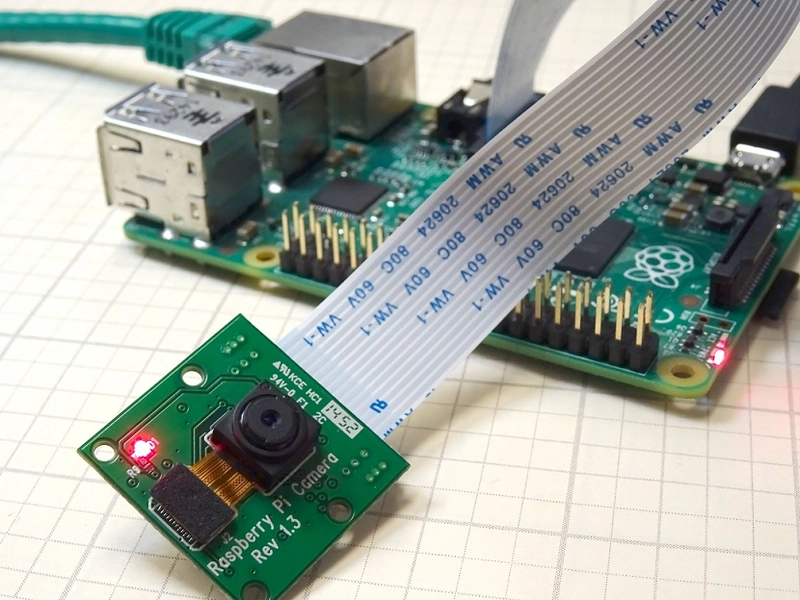
- Raspberry Pi Camera Module v2 (supports 1080p).
- Or a USB webcam with 1080p support.
Power Supply: Adequate power supply for the Raspberry Pi.
MicroSD Card: At least 8GB, with Raspbian OS installed.
Network Connection: Wi-Fi or Ethernet for streaming.
Optional:
- Case for the Raspberry Pi.
- Tripod or mount for the camera.
2. Install Raspbian OS
- Download Raspbian:
Download the latest Raspbian OS from the official Raspberry Pi website.
- Flash the OS:
Use a tool like Raspberry Pi Imager or Balena Etcher to flash the OS onto the MicroSD card.
- Enable SSH and Wi-Fi (optional):
- Create an empty file named ssh in the boot partition to enable SSH.
- Add a wpa_supplicant.conf file to configure Wi-Fi (for headless setup).
3. Connect the Camera
Raspberry Pi Camera Module
- Enable the Camera:
Connect the camera module to the CSI port on the Raspberry Pi.
Enable the camera interface:
- Run sudo raspi-config.
- Navigate to Interfacing Options → Camera → Enable.
- Test the Camera:
Use the raspistill command to test the camera:
bash

raspistill -o test.jpg
Check if the image is captured successfully.
USB Webcam
- Connect the Webcam:
Plug the USB webcam into one of the USB ports on the Raspberry Pi.
- Test the Webcam:
Install fswebcam to test the webcam:
bash

sudo apt update
sudo apt install fswebcam
fswebcam test.jpg
Verify that the image is captured.
4. Install Streaming Software
To stream 1080p video, you can use Motion or MJPG-Streamer.
Option 1: Using Motion
- Install Motion:
bash

sudo apt update
sudo apt install motion
- Configure Motion:
Edit the Motion configuration file:
bash

sudo nano /etc/motion/motion.conf
Update the following settings:
stream_localhost off
stream_maxrate 30
stream_quality 100
width 1920
height 1080
Save and exit (Ctrl+O, Ctrl+X).
- Start Motion:
Start the Motion service:
bash

sudo systemctl start motion
sudo systemctl enable motion
- Access the Stream:
Open a browser and navigate to http://:8081.
Option 2: Using MJPG-Streamer
- Install Dependencies:
bash

sudo apt update
sudo apt install cmake libjpeg-dev
- Download and Build MJPG-Streamer:
bash

git clone https://github.com/jacksonliam/mjpg-streamer.git
cd mjpg-streamer/mjpg-streamer-experimental
make
sudo make install
- Run MJPG-Streamer:
For the Raspberry Pi Camera:
bash

./mjpg_streamer -i "input_raspicam.so -fps 30 -x 1920 -y 1080" -o "output_http.so -p 8080"
For a USB Webcam:
bash

./mjpg_streamer -i "input_uvc.so -d /dev/video0 -r 1920x1080 -f 30" -o "output_http.so -p 8080"
- Access the Stream:
Open a browser and navigate to http://:8080.
5. Optimize for 1080p Streaming
- Frame Rate: Set the frame rate to 30 FPS for smooth video.
- Bitrate: Adjust the bitrate to balance quality and bandwidth usage.
- Network: Use a wired Ethernet connection for stable streaming.
6. Access the IP Camera Remotely
To access the camera from outside your local network:
- Port Forwarding:
Configure your router to forward the streaming port (e.g., 8080 or 8081) to the Raspberry Pi's IP address.
- Dynamic DNS:
Use a dynamic DNS service (e.g., No-IP) to assign a domain name to your public IP address.
- Secure Access:
Use a VPN or enable authentication in the streaming software to secure access.
7. Optional Enhancements
Motion Detection:
Use Motion's built-in motion detection feature to trigger recordings or alerts.
Cloud Storage:
Upload recordings to cloud storage (e.g., Google Drive, Dropbox) using scripts.
Night Vision:
Use an IR camera module and IR LEDs for night vision capabilities.
Summary
By following these steps, you can turn your Raspberry Pi into a 1080p IP camera for streaming or monitoring. Whether you use the Raspberry Pi Camera Module or a USB webcam, the setup is straightforward and highly customizable.

Top comments (0)