This post is part of the Create an Orchard core site and deploy using Azure DevOps series.
So here is how you add your new project to Azure DevOps which was called Visual Studio Team Services (VSTS).
In visual studio in the bottom right corner click the Add to Source Control link and then select Git.

The team explorer side panel will open with the git service options.

We are adding the project to Azure DevOps so you will need an account:
visualstudio.microsoft.com/team-services/Click Push Git Repo under Team Services.
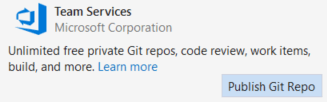
Enter your account details and repository name and click Publish Repository.

This will push all your code to a new Azure DevOps repo.
Done!
You can get to your Azure DevOps repo from visual studio by going to the Team Explorer tab:

Click the link under the Azure DevOps section:

From here you can see all the code you have pushed to the repo.

There is loads more that Azure DevOps does and we will come back later to setup a build pipeline.
But first lets Setup Orchard Core in Visual Studio using Nuget
Originally published on my personal blog: Create an ASP.net Core Website in Visual Studio 2017

Top comments (0)