Well this has been some adventure. Looking back here at the end of my coding journey I realized just how far I have come. If anyone out there is looking for a bootcamp flatiron is the place to come.
So for my FINAL project I decided to create a React/Rails Api skill and goal tracker application. I find react to be an easier way to write JavaScript and really have no qualms as to how I implemented it besides deployment. However I still ran into a few items I needed to learn to finish my App.
To start this project I ran two commands to setup my application. First was:
'rails new app_name --api --d=postgresql'
this command created a rails api with a postgresql database. I then connected this to heroku to simplify deployment down the road. Then for my front end I ran:
'npx create-react-app app_name'
Which created a barebones react application, that already implemented an index and App component.
From here I created my redux store, reducer, and actions; and then connected the store to thunk so that I could fetch data from my back end. The rest of the application was fairly straight forward besides the Routes. When trying to implement the React Routes I ran into a learning experience. I had all of my routes in working order but the connection between them was non-exisitant. So I did some digging and found redirect and navlink.
So to access navlink and redirect I had to import them along with router/routes. At this point I tried to add them in various places throughout my application, but sadly this did not work. After some research I found that navlink and redirect have to be used inside of router. With this in mind I created a few functions that rendered navlinks depending on the route:
 addLinks = (navLinks) => {
    this.setState({
      ...this.state,
      links: navLinks
    })
    return console.log('New Links')
  }
 renderNavBar = () => {
    return(
        <div>
            <NavBar links = {this.state.links}/>
        </div>
    )
  }
The first of these two functions was passed as a prop to each component and then returned with the links for that route to be set in App.js. Then the navbar would re render in the second function based on the state change. This allowed me to have a self updating navbar component like so:
const NavBar = (props) =>{
    function capitalize(word){
        return word.charAt(0).toUpperCase() + word.slice(1);
    };
    const linkStyle = {
        width: '100px',
        padding: '12px',
        margin: '0 6px 6px',
        background: 'blue',
        textDecoration: 'none',
        color: 'white',
        border: 'solid blue',
        borderRadius: '10px'
    };

    return(
        <div>
            {props.links.map(link => <NavLink to={`${link}`} exact style={linkStyle}>{capitalize(link)}</NavLink>)}
        </div>
    )
}
As for the redirect I only really used it to check if the user was logged in:
 redirectToProfile = () => {
    if (this.state.loggedIn === true)
      return(
        <Redirect to='/home' />
      )
    else
        return(
          <Redirect to='/login' />
      )
  }
I called this function in the router after renderNavBar to either either take the user to their login or home page depending on log in status.
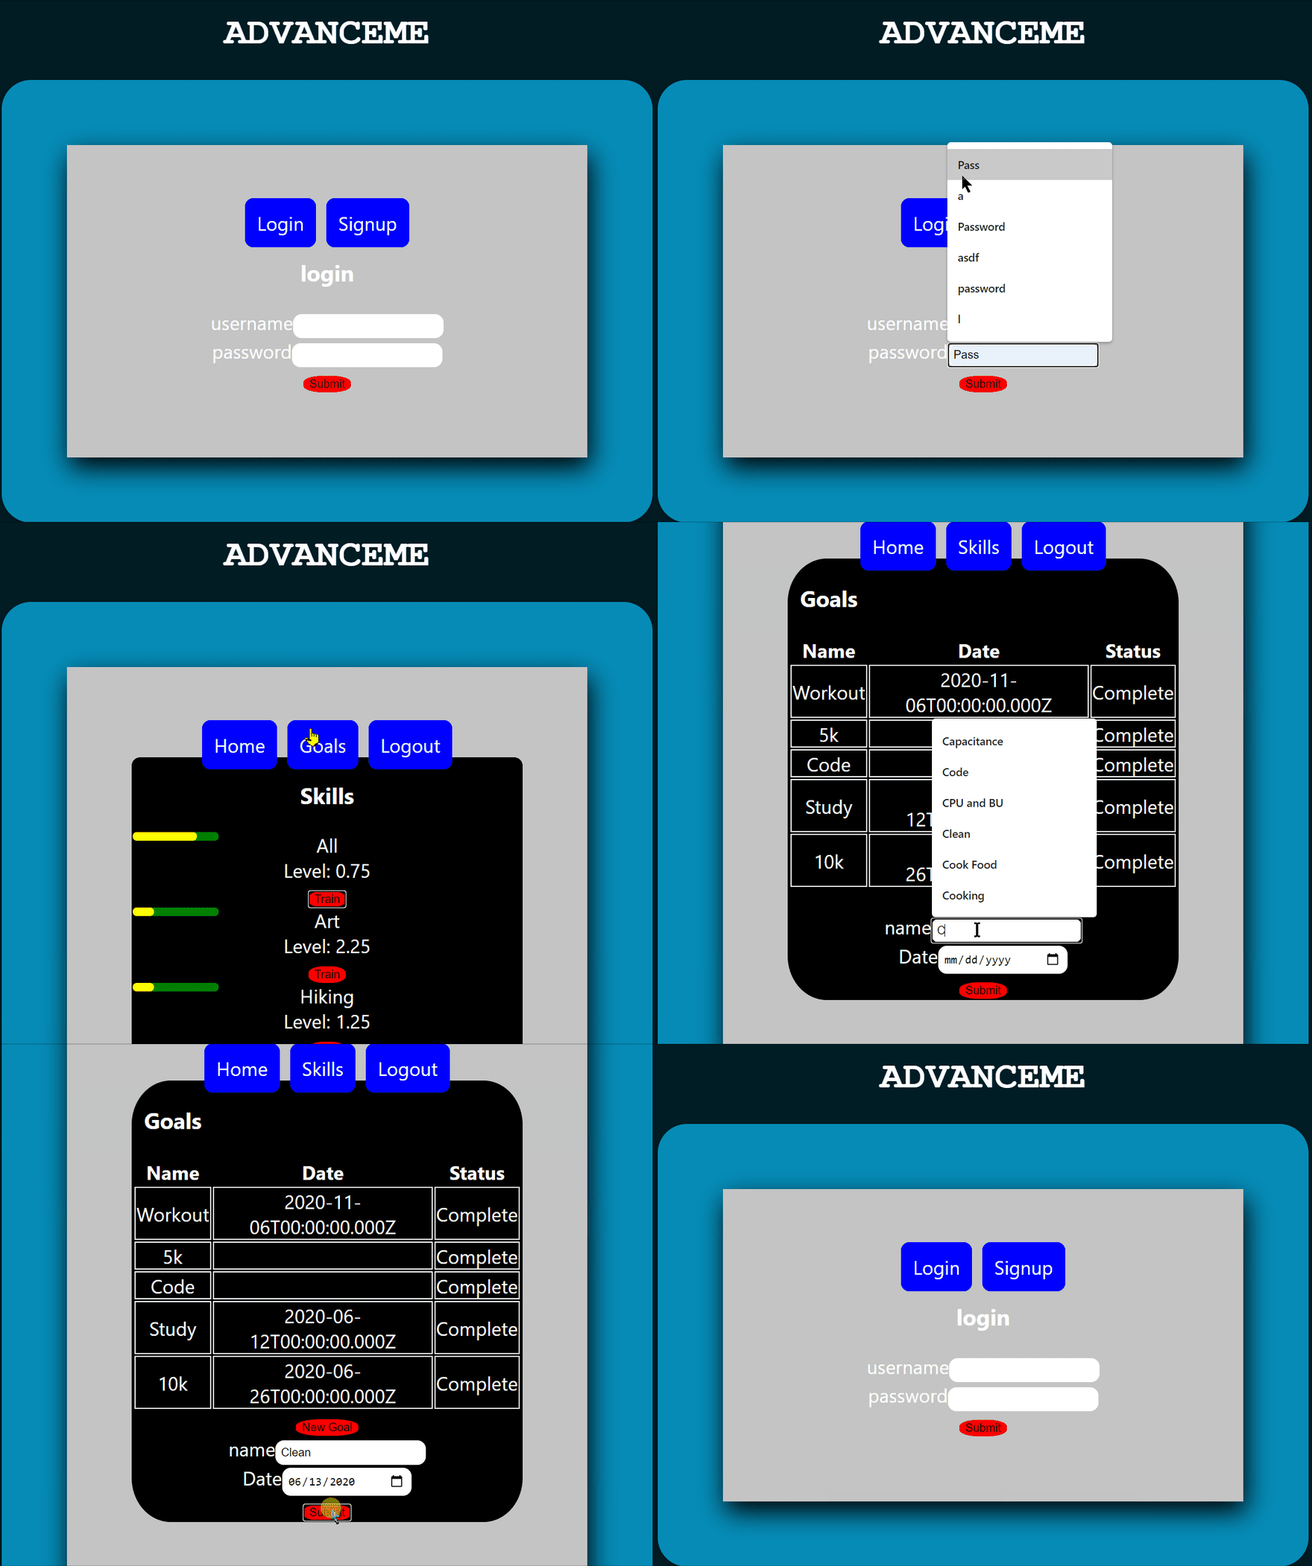
Other than learning to use these two components, the setup of my application was fairly easy. I find React to be a great way to implement the front end of applications. And for the heck of it here is a gif of some of my application:


Top comments (0)