
This guide provides a comprehensive step-by-step process to deploy a MERN (MongoDB, Express.js, React, Node.js) stack application on an AWS EC2 instance. It includes setting up the EC2 instance, configuring an Elastic IP, installing necessary software, cloning the repository, configuring the backend and frontend, setting up NGINX as a reverse proxy, and troubleshooting common issues.
Prerequisites
- An AWS account with access to the AWS Management Console.
- A MERN application hosted on a Git repository (e.g., GitHub).
- Basic knowledge of SSH, Linux commands, and MERN stack development.
- A
.pemkey pair for SSH access to the EC2 instance.
Step 1: Creating an EC2 Instance
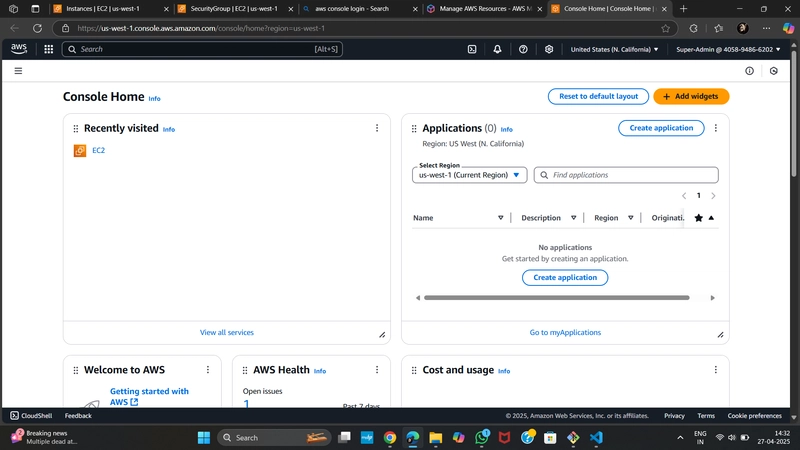
Log in to the AWS Console
Access the AWS Management Console at console.aws.amazon.com.
-
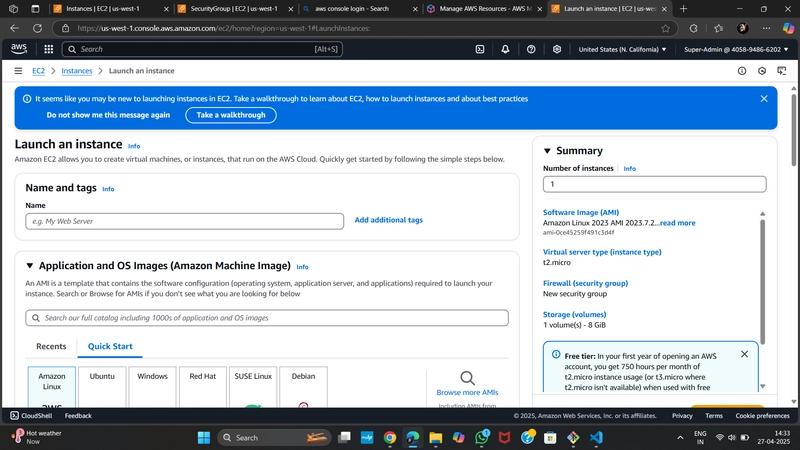
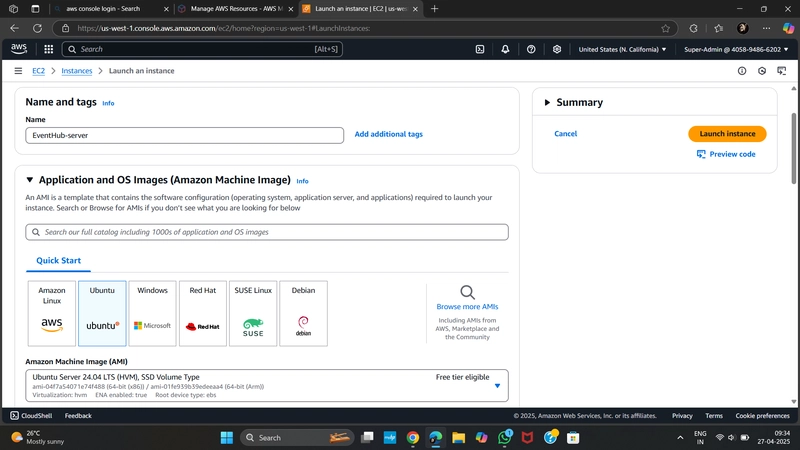
Launch an EC2 Instance
- Navigate to the EC2 Dashboard and click Launch Instance.
- Choose Ubuntu Server 20.04 LTS (or a newer version).
- Select the t2.micro instance type (eligible for free tier).
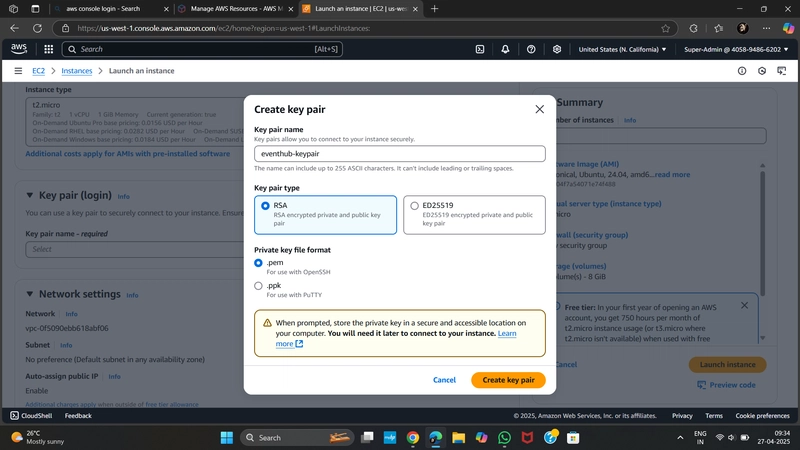
- Create or select an existing key pair (e.g.,
eventhub-keypair.pem) for SSH access. - In the Network Settings, configure the security group to allow:
-
SSH (port 22) from
0.0.0.0/0(or your IP for restricted access). -
HTTP (port 80) from
0.0.0.0/0. -
HTTPS (port 443) from
0.0.0.0/0. - Add custom TCP rules for ports used by your app (e.g., 3000 for React, 5000 for Express).
-
SSH (port 22) from
- Launch the instance.

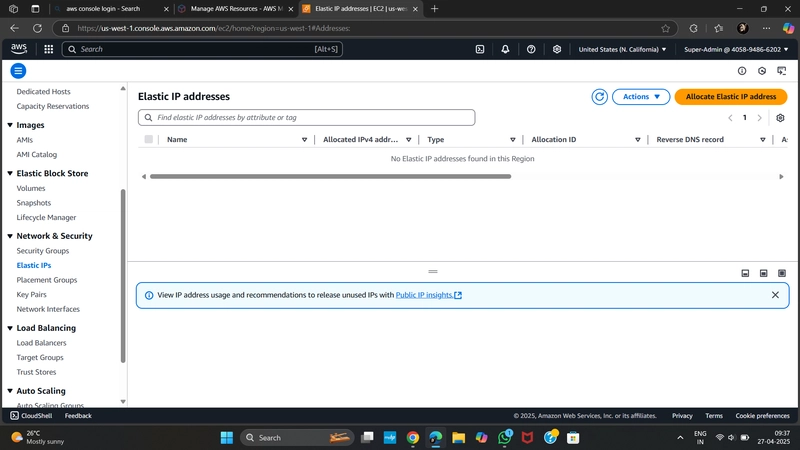
Step 2: Setting Up an Elastic IP
-
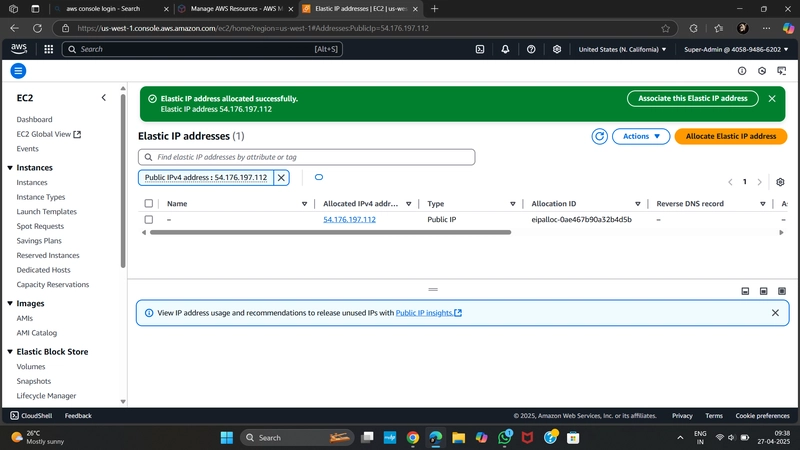
Allocate an Elastic IP
- In the EC2 Dashboard, go to Elastic IPs under Network & Security.
- Click Allocate Elastic IP address and allocate a new IP.
-
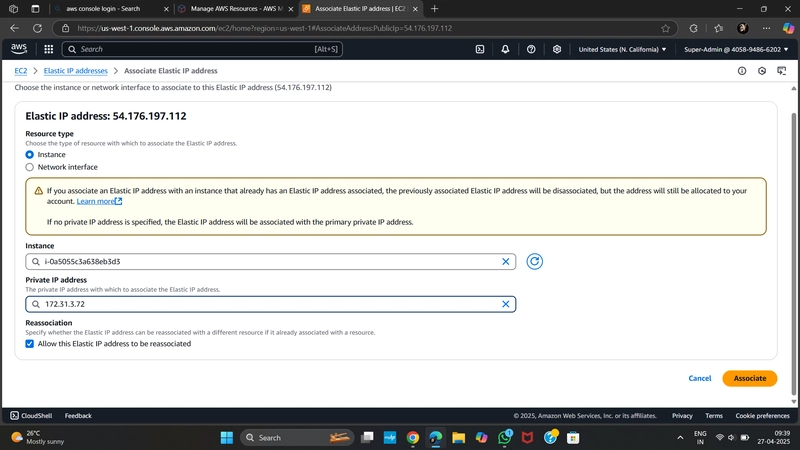
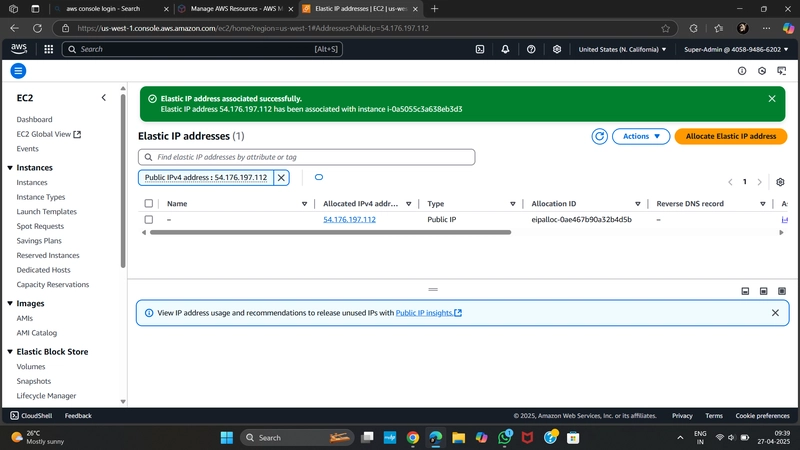
Associate Elastic IP with EC2 Instance
- Select the allocated Elastic IP, click Actions, and choose Associate Elastic IP address.
- Select your EC2 instance and associate the IP.
Step 3: Editing Security Groups
-
Add Custom Ports
- Go to the Security Groups section in the EC2 Dashboard.
- Select the security group associated with your EC2 instance.
- Add inbound rules for the ports used by your application:
- Custom TCP: Port 3000 (React frontend, if applicable).
- Custom TCP: Port 5000 (Express backend).
- Custom TCP: Port 9000 (optional, if used by your app).
- Set the source to
0.0.0.0/0(or restrict to your IP for security).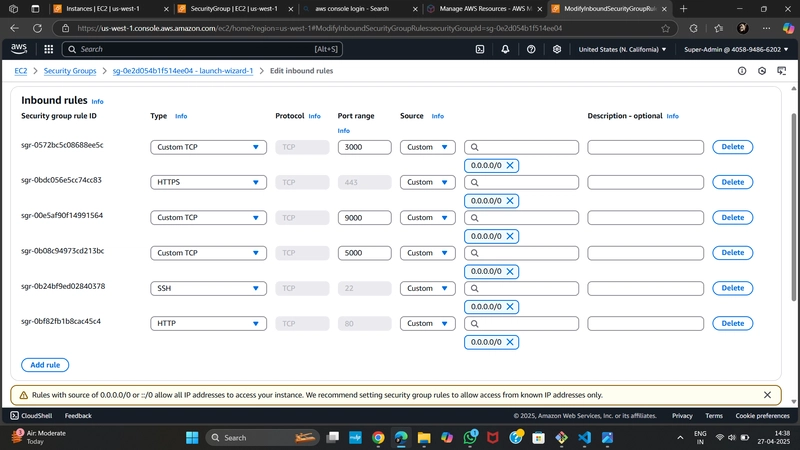
-
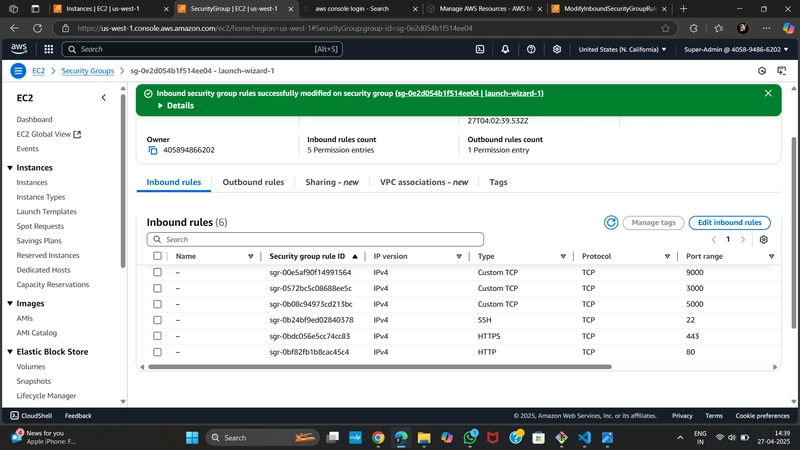
Verify Firewall Rules
- Later, you’ll enable these ports in the Ubuntu firewall (
ufw) to ensure connectivity.
- Later, you’ll enable these ports in the Ubuntu firewall (
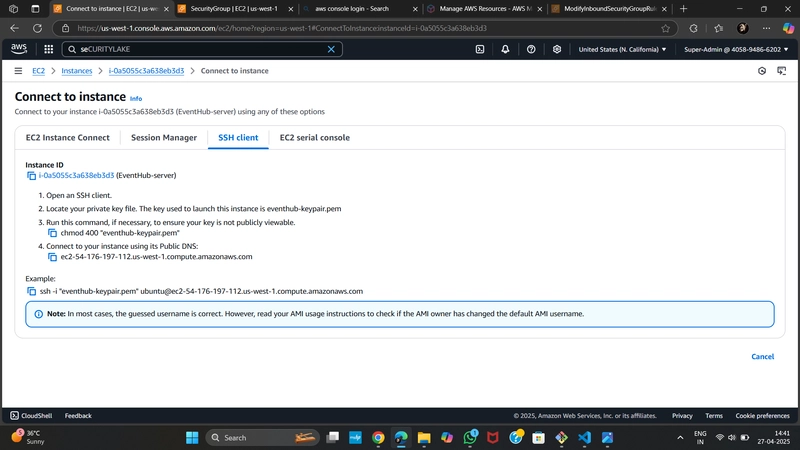
Step 4: Connecting to the EC2 Instance
-
SSH into the EC2 Instance
- Open a terminal or Git Bash on your local machine.
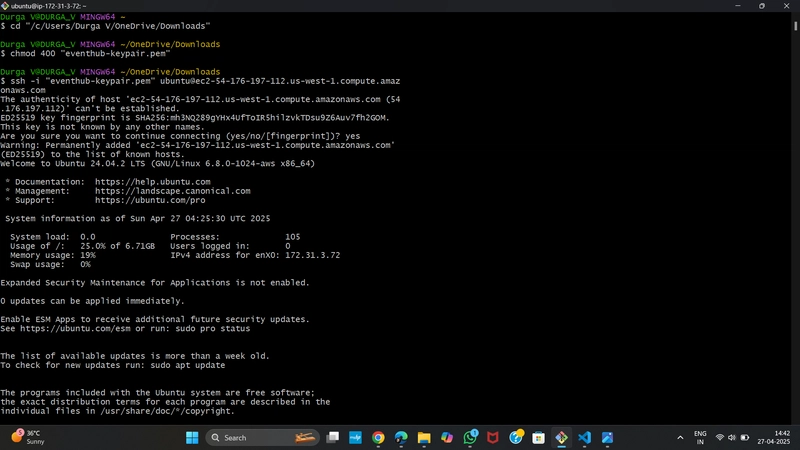
- Set permissions for your
.pemkey file:
chmod 400 eventhub-keypair.pem
-
Connect to the EC2 instance using the Elastic IP or public DNS:
ssh -i "eventhub-keypair.pem" ubuntu@ec2-54-176-197-112.us-west-1.compute.amazonaws.com
Step 5: Installing Required Software on Ubuntu
1. Install Node.js and npm
Update the package index and install Node.js:
sudo apt update
sudo apt install nodejs npm
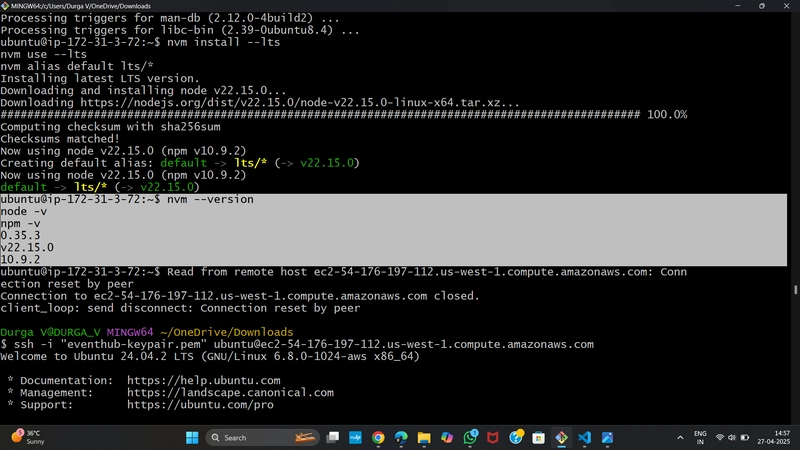
Verify the installed versions:
node -v
npm -v
If the Node.js version differs from your local development environment, install nvm to manage versions:
curl -o- https://raw.githubusercontent.com/nvm-sh/nvm/v0.39.5/install.sh | bash
source ~/.bashrc
nvm install 18
Replace 18 with your desired Node.js version.
2. Set Up MongoDB Atlas
- Create a free cluster on MongoDB Atlas.
- Obtain the connection string (e.g.,
mongodb+srv://<username>:<password>@cluster0.mongodb.net/<dbname>?retryWrites=true&w=majority). - Add the connection string to your backend’s
.envfile:
MONGO_URI=mongodb+srv://<username>:<password>@cluster0.mongodb.net/<dbname>?retryWrites=true&w=majority
- In your Node.js backend, connect to MongoDB using Mongoose:
  const mongoose = require('mongoose');
  mongoose.connect(process.env.MONGO_URI, { useNewUrlParser: true, useUnifiedTopology: true });
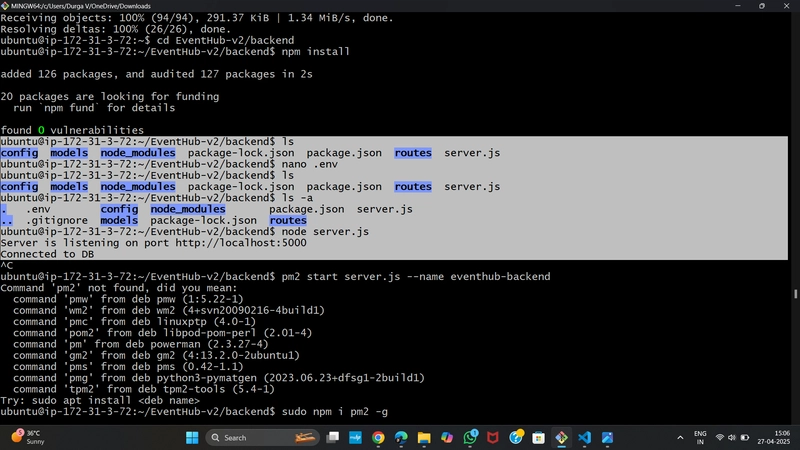
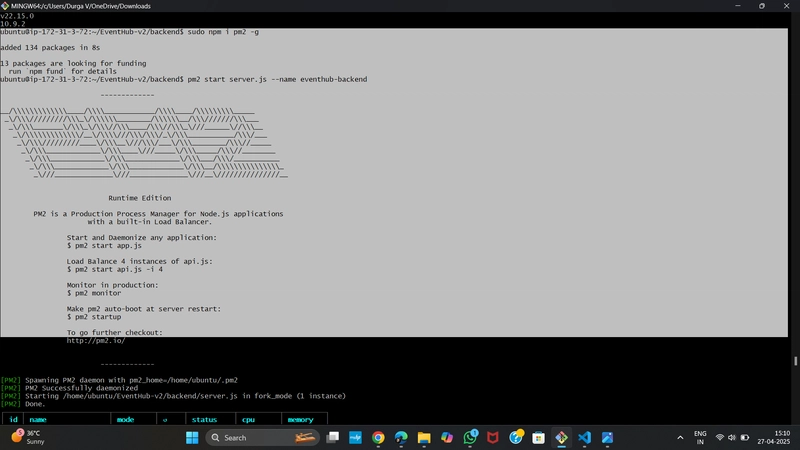
3. Install PM2
PM2 is a process manager to keep your Node.js application running in the background.
sudo npm install -g pm2
Start your backend server with PM2:
pm2 start server.js
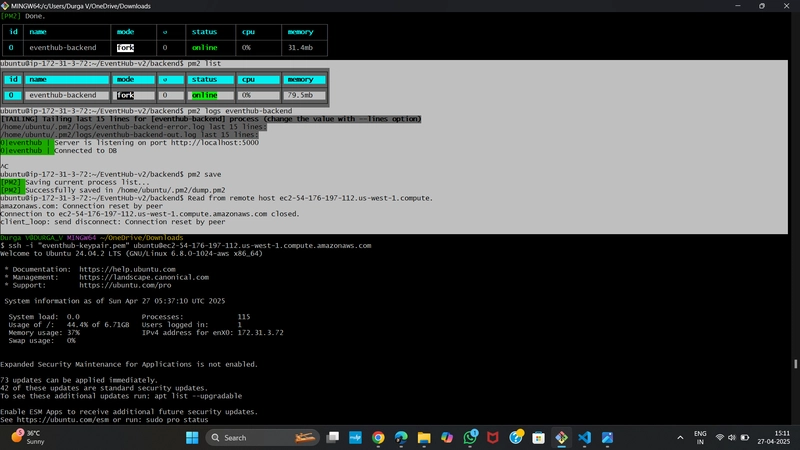
Useful PM2 commands:
pm2 show server
pm2 status
pm2 restart server
pm2 stop server
pm2 logs
pm2 flush
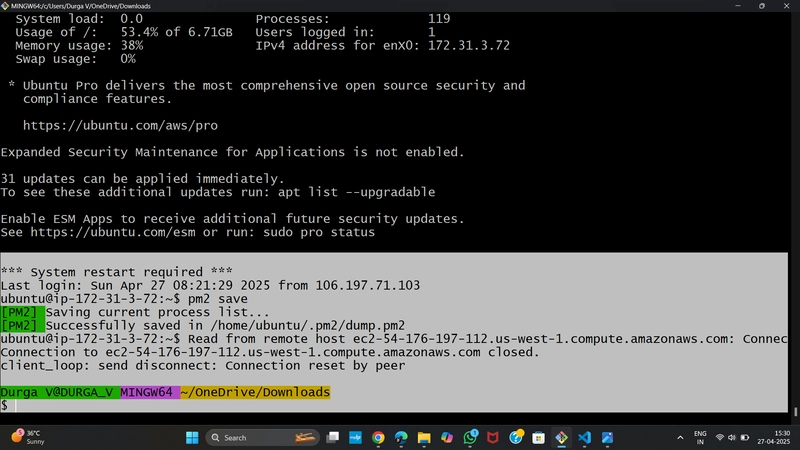
pm2 save
4. Configure UFW Firewall
Enable the firewall and allow necessary ports:
sudo ufw enable
sudo ufw allow ssh
sudo ufw allow http
sudo ufw allow https
sudo ufw allow 5000/tcp
sudo ufw status
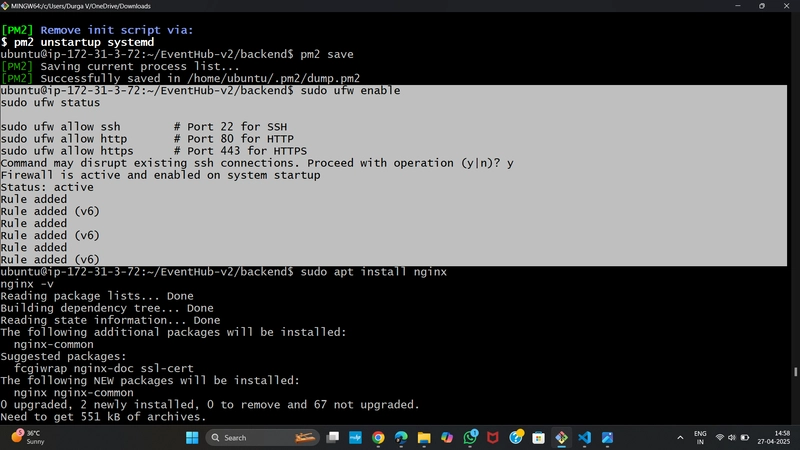
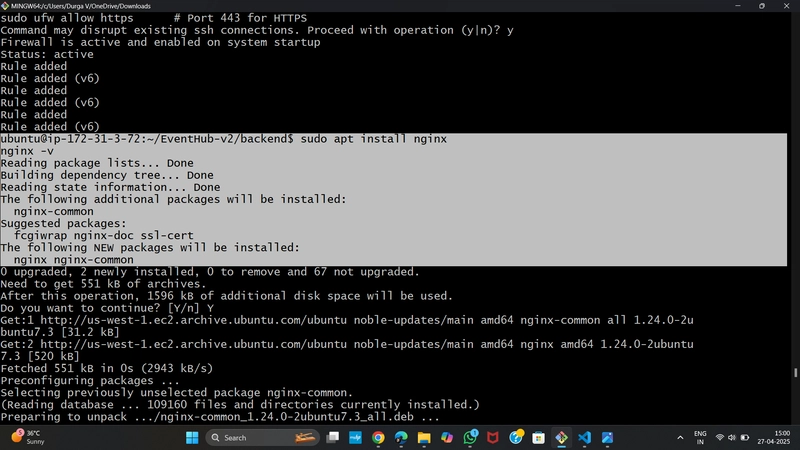
5. Install NGINX
Install NGINX to serve the frontend and act as a reverse proxy for the backend:
sudo apt install nginx
Verify the installation:
nginx -v
Step 6: Cloning the Repository
-
Clone the Git Repository
Navigate to
/home/ubuntuand clone your MERN application repository:
   cd /home/ubuntu
   git clone <your-repository-url>
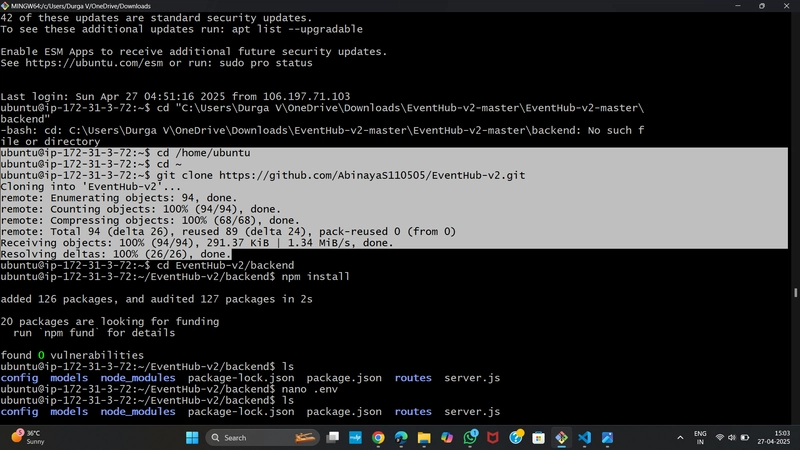
-
Set Up the Backend
- Navigate to the backend directory (e.g.,
cd EventHub-v2/backend). - Install dependencies:
npm install - Navigate to the backend directory (e.g.,
- Create a
.envfile with your environment variables (e.g.,MONGO_URI,PORT). -
Start the backend with PM2:
 pm2 start server.js
 pm2 save
-
Set Up the Frontend
- Navigate to the frontend directory (e.g.,
cd EventHub-v2/frontend). - Install dependencies and build the React app:
npm install npm run build - Navigate to the frontend directory (e.g.,
- Verify the
distfolder is created.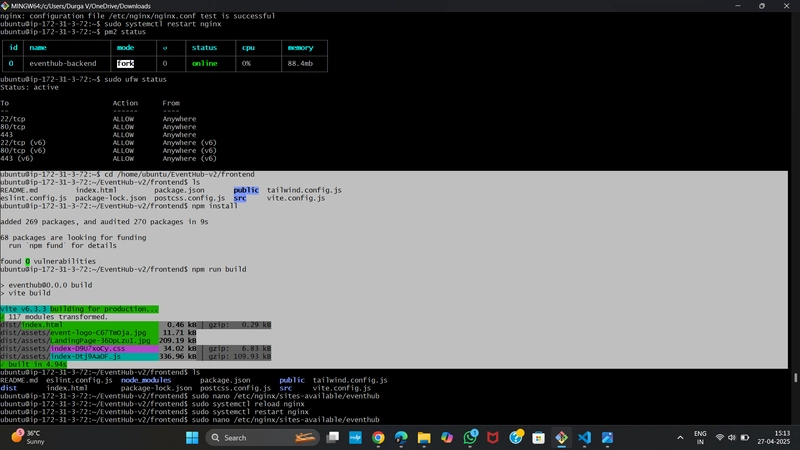
Step 7: Configuring NGINX
- Create an NGINX Configuration File Create a new configuration file for your app:
sudo nano /etc/nginx/sites-available/eventhub
Add the following configuration:
   server {
       listen 80;
       server_name <your-elastic-ip-or-domain>;

       root /home/ubuntu/EventHub-v2/frontend/dist;
       index index.html;

       location / {
           try_files $uri /index.html;
       }

       # Proxy API requests to backend
       location /api/ {
           proxy_pass http://localhost:5000/api/;
           proxy_http_version 1.1;
           proxy_set_header Upgrade $http_upgrade;
           proxy_set_header Connection 'upgrade';
           proxy_set_header Host $host;
           proxy_cache_bypass $http_upgrade;
       }
   }
Replace <your-elastic-ip-or-domain> with your Elastic IP or domain.
Save the file (Ctrl+O, Enter, Ctrl+X).
-
Enable the Configuration
Link the configuration to the
sites-enableddirectory:
sudo ln -s /etc/nginx/sites-available/eventhub /etc/nginx/sites-enabled/
- Update Default Configuration (Optional) Edit the default NGINX configuration to avoid conflicts:
sudo nano /etc/nginx/sites-available/default
Ensure it does not conflict with port 80 or your app’s configuration.
- Test and Restart NGINX Test the NGINX configuration for syntax errors:
sudo nginx -t
Reload and restart NGINX:
   sudo systemctl reload nginx
   sudo systemctl restart nginx

Step 8: Troubleshooting Common Issues
-
Frontend Connecting to
localhost:5000- Issue: The frontend makes API calls to
http://localhost:5000instead ofhttp://<your-ip>:5000. - Solution: Update the frontend code to use the correct backend URL. Edit the API base URL in your frontend (e.g.,
src/api.jsor environment variables):
const API_URL = 'http://<your-elastic-ip>:5000/api';Rebuild the frontend:
npm run build - Issue: The frontend makes API calls to
-
Port 5000 Not Accessible
- Issue: The backend port (e.g., 5000) is not open.
- Solution: Ensure the security group allows inbound traffic on port 5000:
- Add a Custom TCP rule for port 5000 with source
0.0.0.0/0(or your IP range). - Enable the port in UFW:
- Add a Custom TCP rule for port 5000 with source
sudo ufw allow 5000/tcp -
Backend Not Binding to All Interfaces
- Issue: The Express server only listens on
localhost. - Solution: Update the server code to listen on all interfaces:
const PORT = process.env.PORT || 5000; app.listen(PORT, '0.0.0.0', () => { console.log(`Server running on port ${PORT}`); }); - Issue: The Express server only listens on
-
Restart the backend with PM2:
pm2 restart server
-
Server Loses Connection
- Reconnect to the EC2 instance using the SSH command:
ssh -i "eventhub-keypair.pem" ubuntu@<your-elastic-ip>
-
Check PM2 status and restart if needed:
 pm2 status
 pm2 restart server
- Save PM2 Processes Ensure PM2 restarts your app on server reboot:
   pm2 save
   pm2 startup
Step 9: Verify Deployment
-
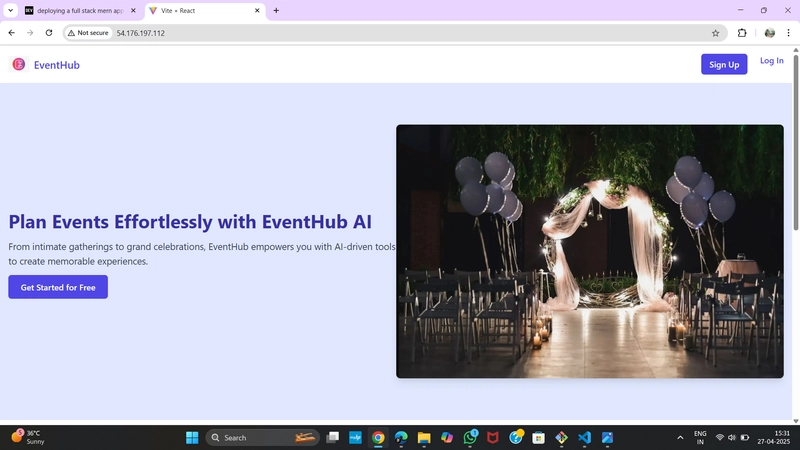
Access the Application
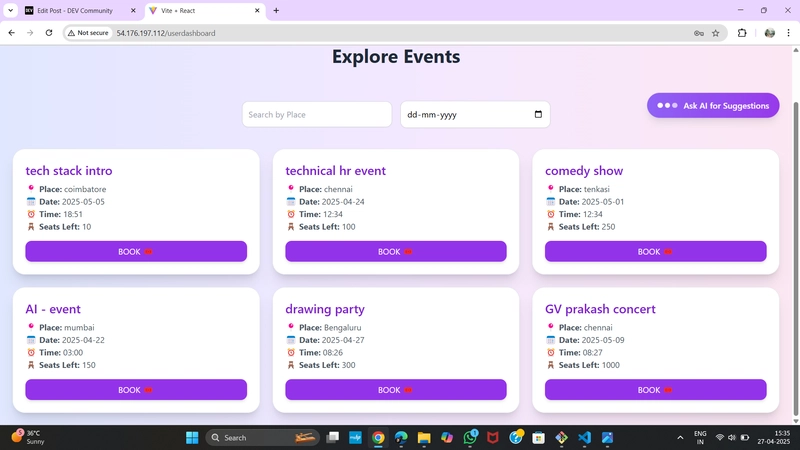
Open a browser and navigate tohttp://<your-elastic-ip>.- The frontend should load correctly.
- Test API endpoints (e.g.,
http://<your-elastic-ip>/api/health) to ensure the backend is operational.
-
Test Application Features
Verify the following:-
Homepage: Displays correctly.
 User-Features:
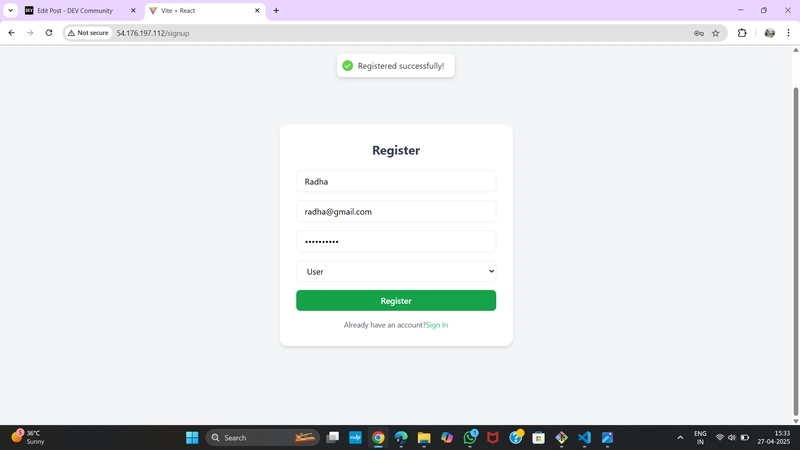
- User Registration: Works without errors.
- User Login: Authenticates successfully.
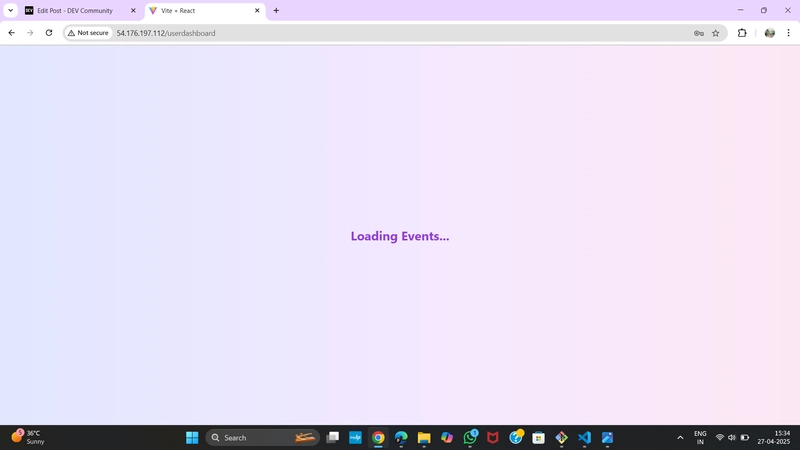
- Events Page: Loads events correctly.

- Event Booking: Books events successfully.
- User Registration: Works without errors.
-
Admin Features:
- Event registration works.
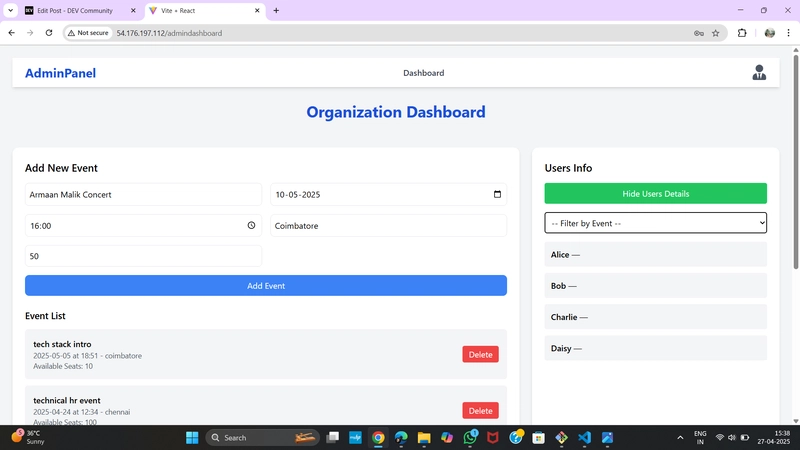
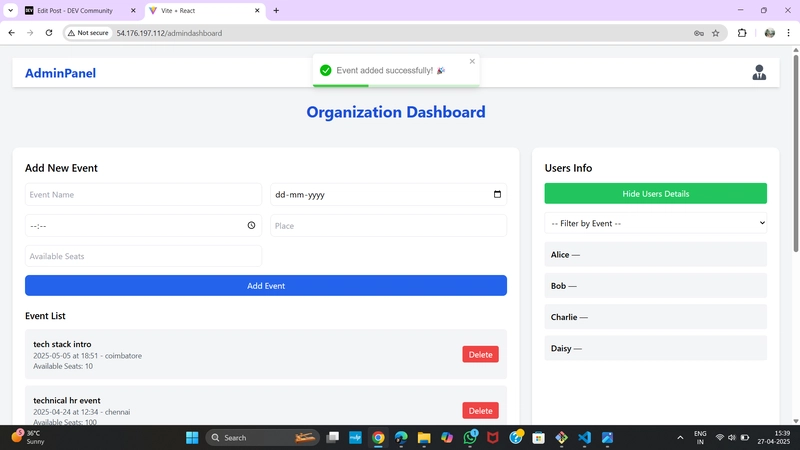
- Event addition succeeds.
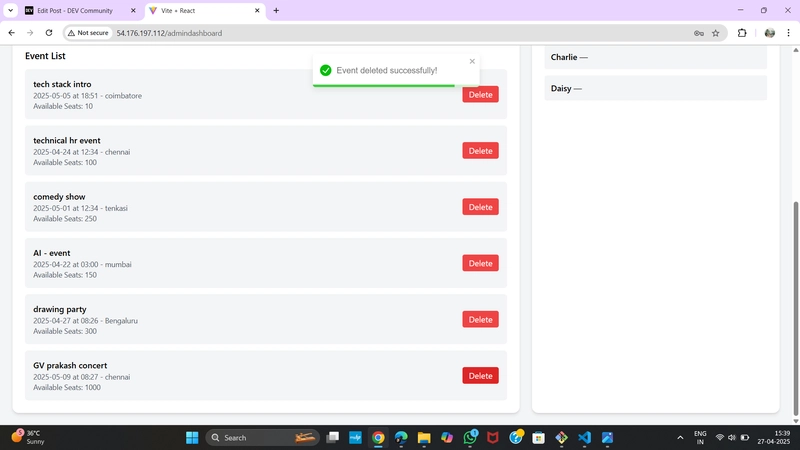
- Event deletion works.
- Event registration works.
-
Homepage: Displays correctly.
Step 10: Additional Configurations (Optional)
-
Set Up a Domain Name
- Purchase a domain (e.g., via AWS Route 53 or another registrar).
- Create an A Record in your DNS settings pointing to your Elastic IP.
- Update the NGINX configuration with the domain name:
server_name yourdomain.com www.yourdomain.com; -
Enable HTTPS with Let’s Encrypt
- Install Certbot:
sudo apt install certbot python3-certbot-nginx
-
Obtain and install an SSL certificate:
sudo certbot --nginx -d yourdomain.com -d www.yourdomain.com Follow the prompts to configure HTTPS.
-
Automate Backups
- Use AWS S3 or another service to back up your MongoDB Atlas data.
- Schedule regular snapshots of your EC2 instance.
-
Monitor Performance
- Use AWS CloudWatch to monitor EC2 instance metrics.
- Set up alerts for CPU usage, memory, or downtime.
Conclusion
Your MERN stack application is now deployed on an AWS EC2 instance, accessible via an Elastic IP or domain. The backend is powered by Node.js and MongoDB Atlas, managed by PM2, while the React frontend is served via NGINX. Security groups, UFW, and NGINX configurations ensure secure and reliable access. Regular maintenance, such as updating dependencies and monitoring performance, will keep your application running smoothly.
For further assistance, refer to:

Top comments (0)