| Menu |
For HandsOn posts we will use Elastic Cloud. If you don't use Elastic Cloud yet, on this link you can access a 30-day trial. Just add your email to start using your free trial as you can see in the image below.
After creating your account you will not have any deployment available, to create a new one click on Create Deployment as in the image below.
Feel free to choose the settings you prefer but before creating your deployment you need to customize to add the ML node.
Then you can finally create your deployment and open Kibana. At this point don't worry about the settings beyond that.
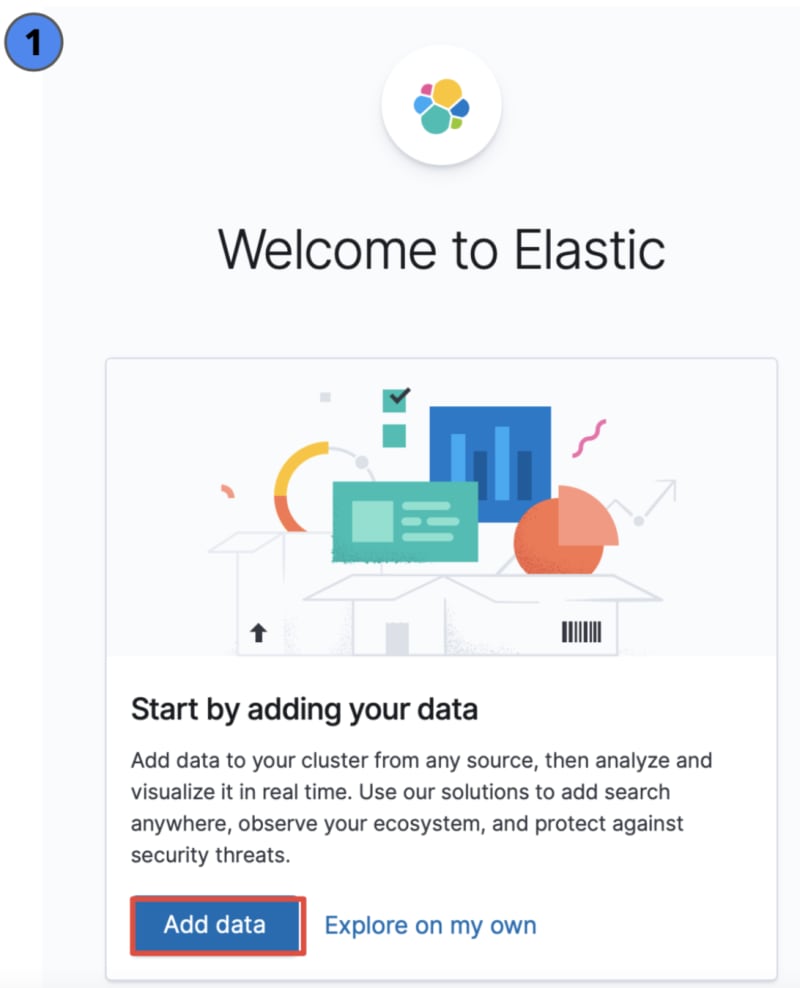
When Kibana opens you will see a message like the message in image 1 below, suggesting that you start adding data. To proceed implementing the data analysis demonstrated here you will need to add all available samples.
That's it. Now you can proceed with the data analysis examples.
- Elastic Anomaly Detection and Data Visualizer HandsOn
- Elastic Data Frame - Classification Analysis HandsOn
- Elastic Data Frame - Inference Processor HandsOn
This post is part of a series that covers Artificial Intelligence with a focus on Elastic's (Creators of Elasticsearch, Kibana, Logstash and Beats) Machine Learning solution, aiming to introduce and exemplify the possibilities and options available, in addition to addressing the context and usability.


Top comments (0)