Introduction
This will be a two-part beginner's tutorial on how to set up, code, and deploy your first discord bot to your audience. By the end of this first part, you will have the fundamentals on how to make the bot respond to commands given by the user and have it live on your Discord server. In part 2, we are going to dive a little deeper into more advanced features delivering beautifully-formatted responses and adding a small API to add value to your bot.
Tech stack and Prerequisites
- Python 3.5.3 or higher: to code the functionality.
- discord.py: will be our API wrapper for discord.
- pip3: to install Python dependencies.
To verify you have both Python3 and pip3, run the following commands:
python --version
or
python3 --version
python -m pip --version
or
python3 -m pip --version
Depending on how you have set up your environments, you might need to refer to it as python3 or python. If the output of both is something like this, everything should be good!

If you need help installing either of those, follow these instructions:
For Unix users, you can install both Python3 and pip3 via Homebrew with the following command:
brew install python3
Another option is to download Python3 from the official page and then install pip using this guide.
Run the commands on the top of this section to verify your installation.
Getting started
Create a discord application.
Head to your discord developer portal and sign in with your account. Once in, you should see something like this:
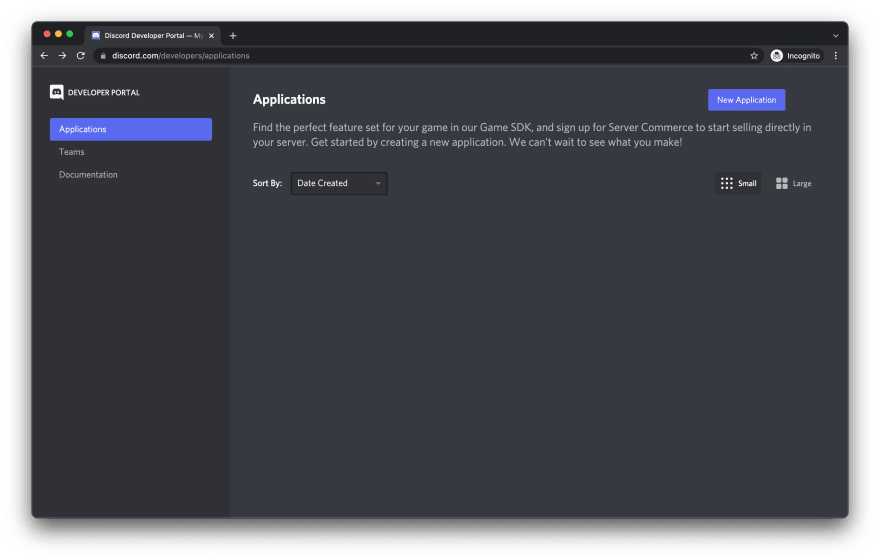
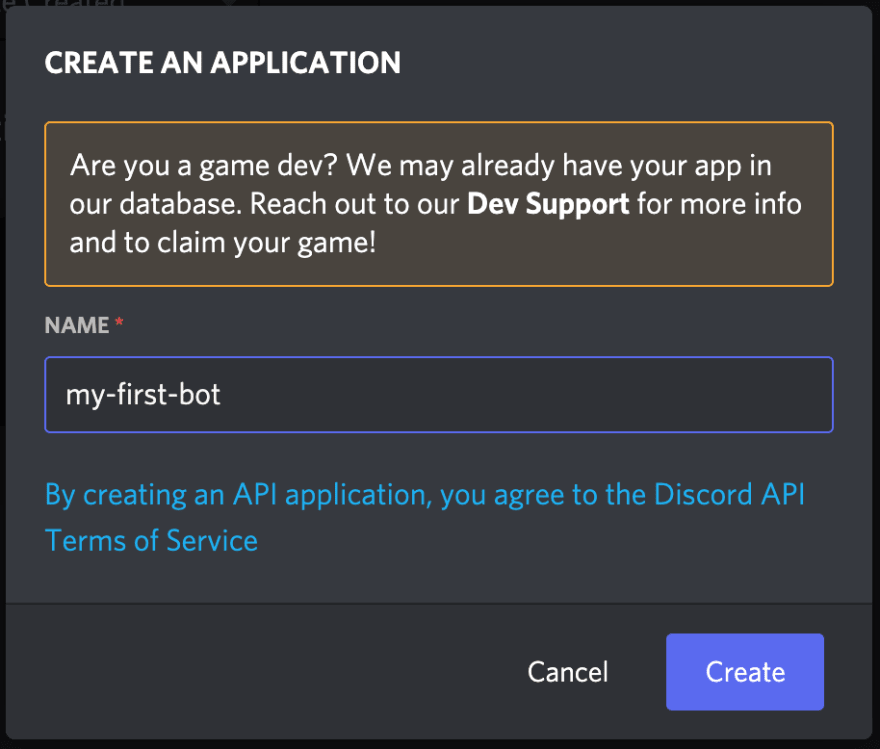
Click the New Application button, give your app a name (don't stress too much about the name, you can always change it later), and click Create.
Now that we have our app, we want to add a new bot. Navigate to the bot tab on the left-hand side menu and click Add Bot.

Once we have our bot, we want to copy the token. It is very important to always keep the token to yourself since it is your access to your bot and its functionality.

Now that we have our bot token in our clipboard, let us jump into your favorite editor and bring it to life.
Code the bot
I am going to use visual studio code, but you can follow along with any editor.
- Open a new command line
- Navigate to the directory you want to save it.
- Clone the starter code: https://github.com/elrick97/discord-bot-starter/
If you have any trouble cloning the repository follow this tutorial.

On the project directory, run the following command on your terminal to install the dependencies (in this case only discord.py).
pip install -r requirements.txt
or
pip3 install -r requirements.txt
If everything went well you should see something like this:

Yes, I will upgrade my pip version after this I swear... Anyways now that we have everything set up we can finally get to coding.
Open the folder on your favorite code editor. You will see seven files in the navigator, most of them are to facilitate things when we deploy the finished bot. For now, let us go to bot.py and add the following code.

We will go through each point explaining it in detail.
- The first point is just to import the libraries discord.py and datetime.
-
Here we are setting the command prefix to be the character ! (exclamation point), you can set any command prefix you want, any time you want to call a bot command you will have to use it as a prefix.
For example the command !time.
We are also creating our client instance, which represents the class to interact with the Discord WebSocket API.
You want to paste here the bot token you previously copied from your app dashboard in the Discord developer portal.
-
On the library we are using we can interact with events that happen on our server. Some examples are:
- on_ready: this function is called when the bot is ready.
- on_member_join: this function is called when a user joins the server.
- on_typing: called when someone begins typing a message.
And many more, for now we are going to use only the on_ready, but feel free to play around with the others. You can find all methods in the official documentation.
-
Not only you can use event and utility methods provided by the API, but you can create your own custom commands. Let’s dive and decompose our function for a better understanding.
- First we tell our client that the following function will be a command.
- We define our time function passing ctx (context) as the only argument. Context represents the context in which the command is being invoked, comes with a lot of metadata, for example author, channel, guild, valid, etc. For further reference check out this link.
- Then we just get the current time with help from the datetime library and return the message in the same context with the send method.
Finally, we call the run method with our token to start the bot. It is important to have this method at the end of your code since anything below it will not be executed.
Before we can test our bot, we need to add it to a server. To do this, go back to your app dashboard in your Discord developer portal.
- Navigate to URL Generator from OAuth2 menu on the sidebar.
- Select Bot on scopes.
- Select Administrator on permissions (just to simplify the process you can change this later).
- Scroll down and copy the link.

Open the link in a new tab and add the bot to the server you want to test. You have to be the owner of the server to add it, you might as well want to create a test server.

After adding the bot, it should appear offline on your server:

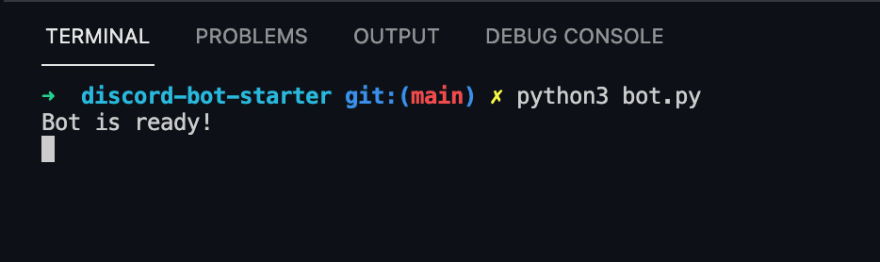
To bring him to life, run the following command on your working directory:
python bot.py
or
python3 bot.py
If you got this message, the bot is ready and online on your server!
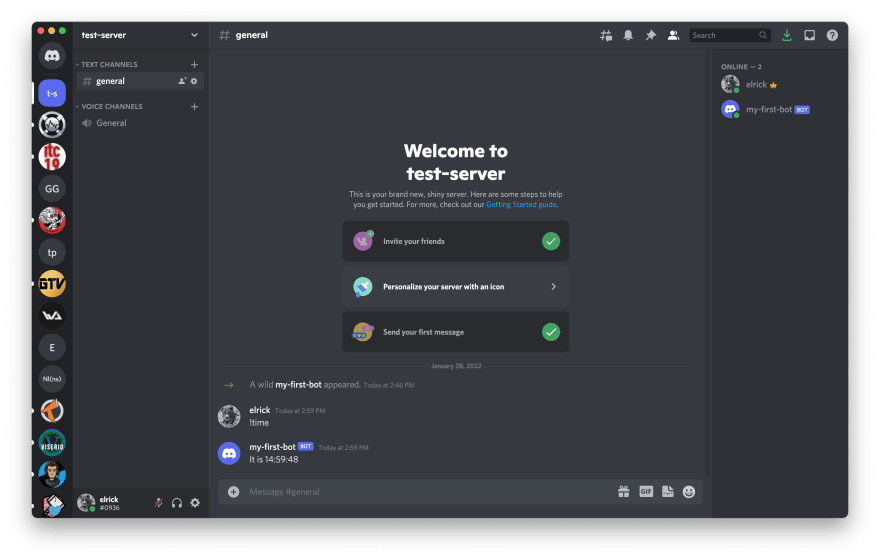
Now go test it on your server, type the command !time and your bot should answer you back with the current time as shown below.
Here we conclude this first part of our tutorial. In the second part, we will dive further into commands by adding arguments, implementing an API, delivering embedded messages, and deploying your bot.
If you run into any trouble feel free to DM me on Twitter and follow me for updates on part two and more content.

Latest comments (0)