In this post we're going to customize the UX in an Eleventy site with a Compute app running on the Fastly network at locations near your users around the world. We'll use the Eleventy Base Blog deployed to GitHub Pages, with some tweaks to its RSS feed to let us do some fun stuff at the edge. We'll write a JavaScript app that we'll compile into Web Assembly (Wasm) that can run securely on the Fastly network.
The website and feed
Eleventy (11ty) generates your website in the form of a bunch of HTML files and some CSS. This makes it a super fast, performant experience for the user – it also makes it perfect for playing with edge computing. You can do lots of cool things with 11ty plugins, like exposing an RSS feed of the posts in your site. We'll set our feed to return JSON so that we can mess with the data at the edge before sending it back to the user.
Set up your site
Our fork of the Eleventy Base Blog includes a change in eleventy.config.js to make the feed return JSON instead of the Atom format.

You can use the example site for your Compute app if you like, but later in this series we'll also try editing the site in conjunction with our edge functionality, so fork your own copy if you plan to follow along:
- Fork the repo
- Follow the steps in the
READMEto edit and deploy to GitHub Pages – tl;dr:- Edit the
eleventy.config.jsfeedPluginsection to setmetadatabaseto your own GitHub IO domain - Change the references to
my-siteinpackage.jsonto your repo name - Change
.github/workflows/gh-pages.yml.sampleto.github/workflows/gh-pages.yml - Create a
gh-pagesbranch - In your repo Settings > Pages section, choose Deploy from a branch and select
gh-pages - Watch the Actions for your deploy status
- Edit the
Grab the URL for your new site, as you'll need it in your Compute setup.
Set up your Fastly account
Sign up for a free Fastly account if you haven't already.
Grab an API token from your account:
- Go to Account > API tokens > Personal tokens
- Click Create Token:
- Name: anything you like
- Type: Automation
- Role: Engineer
- Scope: Global (deselect the Read-only access box)
- Access: All services
- Expiration: Never expire
- Copy the token value and save it on your computer
Set up your developer environment
We'll use the Fastly CLI to spin up a Compute service, so get it installed on your computer:
Create a new directory:
mkdir 11ty-edge && cd 11ty-edge
Install the Fastly CLI – see the docs if you aren't using NPM:
npm install -g @fastly/cli
Create a Fastly profile, entering the API token you copied from your account:
fastly profile create
Start a Compute app
We're going to use Expressly, which lets us build our Compute app using a similar structure to Node.js server frameworks like Express. We'll listen for user requests, manipulating the request and response we send back to the user.
Initialize your Compute app using the Expressly starter kit:
fastly compute init --from=https://github.com/fastly/compute-starter-kit-javascript-expressly
You can set the name, description, and author if you like, or accept the defaults.
💡 Include
--accept-defaultswith your Fastly commands if you don't want to respond to every prompt.
Run npm install when prompted.
Check your app is installed correctly by running it locally and opening it in your browser:
npm run start
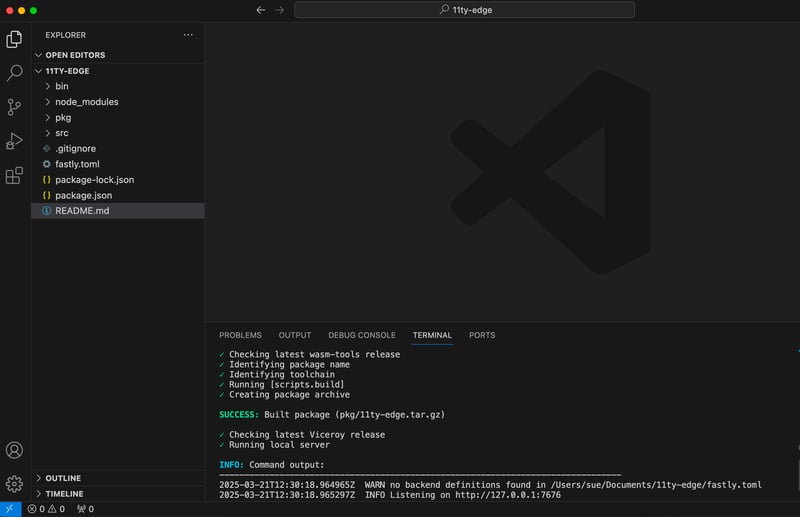
The local site will just return OK.
Explore the app
Take a minute to explore the files in the Compute app.
- The
src/index.jsfile contains our Compute logic including the Expressly routing structures - The
fastly.tomlfile contains our app setup
We'll be making changes to both of these files, and the Fastly tooling will change the TOML when we deploy our app.
💡 The
binandpkgdirectories include the compiled assets the CLI will use to deploy your app to Fastly.
Set up your origin
At the moment the app doesn't do much, it just returns a default response to the user. Let's get it to return the response from our 11ty website.
- Open
fastly.tomland add the following at the end of the file, changing the domain to your own GitHub IO subdomain if you're using your own version of the site deployed to GitHub Pages:
[setup]

  [setup.backends]

    [setup.backends.blog]
      address = "glitchdotcom.github.io"
In src/index.js, add a variable near the top of the script:
let backendResponse;
Change the router.use function to fetch the response from the origin site, making it async:
router.use(async (req, res) => {
  res.set("x-powered-by", "expressly");
  backendResponse = await fetch(req.url, {
    backend: "blog"
  });
});
We set the blog backend in the TOML, so Fastly will make the request to our origin website.
Delete the router.get('/'... and router.post("/submit" functions, replacing them with one to respond to all requests with the response from the origin site:
router.all("(.*)", async (req, res) => {
  res.send(backendResponse);
});
Your script should now look something like this:
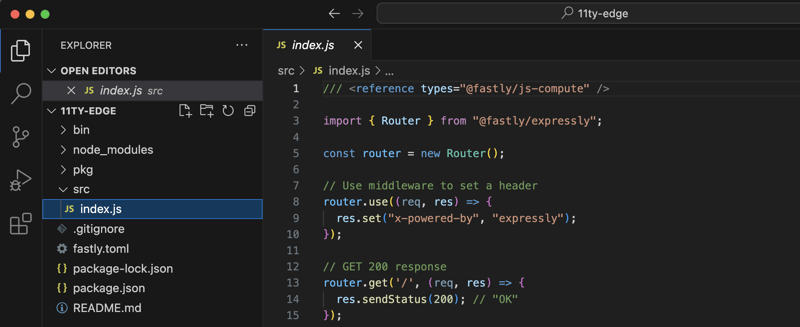
/// <reference types="@fastly/js-compute" />

import { Router } from "@fastly/expressly";

const router = new Router();
let backendResponse;

router.use(async (req, res) => {
  res.set("x-powered-by", "expressly");
  backendResponse = await fetch(req.url, {
    backend: "blog"
  });
});

router.all("(.*)", async (req, res) => {
  res.send(backendResponse);
});

router.listen();
Deploy your app
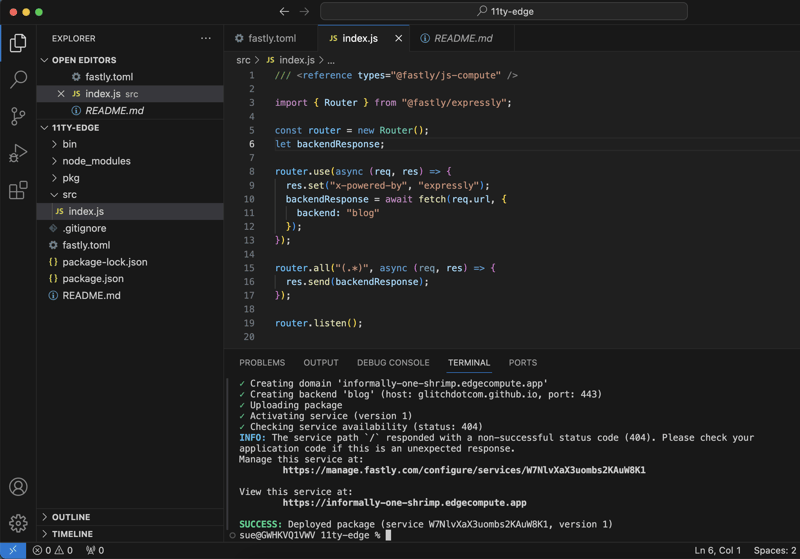
In the terminal, exit from your local server with CTRL+C if necessary. Run the deploy command:
npm run deploy
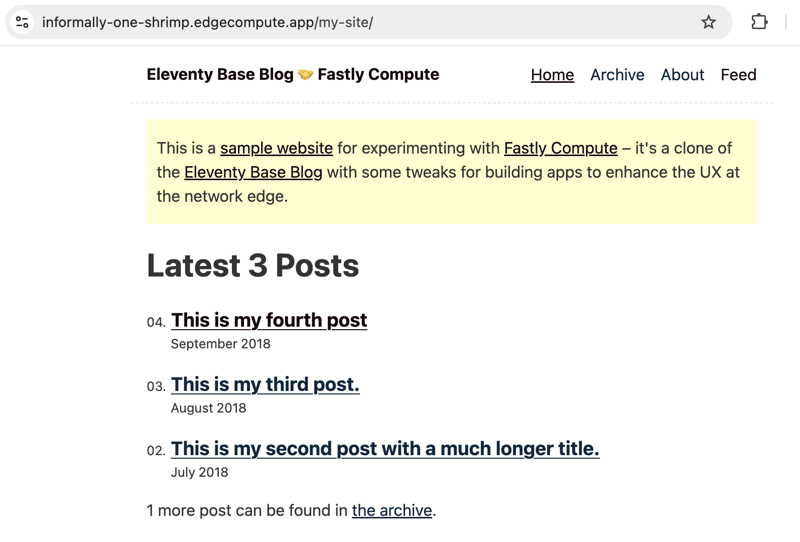
Let the CLI create a new service, accepting the default options or changing any you like. The tooling will build and compile your app, upload the package to Fastly, and activate the service it's attached to. When it's ready, you'll see an edgecompute.app address in the terminal output – open it in your browser, adding the path for your GitHub repo name (my-site if you're using the example), like:
Right now all the app will do is return the response from the origin website, but we're going to change the behavior for certain requests.
Build a synthetic feed page
Click the Feed link in the site header for your deployed app (at the edgecompute.app address – it just returns a JSON list of the posts in the site, which is what we get from the origin.

Let's turn this into a page. Back in your app, in the src/index.js file, add a new variable near the top of the script, changing the value to the name of your forked 11ty repo if you're using your own version:
let root = "/my-site/"; //change to your repo name
Add a new endpoint before the router.all("(.*)" section:
router.get(`${root}feed/feed.json`, async (req, res) => {
  let originData = await backendResponse.json();
  let posts = ``; // change to your repo name
  for (const pst of originData.items) {
    let date = new Date(pst.date_published);
    date = date.toDateString();
    let linkUrl = new URL(pst.url);
    posts += `<p><a href="${linkUrl.pathname}"><strong>${pst.title}</strong></a> – ${date}</p>`;
  }
  let page = `
  <!DOCTYPE html>
  <html>
    <head>
      <meta charset="UTF-8">
      <meta name="viewport" content="width=device-width, initial-scale=1" />
      <title>${originData.title} – Feed 🗞️</title>
      <!-- 🚧 Change CSS location to suit your site 🚧 -->
      <link rel="stylesheet" href="${root}css/index.css"/>
    </head>
    <body>
      <header><a class="home-link" href="${root}">My Website</a></header>
      <h2>${originData.title} – Feed 🗞️</h2>
      <div>${posts}</div>
    </body>
  </html>`;

  res.withStatus(backendResponse.status).html(page);
});
The code parses the JSON feed response and builds it into HTML.
Deploy your app again:
npm run deploy
It may take a minute or so for your changes to update, but when your new service version is up, open the feed page again at the edgecompute.app address, like:
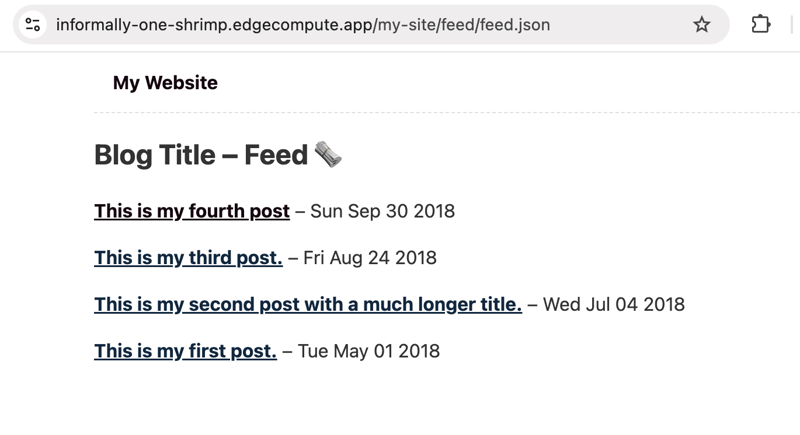
And we have a web page instead of the JSON data... 🎉
🧰 You can access a complete example of the app code in the 11ty-feed starter kit and Fiddle if you want to try running the code in the browser.
Next steps
⏳ Stay tuned for the next part of the series we'll add some edge data to the functionality – we can access information about the user, like their location, so we'll build that into our app processing to customize the site behavior.
- In the meantime, check out how you can build edge data into your apps

Top comments (0)