
Let's start with a story: have you heard the news about CircleCI's breach? No, not the one where they accidentally leaked some customer credentials a few years back. This time, it's a bit more serious:
It seems that some unauthorized individuals were able to gain access to CircleCI's systems, compromising the secrets stored in CircleCI. CircleCI advised users to rotate "any and all secrets" stored in CircleCI, including those stored in project environment variables or contexts.
The CircleCI breach serves as a stark reminder of the risks associated with storing sensitive information in CI/CD systems. Next, let's talk about CI/CD security a bit more.
1. CI/CD Security
CI/CD systems, like CircleCI, are platforms used by developers to automate build/deploy processes, which, by definition, means that they need to access other systems to deploy software or use some services, like cloud services.
For example, after building some artifacts, you probably need to push those artifacts to some repositories; for another, when deploying your cloud infrastructure using code, you need to access public cloud providers to create stuff.
As we can imagine, this means that a lot of sensitive information gets passed through the CI/CD platforms daily, because for CI/CD to interact with other systems, some type of authentication and authorization is required, and in most cases, passwords are used for this.
So, needless to say, the security of the CI/CD systems themselves is critical. Unfortunately, although CI/CD systems are designed to automate software development processes, they might not necessarily be built with security in mind and they are not 100% secure (well, nothing is).
2. Best Practices to secure CI/CD systems
2.1 Best Practice #1: No Long-Lived Credentials
One of the best practices, of course, is not to use long-lived credentials at all.
For example, when you access AWS, always use temporary security credentials (IAM roles) instead of long-term access keys. Now, when you try to create an access key, AWS even reminds you to not do this, but recommends SSO/other methods.
In fact, in many scenarios, you don't need long-term access keys that never expire; instead, you can create IAM roles and generate temporary security credentials. Temporary security credentials consist of an access key ID and a secret access key, but they also include a security token that indicates when the credentials expire.
2.2 Best Practice #2: Don't Store Secrets in CI/CD Systems
By storing secrets in CI systems, we are essentially placing our trust in a third-party service to keep sensitive information safe. However, if that service is ever compromised, as was the case with CircleCI, then all of the secrets stored within it are suddenly at risk, which can result in serious consequences.
What we can do is to use some secrets manager to store secrets, and use a secure way in our CI/CD systems to retrieve those secrets. If you are not familiar with data security or secrets managers, maybe give this blog a quick read.
2.3 Best Practice #3: Rotate/Refresh Your Passwords
Not all systems you are trying to access from your CI/CD systems support some kind of short-lived credentials like AWS does. There are certain cases where you would have to use long-lived passwords, and in those cases, you need to make sure you rotate and refresh the token as it periodically expires.
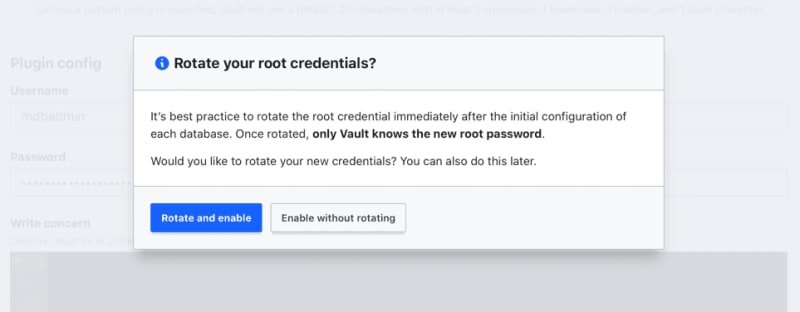
Certain secret managers even can rotate secrets for you, reducing operational overhead. For example, HashiCorp's Vault supports multiple "engines" (components that store, generate, or encrypt data), and most of the engines for Databases support root password rotation, where Vault manages the rotation automatically for you:
If you are interested in more best practices, there is a blog on how to secure your CI/CD pipeline.
3. How OIDC (OpenID Connect) Works
Following these best practices, let's dive deep into two hands-on tutorials to harden your CI/CD security. Before that, let's do a very short introduction to the technology that enables us to do so: OpenID Connect (OIDC).
If you are not bothered to read the official definition of OIDC from the official website, here's the TL;DR version: OIDC allows us to use short-lived tokens instead of long-lived passwords, following our best practice #1 mentioned earlier.
If integrated with CI, we can configure our CI to request short-lived access tokens and use that to access other systems (of course, other systems need to support OIDC on their end).
4. Tutorial: GitHub Actions OIDC with AWS
To use OIDC in GitHub Actions workflows, first, we need to configure AWS.
4.1 Create an OIDC provider in AWS
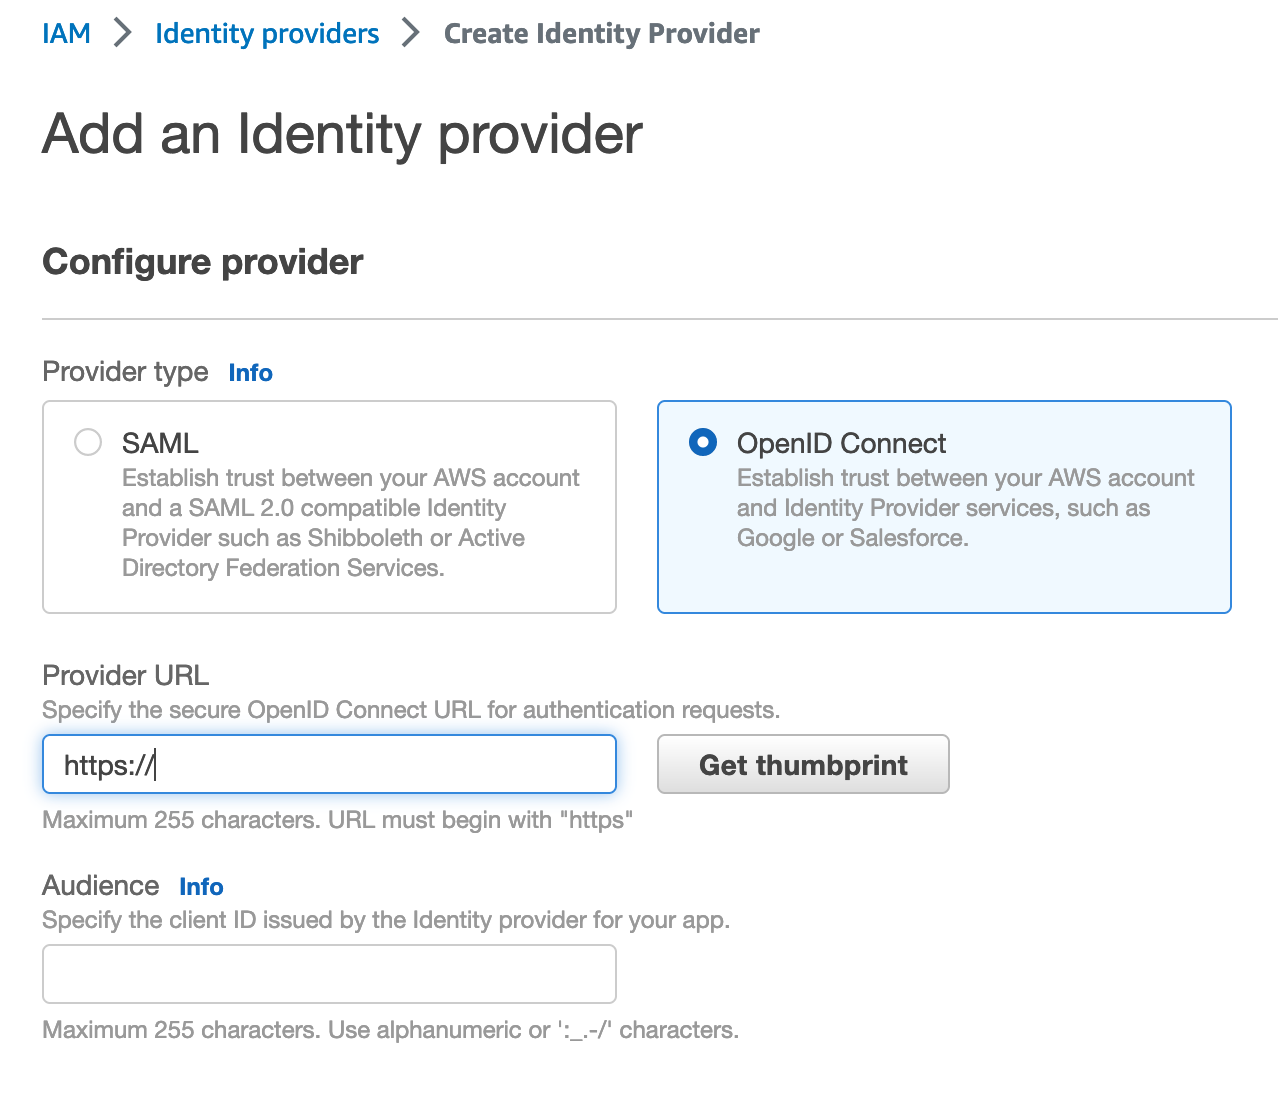
- For Configure provider, choose OpenID Connect.
- For the provider URL: Use https://token.actions.githubusercontent.com
- Choose "Get thumbprint" to verify the server certificate of your IdP.
- For the "Audience": Use sts.amazonaws.com.
After creation, copy the provider ARN, which will be used next.
To learn more about this step, see the official document here.
4.2 Create a Role with Assume Role Policy
Next, let's configure the role and trust in IAM.
Here, I created a role named "gha-oidc-role" and attached the AWS-managed policy "AmazonS3ReadOnlyAccess" (ARN: arn:aws:iam::aws:policy/AmazonS3ReadOnlyAccess).
Then, the tricky part is the trust relationships, and here's an example of the value I used:
- The Principal is the OIDC provider's ARN we copied from the previous step.
- The
token.actions.githubusercontent.com:subin the condition defines which org/repo can assume this role; here I usedIronCore864/vault-oidc-test.
After creation, copy the IAM role ARN, which will be used next.
To learn more about creating roles for OIDC, see the official document here.
4.3 Test AWS Access in GitHub Action Using OIDC
Let's create a simple test workflow:
This workflow named "AWS" is triggered manually, tries to assume the role we created in the previous step, and runs some simple AWS commands to test we get the access.
The job or workflow run requires a permission setting with id-token: write. You won't be able to request the OIDC JWT ID token if the permissions setting for id-token is set to read or none.
For your convenience, I put the workflow YAML file here.
After triggering the workflow, everything works with no access keys or secrets needed whatsoever:

GitHub Actions Security Best Practices [cheat sheet included]
5. Tutorial: GitHub Actions OIDC with HashiCorp Vault
Unfortunately, not all systems that you are trying to access from your CI/CD workflows support OIDC, and sometimes you would still need to use passwords.
However, using hardcoded passwords means we need to duplicate and store them in GitHub as secrets, and this violates our aforementioned best practice.
A better approach is to use a secrets manager to store secrets and set up OIDC between your CI and your secrets manager to retrieve secrets from your secrets manager, with no password used in the process.
5.1 Install HashiCorp Vault
In this tutorial, we will do a local dev server (DO NOT DO THIS IN PRODUCTION) and expose it to the public internet so that GitHub Actions can reach it.
The quickest way to install Vault on Mac probably is using brew. First, install the HashiCorp tap, a repository of all our Homebrew packages: brew tap hashicorp/tap. Then, install Vault: brew install hashicorp/tap/vault.
For other systems, refer to the official doc here.
After installation, we can quickly start a local dev server by running:
However, this is only running locally on our laptop, not accessible from the public internet. To expose it to the internet so that GitHub Actions can reach it, we use grok, the fastest way to put your app on the internet. For detailed installation and usage, see the official doc. After installation, we can simply run ngrok http 8200 to expose the Vault port. Take note of the public URL to your local Vault.
5.2 Enable JWT Auth
Execute the following to enable JWT auth in Vault:
Apply the configuration for GitHub Actions:
Create a policy that grants access to the specified paths:
Create a role to use the policy:
When creating the role, ensure that the bound_claims parameter is defined for your security requirements, and has at least one condition. To check arbitrary claims in the received JWT payload, the bound_claims parameter contains a set of claims and their required values. In the above example, the role will accept any incoming authentication requests from any repo owned by the user (or org) IronCore864.
To see all the available claims supported by GitHub's OIDC provider, see "About security hardening with OpenID Connect".
5.3 Create a Secret in Vault
Next, let's create a secret in Vault for testing purposes, and we will try to use GitHub Actions to retrieve this secret using OIDC.

Here we created a secret named "aws" under "secret", and there is a key named "accessKey" in the secret with some random testing value.
To verify, we can run:
Note that the "Secret Path" is actually secret/data/aws, rather than secret/aws. This is because of the kv engine v2, the API path has the added "data" part.
5.4 Retrieve Secret from Vault in GitHub Actions Using OIDC
Let's create another simple test workflow:
This workflow named "Vault" is triggered manually, tries to assume the role we created in the previous steps, and receives the secret we just created.
To use the secret, we can either use "env" or step outputs, as shown in the example above.
Similarly to the previous AWS job, it requires a permission setting with id-token: write.
For your convenience, I put the workflow YAML file here.
After triggering the workflow, everything works with no secrets used to access our Vault:

Summary
In this blog, we started with the infamous CircleCI breach, went on to talk about security in CI/CD systems with some best practices, did a quick introduction to OIDC, and did two hands-on tutorials on how to use it with your CI. After this tutorial, you should be able to configure secure access between GitHub Actions and your cloud providers and retrieve secrets securely using OIDC.
If you enjoyed this article, please like, comment, and subscribe. See you in the next one!

Top comments (0)