
Your WordPress website has some important, sensitive, or paid content, and you want to allow only a few users with a certain role to view them. Easy peasy! You can use a member plugin to restrict who is allowed to read content on your WordPress website.
In this article, we're going to do it step by step with Restrict User Access plugin. But first, let's learn about the applications of restricting content by members in WordPress.
When Do You Need to Restricting Content by Members?
Restricting content by members can be applied for:
- Online books websites: allow only VIP members to read paid books or hot books.
- School websites: allow only teacher accounts to read private documents such as lesson plans and graduation theses.
- Company websites: allow only manager accounts to read private documents or internal reports.
- And many other applications, depending on your creativity.
For better illustration, I'm going to make an example of a company website. Here what I do:
How to Allow Only Certain Users to Read Content
In this article, I classify all users on the WordPress website into two levels: Manager and Staff. Staff can only read normal posts, while managers can read both normal and private posts.
To do so, I use Restrict User Access plugin.

Restrict User Access plugin helps you create a membership website where users get different levels. Depending on the level, users are allowed to use features or read posts with increasing importance / secret.
Restrict User Access plugin is free and available on wordpress.org, so you just need to install and activate the plugin as usual:

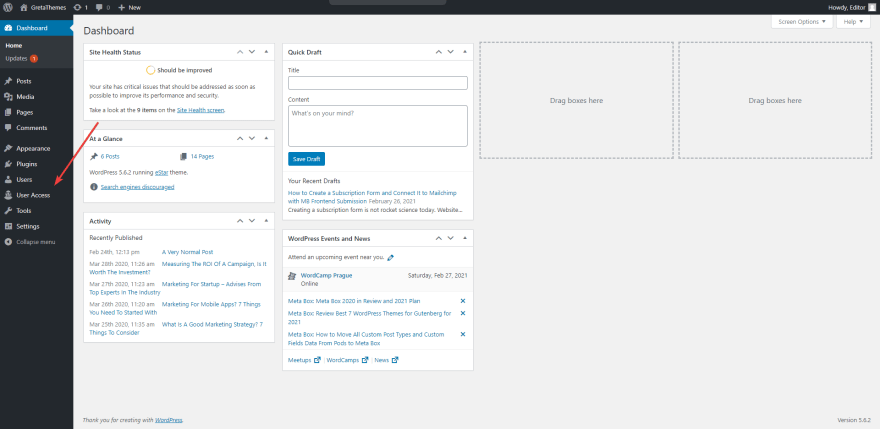
Upon activation, a new section User Access will show on the sidebar on the back end of your WordPress website:
This time, follow these below steps to restrict content by members in WordPress:
Step 1: Create Levels and Grant Capabilities for Them
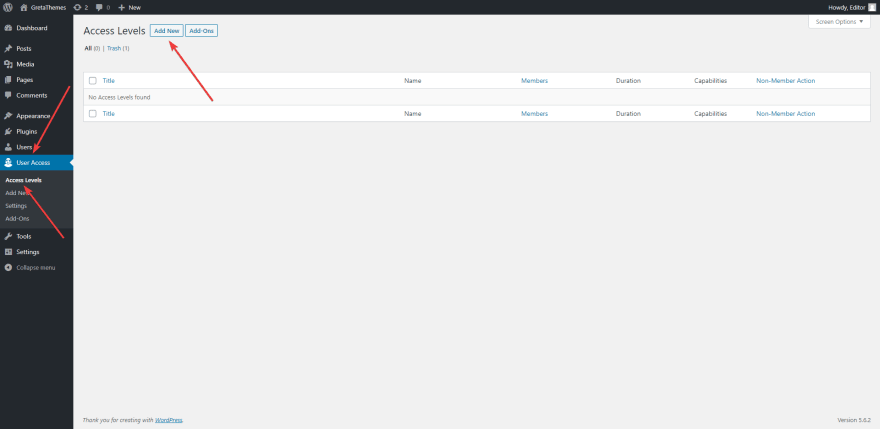
First, go to User Access > Access Levels > Add New:
In the Add New interface, you can create access conditions, apply the level to users, grant capabilities for the level, and set up other options such as duration, hide the admin bar, etc.

Now, name the level, and then move to the Capabilities tab to grant capabilities for this level:

As you can see on the image, the first column contains capabilities that can be granted to the currently selected level (Manager). To grant a capability to Manager, just click on the corresponding cell in the Permit column; otherwise, click the cell in the Deny column.
In this article, I only focus on the capability to read articles or pages. Therefore, I only permit the following capabilities:
-
read: read normal posts / pages read_private_postsread_private_pages
As for other capabilities, I choose Deny.

Next, don't forget to click Create.
We've finished the first level Manager. As for the Staff level, I do the same. But in the Capabilities tab, I only permit read.

These are two levels (Manager and Staff) that I've created:
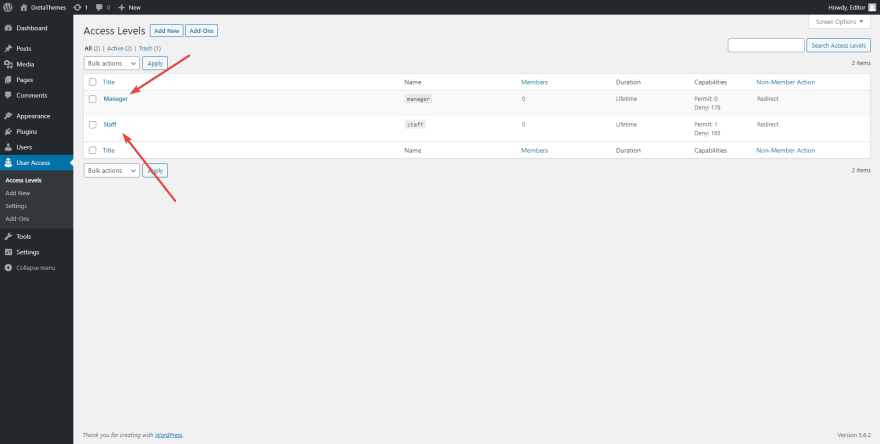
However, these levels still haven't been applied to any user. To do so, move to step 2.
Step 2: Apply the Level to Users
There are two methods to apply the level to users:
- Method 1: Choose users manually
- Method 2: Synchronize with user roles
Here we go!
Method 1: Choose Users Manually
Method 1 is suitable for internal company websites that have a few members (<20 people) because it's time-consuming to choose numerous members manually.
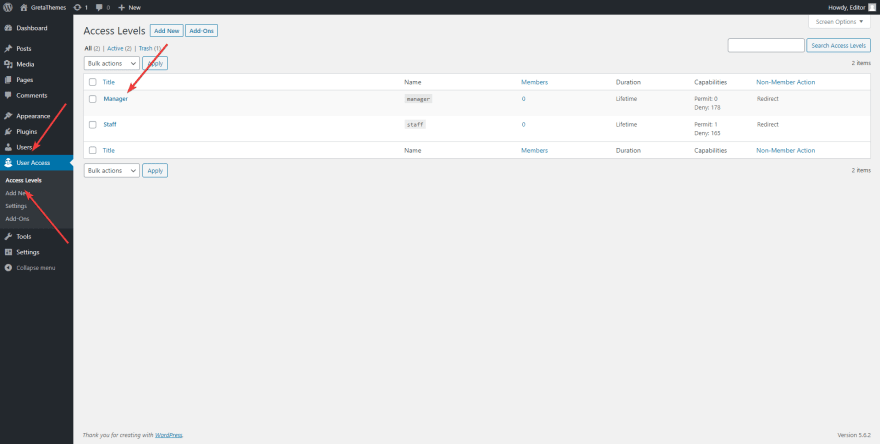
First, go to User Access > Access Levels and choose the level you want to apply to users:
Next, move to the Members tab, in the Search for Users section, fill in the user names and click Save.
Method 2: Synchronize with User Roles
Method 2 is faster than method 1 because you can utilize available user roles on your WordPress website. However, make sure that managers and staff are assigned the right user roles.
Read more: how to configure user roles in WordPress.
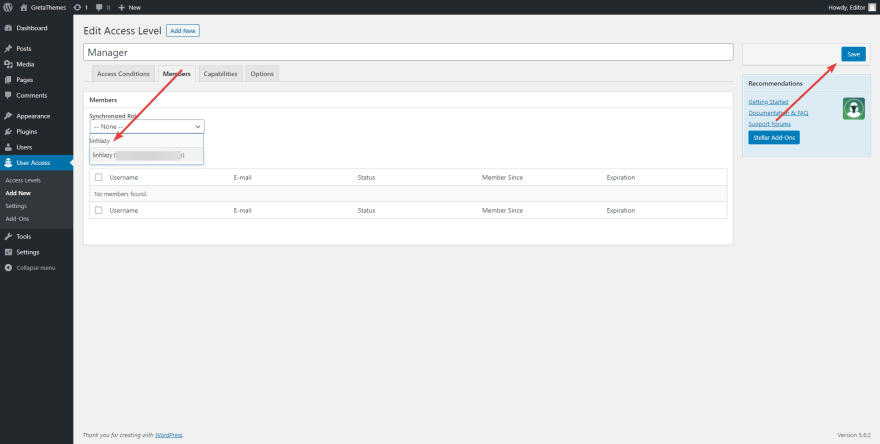
To synchronize with user roles, you also choose the desired level and go to the Members tab.
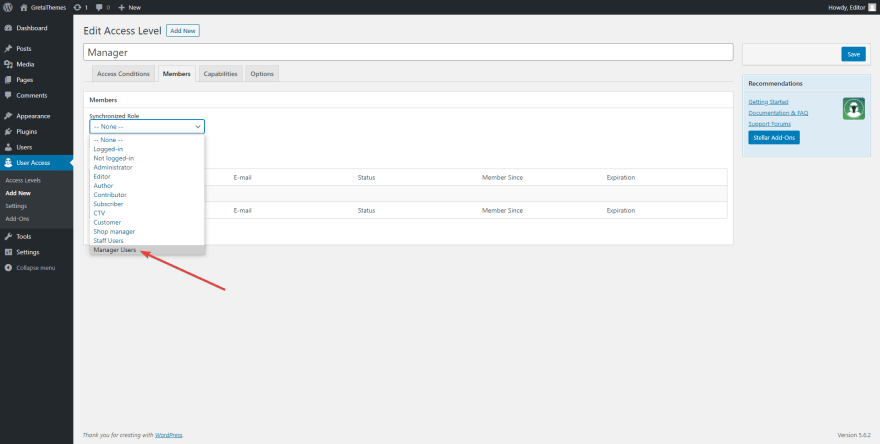
In the Synchronized Role section, choose the role you want to synchronize. In this example, I created two user roles (Manager Users and Staff Users) before, so I just need to synchronize them with the corresponding levels.
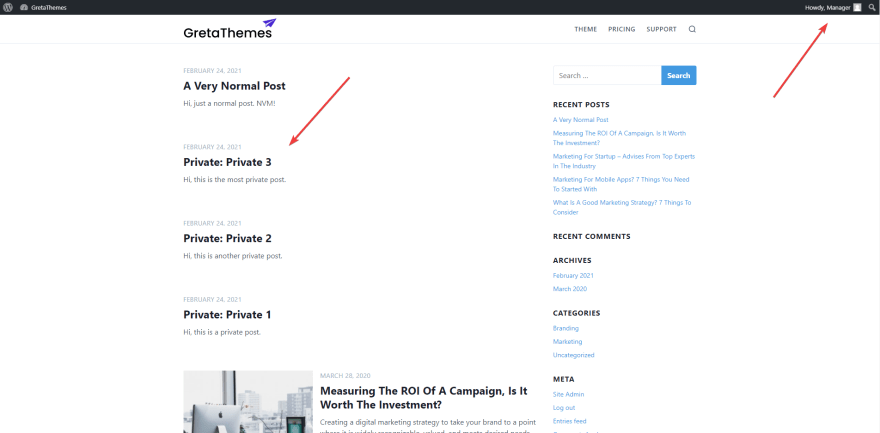
Ok, now I'll check if we do it right. My WordPress website has three private posts and some normal posts as follows:

First, I log in with a Staff account. As you can see, I can't see private posts. They don't even show up:

Next, I log in with a Manager account. And tada, I can see private posts now:
Restrict User Access has another interesting feature that is creating access conditions. With this feature, you can set up so that users in a level can only read certain posts that you specified.
How to Create Access Conditions
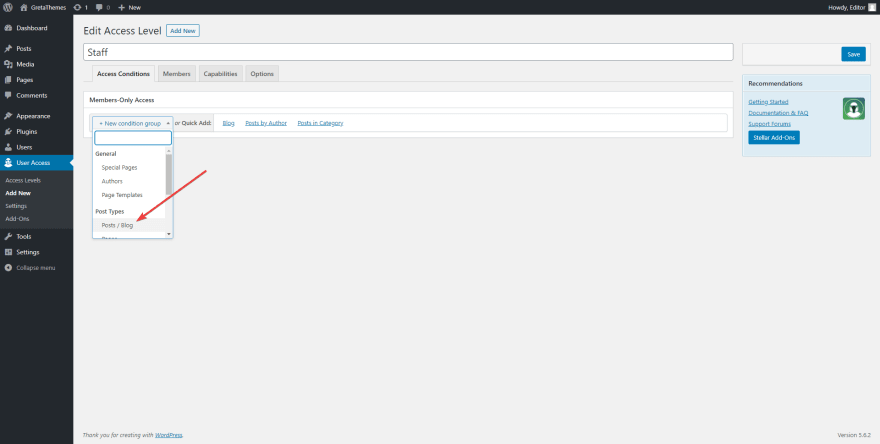
First, choose the level that you want to create access conditions for. In this example, I choose the Staff level:

Next, go to the Access Conditions tab and click New condition group:

Now, you can see a lot of condition types. However, we just focus on the capability of reading posts, so let's choose Posts / Blog:
After that, click the box next to the Posts / Blog section, and then select the posts that you allow your users to read. For example, I choose the following posts:

Finally, don't forget to click Save.
From now on, Staff users are only allowed to read content that I specified above. As for other posts, although they can still see the title and featured images on the archive page, they can't read the post content.
Last Words
Restricting content by members in WordPress is very crucial for websites that have sensitive, important, or paid content. You should utilize this technique to protect your website content.
Do you know any other application of restricting content by members in WordPress? Share it with us in the comment section!
See ya!

Oldest comments (0)