
Today, we will dive into the process of installing Laravel Valet. This local development environment is designed specifically for Mac users who want to develop modern PHP websites with ease and efficiency. Before we begin, it's important to note that in order to use Valet, you must have Composer installed on your system. If you don't have it, you can follow the instructions on https://getcomposer.org/download/ to install it.
Here's how to install Laravel Valet:
Step 1: Open Terminal
Step 2: Run the following command to download the installation script:
curl -sS https://getcomposer.org/installer | php
Step 3: Move the composer.phar file to your local binary directory to make it globally accessible:
sudo mv composer.phar /usr/local/bin/composer
Step 4: Verify that Composer is installed correctly by running the following command:
composer
And that's it! With Composer installed, you are now ready to install Laravel Valet.

Here are the steps to install Laravel Valet on your Mac:
Step 1: Use the following command to install Laravel Valet using Composer:
composer global require laravel/valet
This will install Valet globally on your system.

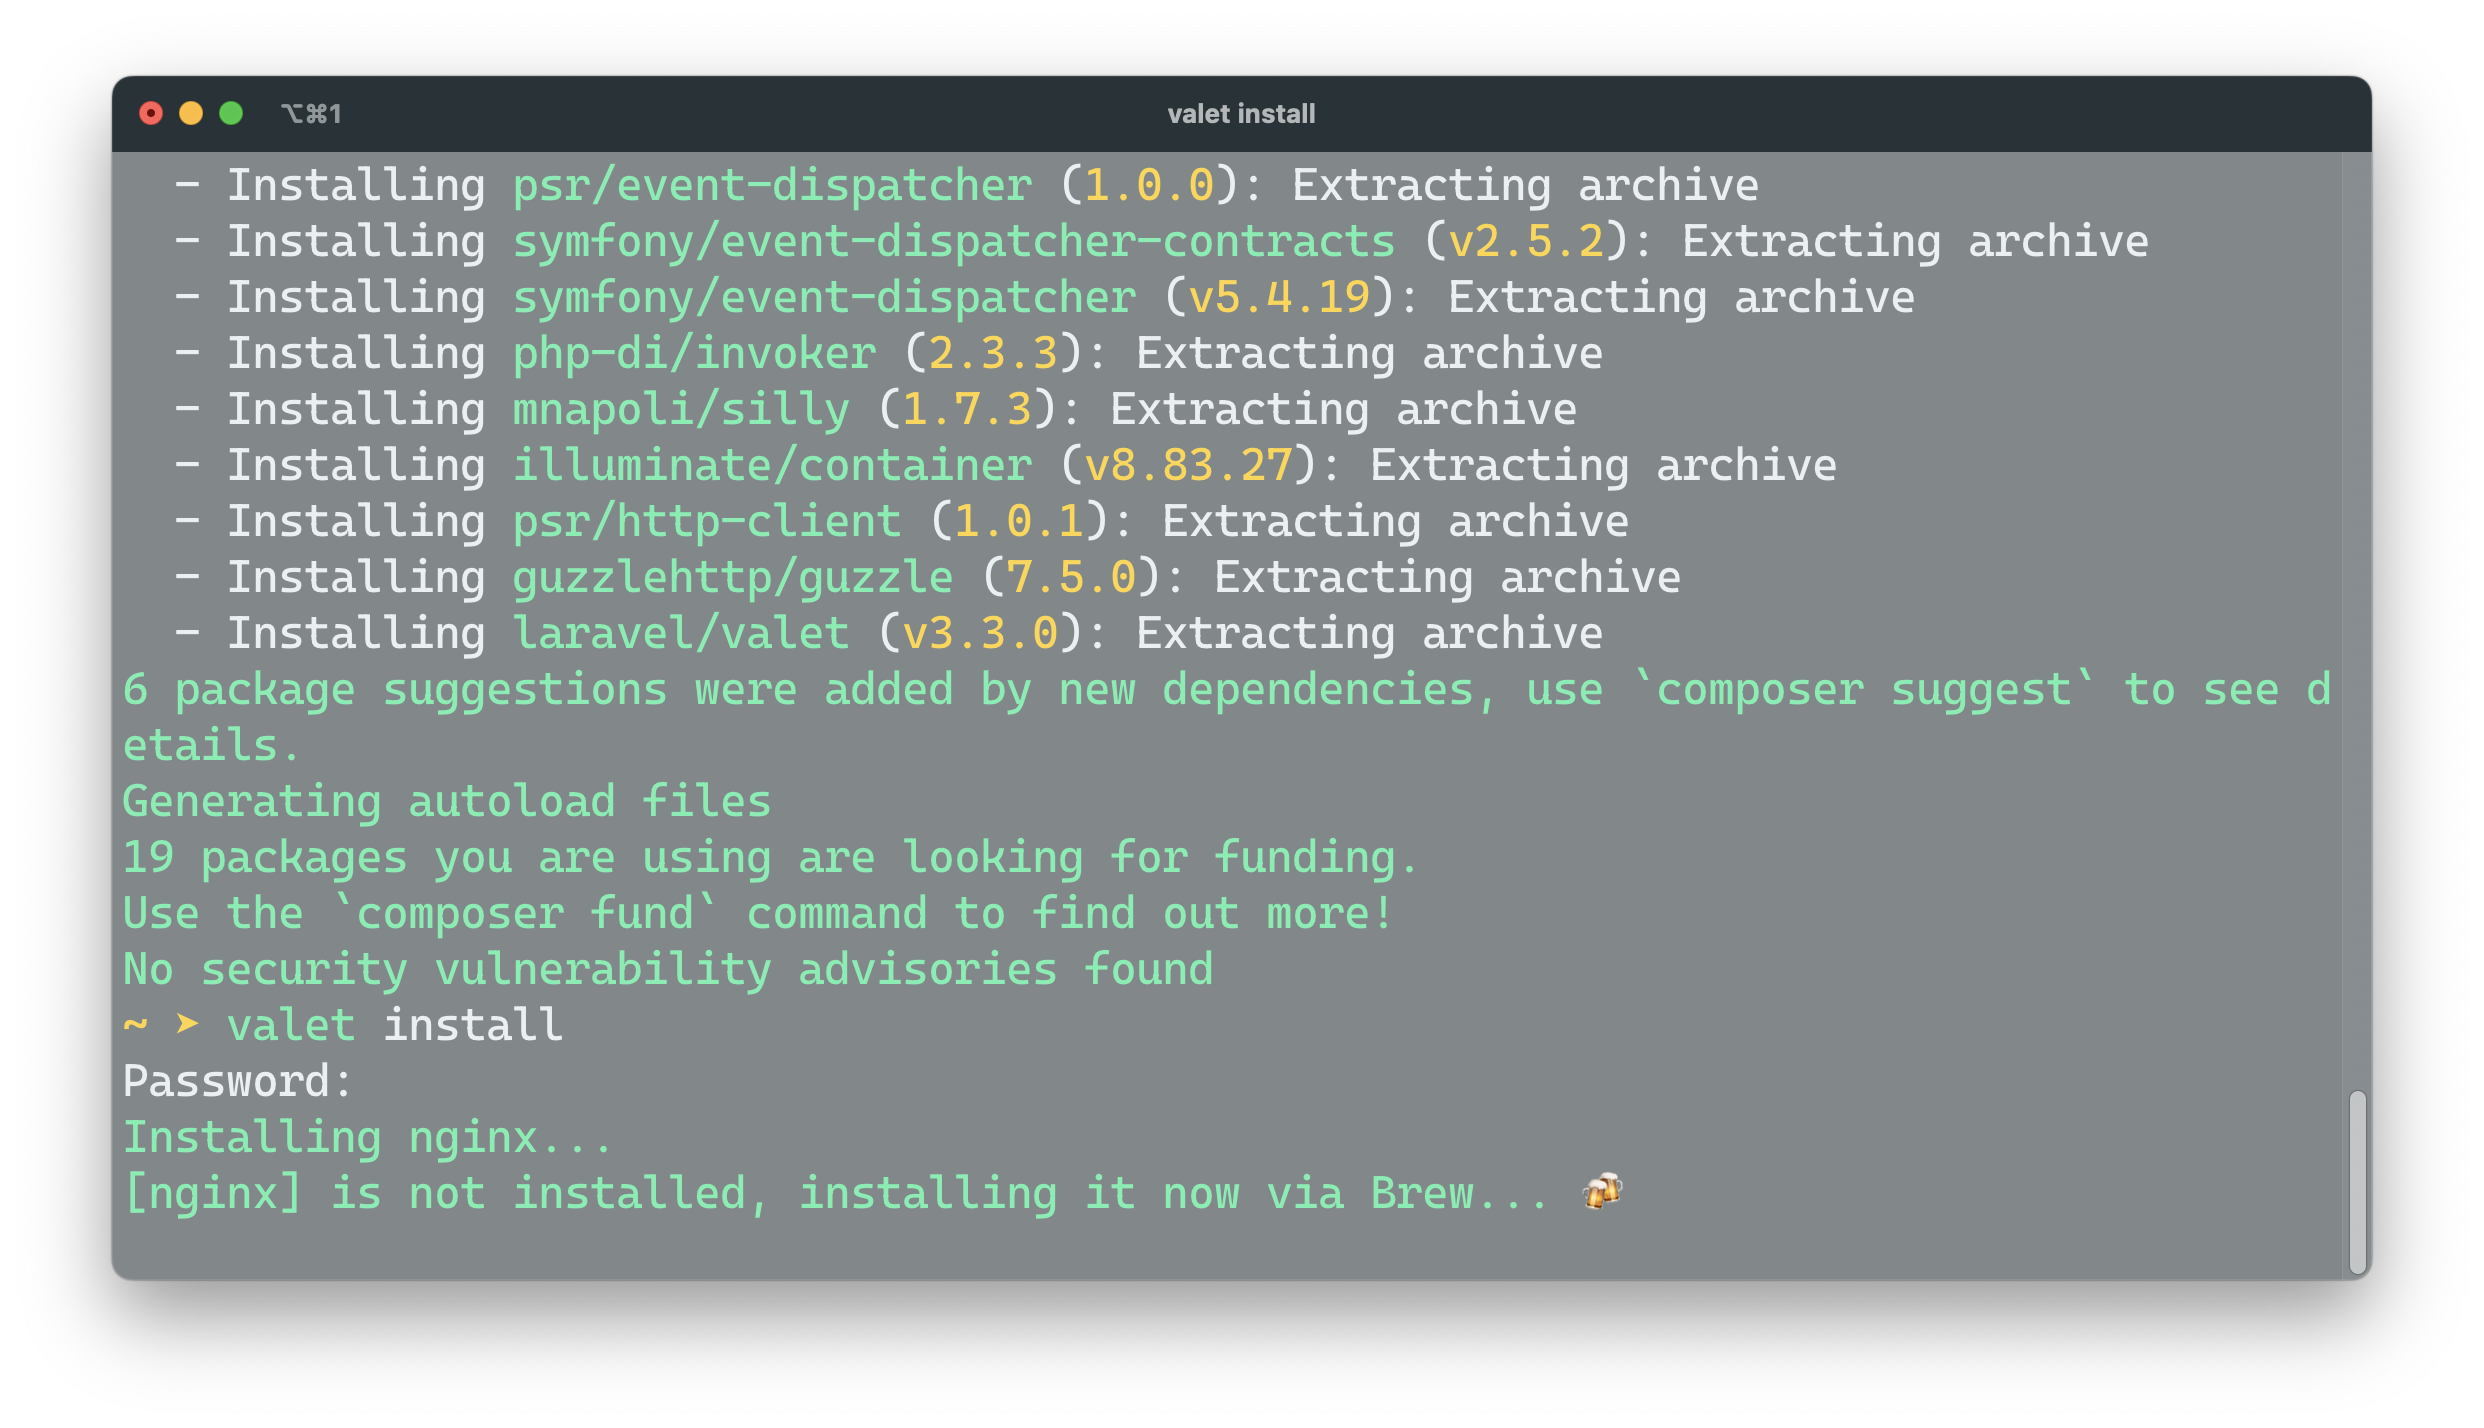
Step 2: Configure Valet by running the following command:
valet install
If you get the error "zsh: command not found: valet," follow these steps to resolve it:
- Run
composer global config bin-dir --absoluteto check the directory where your global composer packages are installed.

- Add that directory to your system's PATH by adding the following line to your shell profile file (e.g. ~/.bash_profile, ~/.zshrc, etc.) with the correct path: ```
export PATH="path/to/composer/vendor/bin:$PATH"
Now `valet install` will work
Step 3: Set PHP 7.4 as the PHP version for serving your Laravel projects by running the following command:
valet use php@7.4
Step 4: Start Valet by running the following command:
valet start
Step 5: Park your Laravel project by running the following command in the root directory of your project:
valet park
This will create a symbolic link between your project and Valet, making it easy for Valet to locate and serve your project. Your Laravel project should now be accessible through your browser.

If you want to link your project with a custom domain, you can do so by running the following command:
valet link custom-domain
Where "custom-domain" is the name of the URL you want to set. For example:
valet link aheer
You can check the status of Valet and your parked or linked sites by running the following command:
valet links
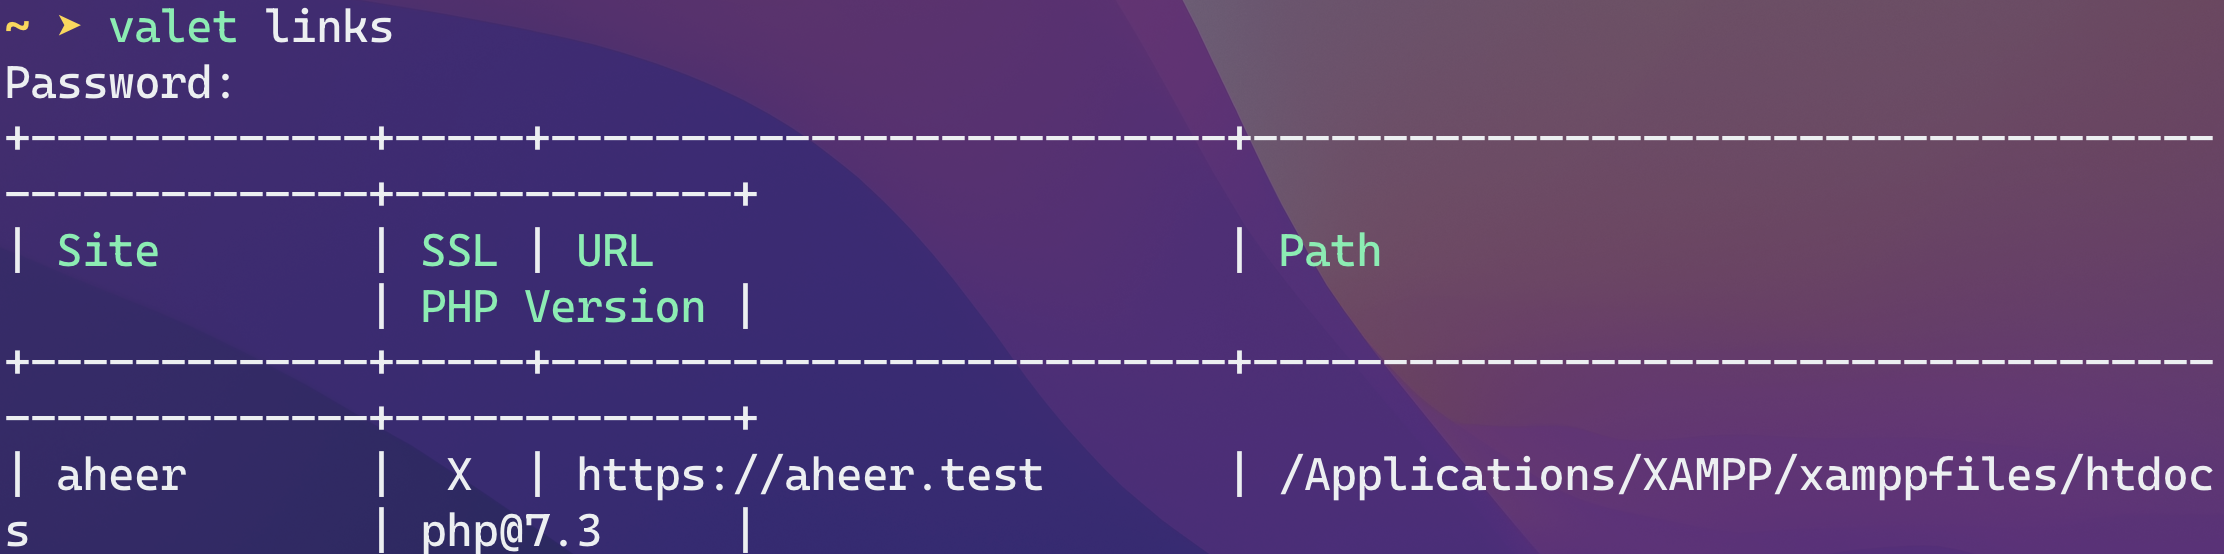
Finally, visit aheer.test to access your project.
Congratulations! You have successfully installed Laravel Valet on your Mac.

Top comments (3)
more easy solution for laravel is now around us check it.
herd.laravel.com/
Have you tried ServBay.dev?
A much easier tool for PHP developer, provides a much easier way, especially for beginners. It handles all versions of PHP, MariaDB, PostgreSQL, as well as Redis and Memcached. You can run multiple PHP instances simultaneously and switch between them effortlessly, without the need for any environment setup. This tool has simplified my PHP development and is definitely worth a try!
Thanks, Leslie