If you don't know it yet, Atlas is the Cloud solution to host your Mongo database.
It's dead simple to set up, and the team behind MongoDB makes it. So it's a pretty reliable solution when you're looking to host your database.
And the best part is that you can start for free and pay as you grow!
Robo 3T is a powerful MongoDB GUI that allows you to visualize, create, update/patch & delete documents. Connected to Atlas, you can easily maintain and manage your collections & documents.
If you already have a Cluster ready, feel free to go to the second part of this article.
First - Let's create and set up our first Atlas Cluster.
A Cluster is like a server. It's your personal space where your whole MongoDB ecosystem lives.
To create a free Cluster, we'll need :
1 - To create an Atlas account and to choose the right Cluster
2 - To create an admin user, a super-user that can access all your Collections
3 - To add your IP address in the Allowed list
4 - and finally, create some "dummy" collections, for demo purpose
1 - Create an Atlas account https://www.mongodb.com/cloud/atlas
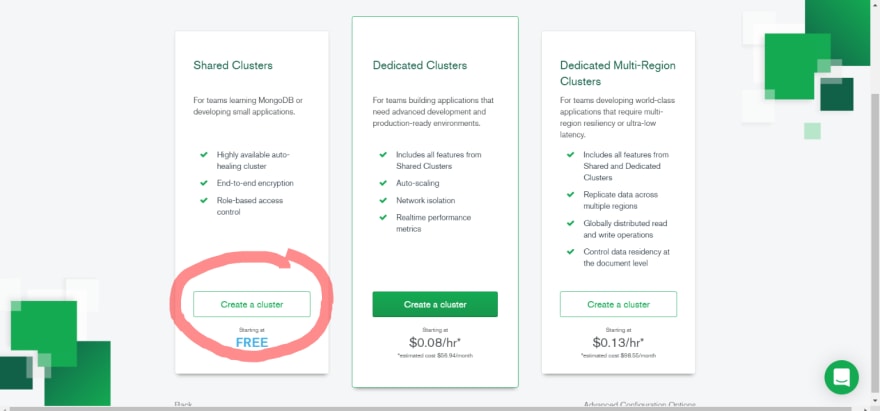
(Atlas Server Setup)[https://i.imgur.com/jYOug1g.png]
2 - You made it! Your Cluster is now ready to be set up
Create an admin user
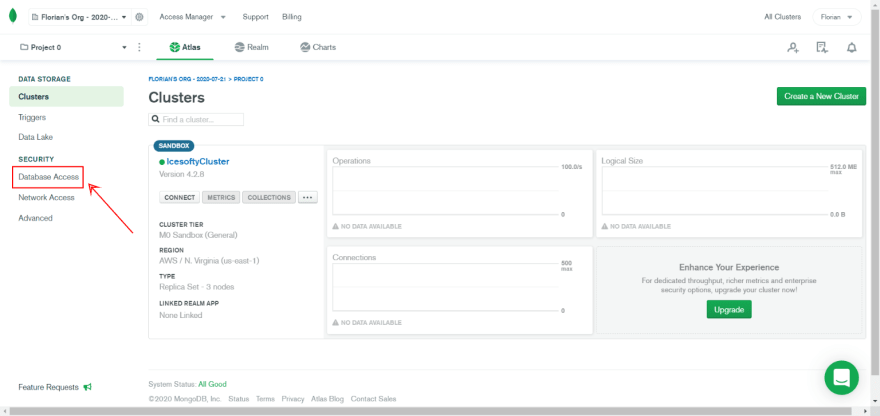
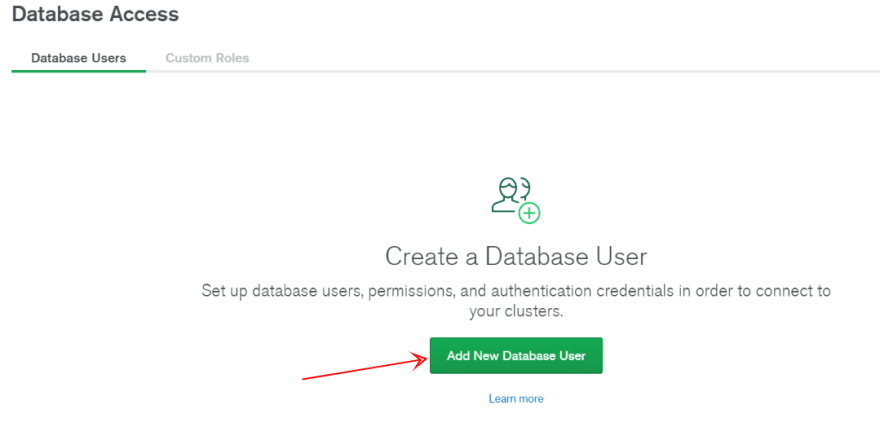
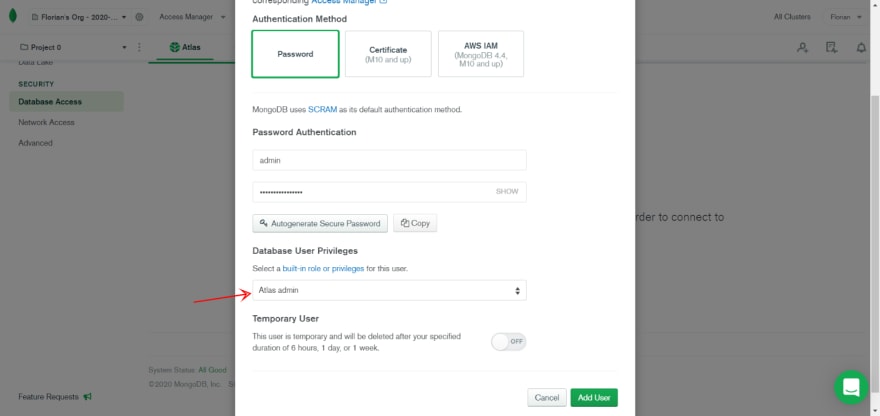
3 - You now have an Admin user that can access all your Cluster's collections. Time to add your IP address to the Allowed list
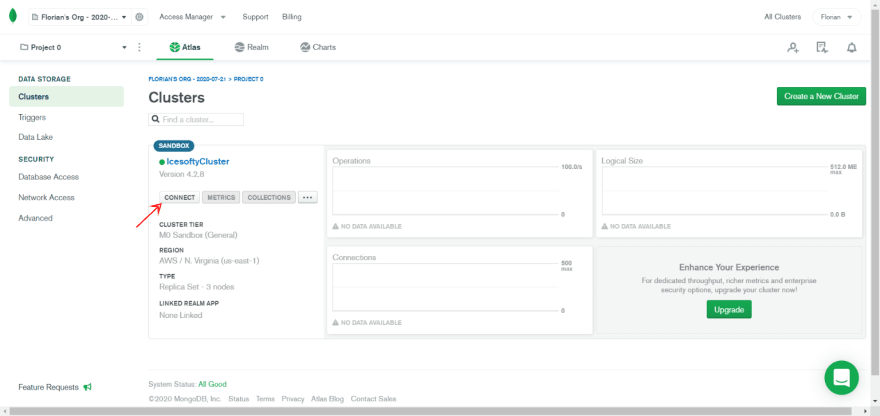
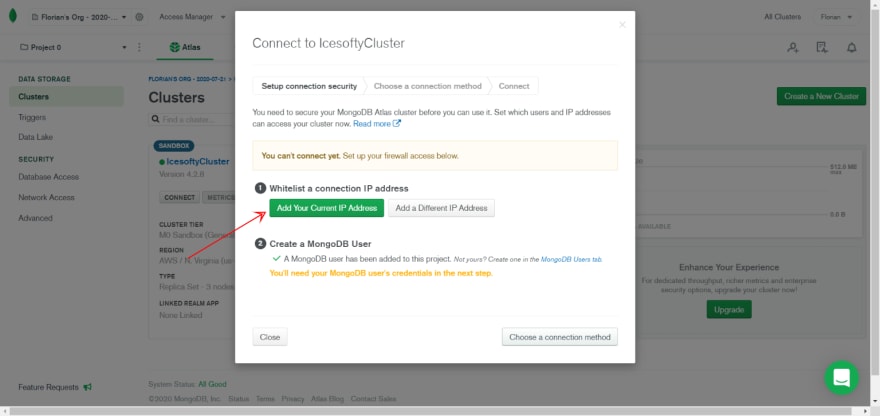
4 - Your Cluster is ready to get Collections! Let's load some sample Collections data.
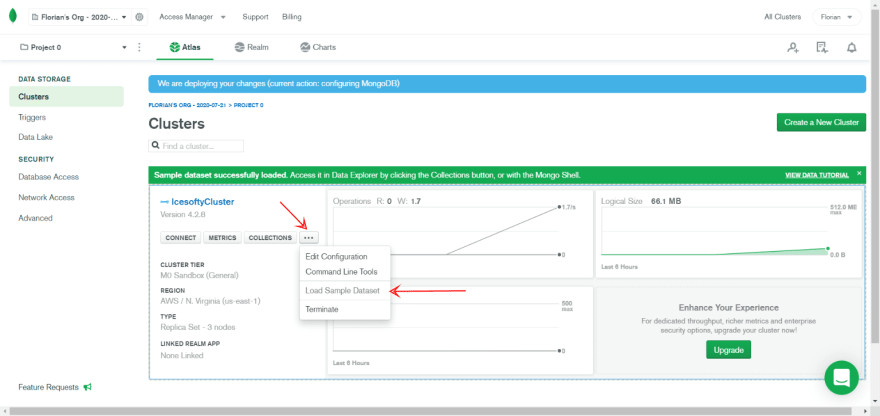
Second - Now that everything is ready, we can connect Robo3T to our Cluster.
To do that, we'll need:
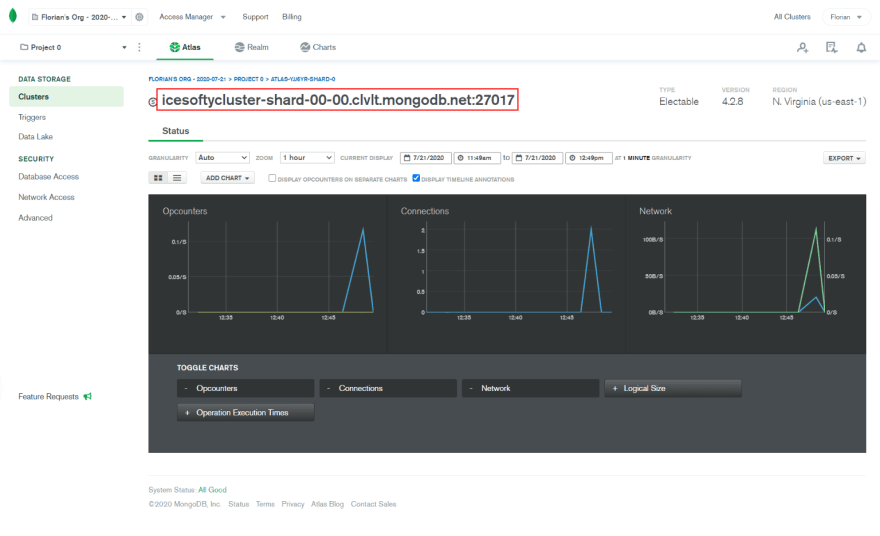
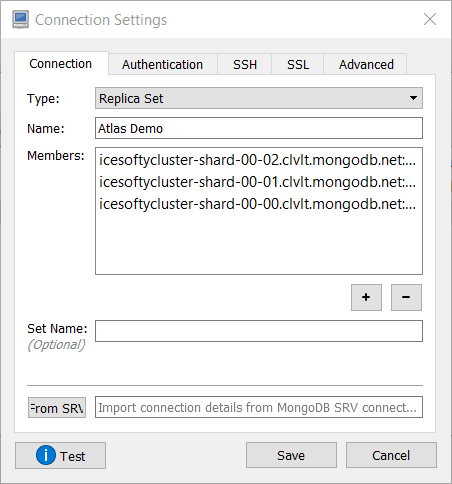
1 - to copy the Replica set
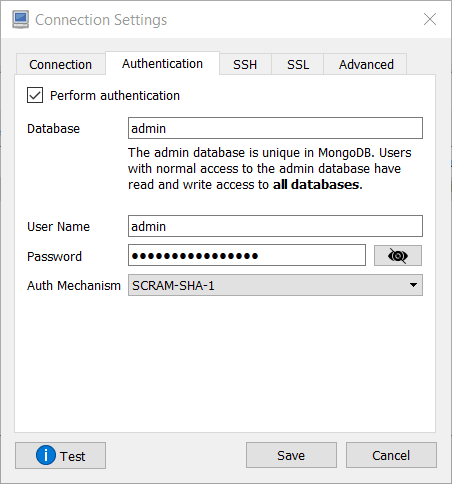
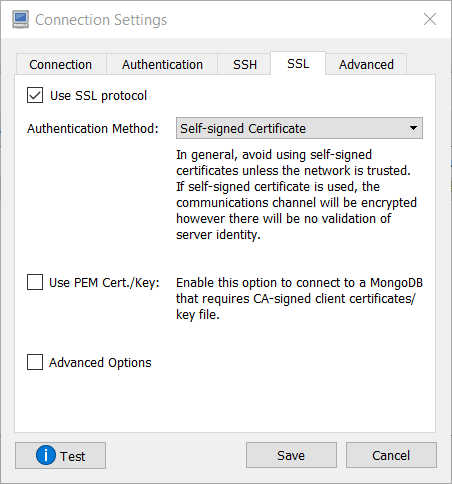
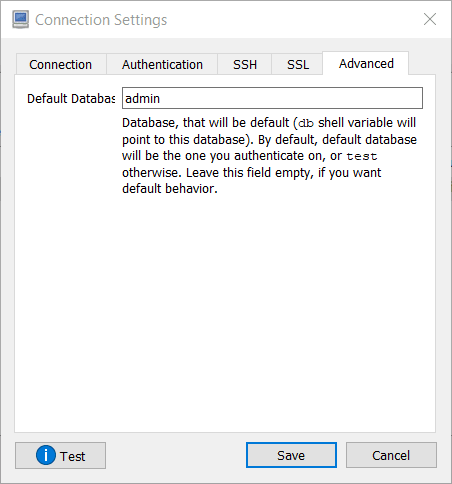
2 - to create a new connection into Robo3T
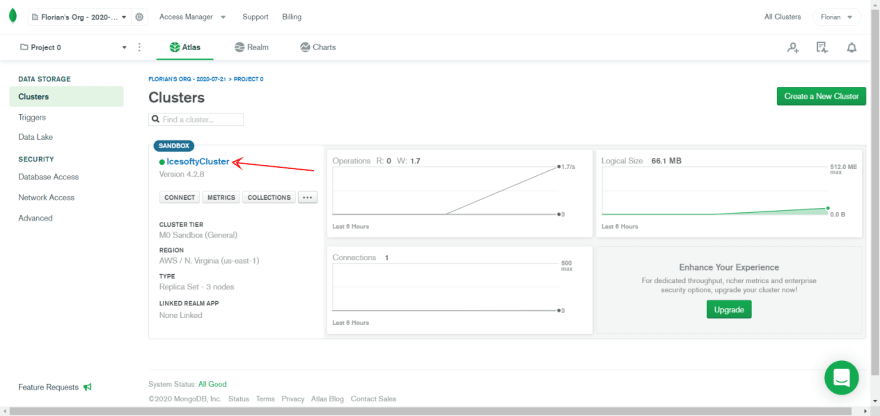
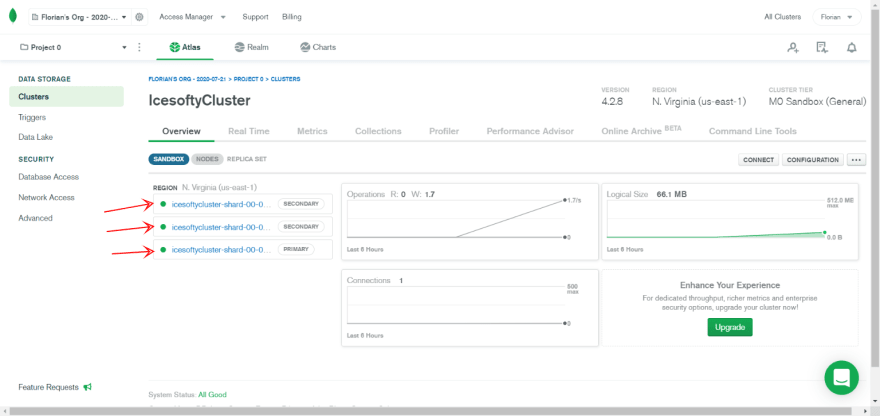
1 - let's copy our replica set
Click on your Clusters name
2 - Download https://robomongo.org/ and open it.
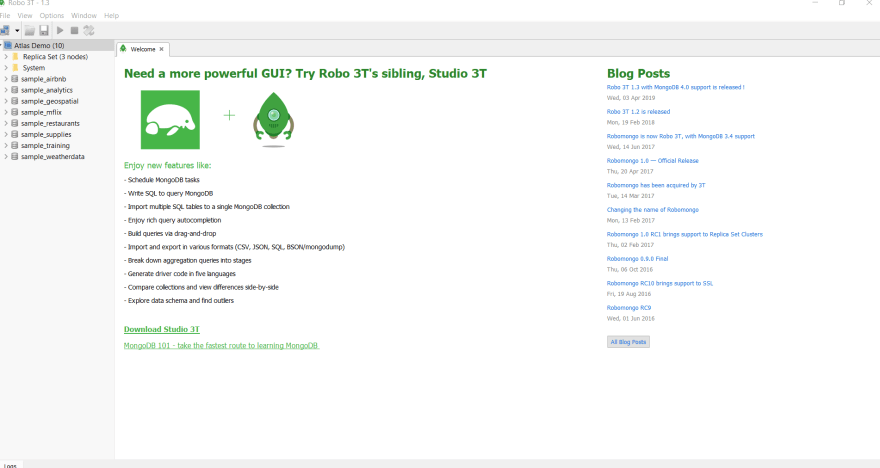
Once set up, double click on your connection. You're now connected to your Cluster!




Top comments (0)