
Configure SmartIR is a very simple process but it's not something we do very often, and since I have a very bad memory for this kind of thing I decided to make a quick tutorial.
From SmartIR official doc:
SmartIR is a custom integration for controlling climate devices, media players and fans via infrared controllers.
SmartIR currently supports the following controllers:
- Broadlink
- Xiaomi IR Remote (ChuangmiIr)
- LOOK.in Remote
- ESPHome User-defined service for remote transmitter
- MQTT Publish service_
- Go to Configuration -> Devices & Services (Integrations, devices, entities and areas). And search for the BroadLink integration.

- Enter the IP number of the BroadLink remote(you can get the IP easily using the BroadLink app. Select the remote, click on the 3 points in the upper right corner, device info and you will see the IP).

- Enter a name and click submit.

- Copy the entity id for later.

- Add SmartIR to HACS, probably you will not find the integration, so you have to add it manually.

- Just click on the Custom repositories option, and use the following link to fill the repository field https://github.com/smartHomeHub/SmartIR (make sure to choose Integration in the category list).

- Let's going to configure a climate device. Open your configuration.yml file and add the following block: ```
smartir:
climate:
- platform: smartir name: Living AC unique_id: living_ac device_code: 1760 controller_data: remote.rc_living_remote
8.Replace name and unique_id with a value of your choice, device_code with one of the available codes of the [list](https://github.com/smartHomeHub/SmartIR/blob/master/docs/CLIMATE.md#available-codes-for-climate-devices) and controller_data with the entity id of the 4th step.
9.Save the configuration.yml and restart Home Assistant.
10.Once the restart is completed, add a new card to your view. Click on add card button -> select the Thermostat card, and select the entity. 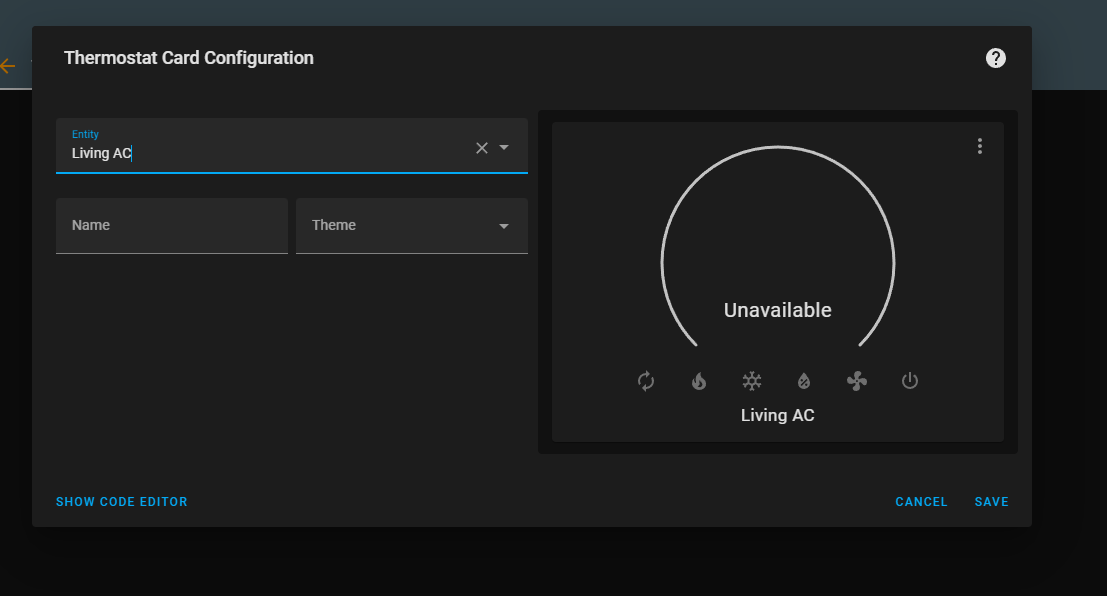
**Now you should be able to control your air conditioner in a very simple way.**
### Extra:
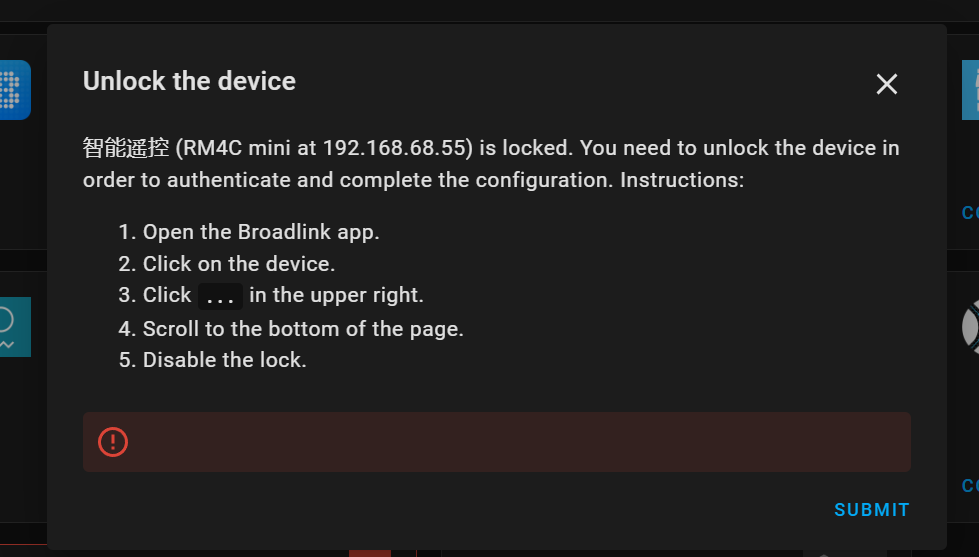
_When adding the BroadLink device to Home Assistant could be possible to get an error because the device is blocked, just follow the instructions mentioned below to unlock the device._

Top comments (1)
Thanks for sharing!
unfortunately, I'm getting this image, any idea why?
Thanks!
