
Here we will go through how to bootstrap your own blog using Hugo and fly.io.
Prerequisites
Here is a list of toolings you will need to have installed on your machine:
Optional:
- Golang (optional, but I will be using it in this guide)
- Docker (optional, only needed to run the blog locally using Docker)
Create a new Hugo site
First, we need to create a new Hugo site. To do so, we will use the hugo mod init command:
hugo mod init github.com/<username>/<repo-name>
This will populate your project directory with the following structure:
your-project
├── public/
├── resources/
└── go.mod
Add a theme
Next, we need to add a theme to our blog. For this guide, I will be using the blowfish theme.
- Now we want to add the theme to our blog, so we will reference it in our
config/_default/module.tomlfile:
# config/_default/module.toml
[[imports]]
path = "github.com/nunocoracao/blowfish/v2"
Start your server using
hugo serverand the theme will be downloaded automatically.In the root folder of your website, delete the config.toml file that was generated by Hugo. Copy the *.toml config files from the theme into your config/_default/ folder, download a copy from here.
Note: Do not overwrite the
module.tomlfile you created above!
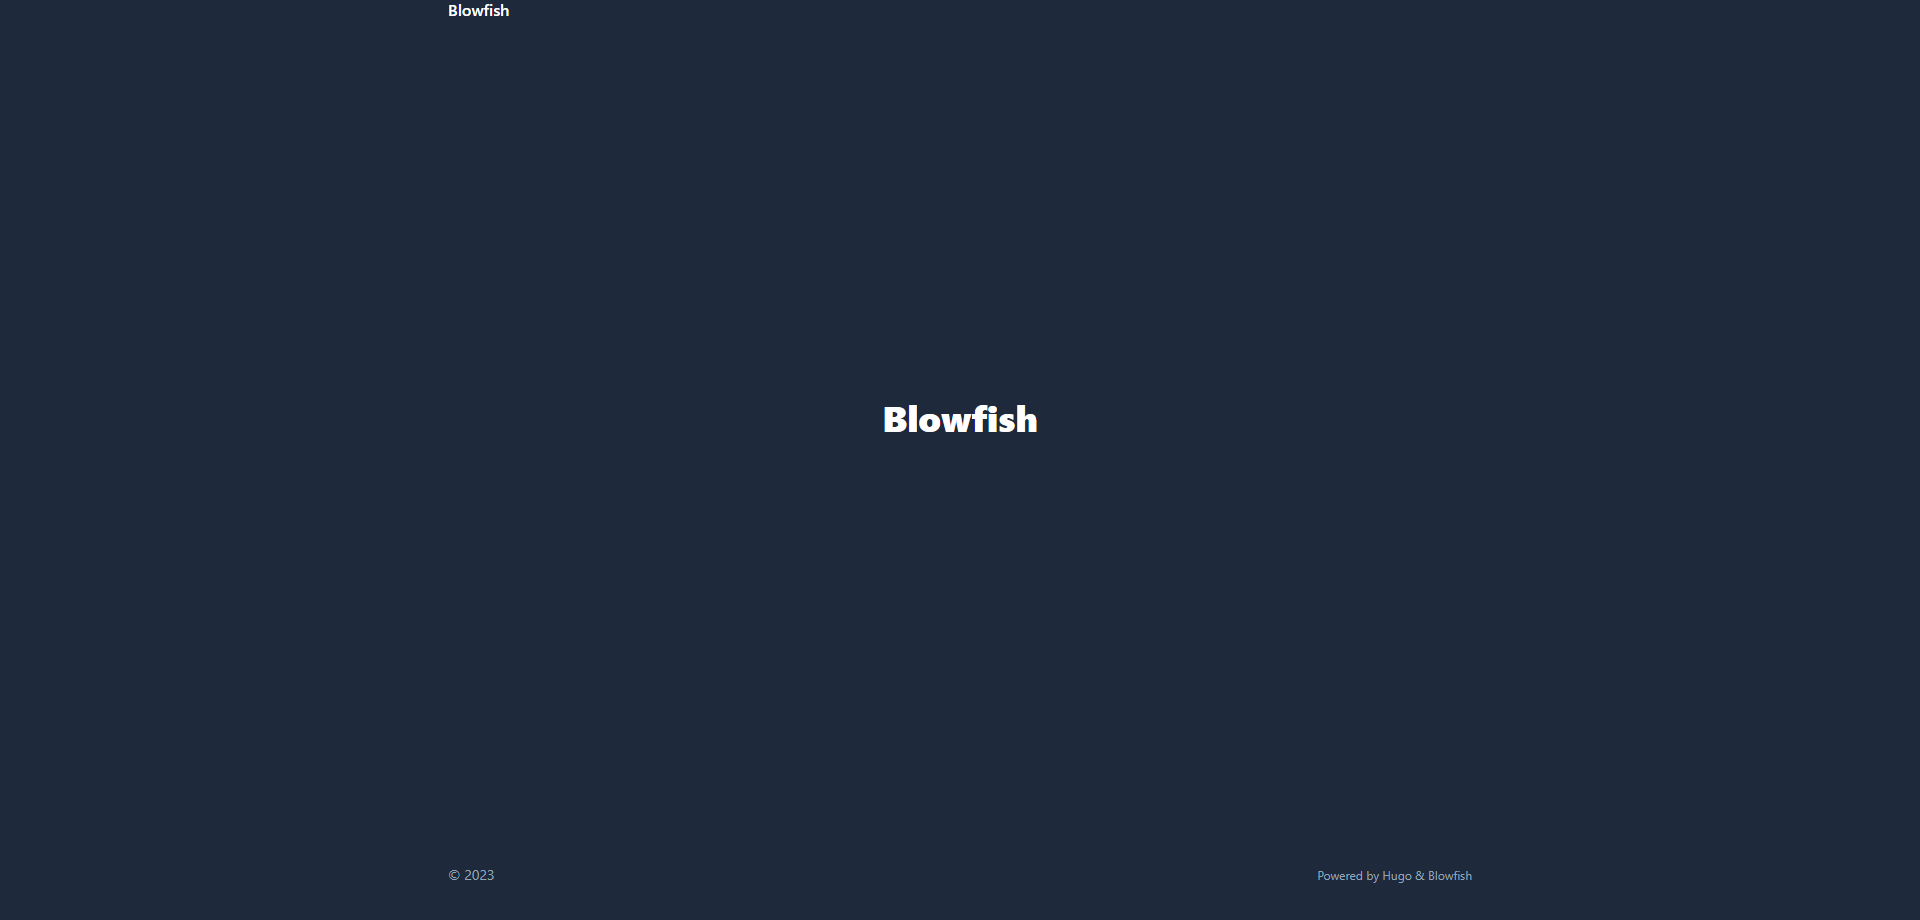
Now so far if we run hugo server we will see the following when we access http://localhost:1313:

From here you can start working on your blog following the blowfish theme documentation.
Recomnadation: I recommend you use vendoring to manage your theme dependencies.
To do so, you can use the hugo mod vendor command:
hugo mod vendor
Add a Dockerfile
Now that we have our blog ready, we need to add a Dockerfile to our project so we can deploy it to fly.io.
Create a new file called Dockerfile in the root of your project and add the following content:
FROM golang:1.19.0-buster AS build

RUN apt update -y
RUN apt install -y wget
# Install Hugo
RUN wget https://github.com/gohugoio/hugo/releases/download/v0.106.0/hugo_extended_0.106.0_linux-amd64.deb
RUN dpkg -i hugo_extended_0.106.0_linux-amd64.deb
RUN apt-get install -f

WORKDIR /var/hugo/src
COPY . .
RUN hugo --minify

EXPOSE 1313
CMD ["hugo", "server", "--bind", "0.0.0.0"]
You can try running docker build . to build your image locally and see your docker hosted blog.
Important Configurations
Before we jump and deploy our blog to fly, we need to configure the baseURL of our blog.
Add a baseURL to our config/_default/config.toml file:
# config/_default/config.toml
baseURL = "https://<your-app-name>.fly.dev"
Hosting on fly.io
Now we can create a new app on fly.io.
To do so, we will use the fly launch command:
fly launch
The command will prompt you with a few questions about your app like so:
? App Name (leave blank to use an auto-generated name):
? Select organization: You (personal)
? Select region: lax (Los Angeles, California (US))
Created app *** in organization personal
Wrote config file fly.toml
? Would you like to deploy now? (y/N)
The launch command generates a fly.toml file for your project with the settings. You can deploy right away, or add some config first.
Now your fly.toml file should look something like this:
app = "<app-name>"
primary_region = "<region-name>"

[http_service]
  internal_port = 1313
  force_https = true
  auto_stop_machines = true
  auto_start_machines = true
  min_machines_running = 0
Automatic Deployment with GitHub Actions
Now that we have our blog ready, we need to automate the deployment process. To do so, we will use GitHub Actions.
- First, we need to create a new file called
.github/workflows/deploy.ymlwith the following content:
# .github/workflows/deploy.yml
name: Fly Deploy
on:
push:
branches:
- main
jobs:
deploy:
name: Deploy app
runs-on: ubuntu-latest
environment: production
steps:
- uses: actions/checkout@v3
- uses: superfly/flyctl-actions/setup-flyctl@master
- run: flyctl deploy --remote-only
env:
FLY_API_TOKEN: ${{ secrets.FLY_API_TOKEN }}
Make sure you add a
FLY_API_TOKENto your repos secrets. You can get it from https://fly.io/user/personal_access_tokens.
(Optional) Adding a custom domain
If you want to add a custom domain to your blog, first you need a domain. My personal choice was Namecheap, but there are many other options out there like GoDaddy, Hostinger, AWS Route 53, etc.
Once you have your domain, we'll need to run the following command to add it to our fly.io app:
fly certs create <your-domain>
You'll get prompted by fly needing to verify and configure your domain. Just follow the instructions and add an A Record and AAAA Record to your DNS provider as well as adding the CNAME record for www as well.
| Type | Name | Value | TTL |
|---|---|---|---|
| A Record | @ | <value provided by fly> | Automatic |
| AAAA Record | @ | <value provided by fly> | Automatic |
| CNAME Record | www | <your-app-name>.fly.dev. | 5 min |
Once it's ready, you can run fly certs show <your-domain> to see if everything is working as expected and add any other configuration if needed.
Don't forget to re-configure your
baseURLin yourconfig/_default/config.tomlfile:
# config/_default/config.toml
baseURL = "https://<your-domain>"
Summary
Now you have a blog of your own, just like this one. You can now start writing your own posts and deploy them to fly.io.
If you have any questions, feel free to reach out to me on any social.
Originally published at https://itamadev.com on June 3, 2023.

Top comments (0)