StencilJS is such a great tool for creating web components, and Storybook is great for creating design systems, but integrating these two tools doesn't feel very natural because there's no single right way to do it.
After a lot of research, I will show you a simple way to carry out this integration and not die trying 😁
Create a Stencil Project
npm init stencil
This will show you some questions. Answer this way
✔ Pick a starter > component
✔ Project name > storybook-wc-stencil
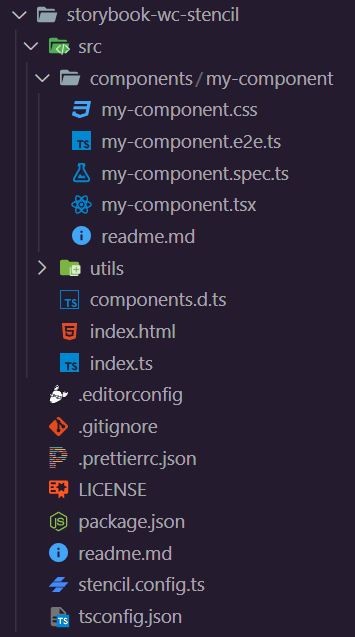
After that, you will have a stencil project with a basic example component inside.
Install dependencies
cd storybook-wc-stencil
yarn install
Ignore node_modules code on check
Add skipLibCheck property to exclude node_modules code
tsconfig.json
{
  "compilerOptions": {
    ...
    "skipLibCheck": true,
  },
  ...
Create a typing file for tsx imports
Our linter could give us problems when trying to import md files, we can also use this file for another type of extensions.
src/typings.d.ts
declare module '*.jpg';

declare module '*.md' {
  const value: string; // markdown is just a string
  export default value;
}

declare module '*.css' {
  const content: { [className: string]: string };
  export default content;
}
Add storybook
npx -p @storybook/cli sb init --type html
This will generate the storybook project
Add notes addon
yarn add -D @storybook/addon-notes
.storybook/main.js
module.exports = {
  stories: ['../src/**/*.stories.mdx', '../src/**/*.stories.@(js|jsx|ts|tsx)'],
  addons: [
    '@storybook/addon-links',
    '@storybook/addon-essentials',
    '@storybook/addon-notes',
  ],
  framework: '@storybook/html',
};
Configuration to load Stencil components on Storybook
.storybook/preview.js
import { defineCustomElements } from '../dist/esm/loader';

defineCustomElements();

export const parameters = {
  actions: { argTypesRegex: '^on[A-Z].*' },
  controls: {
    matchers: {
      color: /(background|color)$/i,
      date: /Date$/,
    },
  },
};
Clean stories
Let's remove all content from stories directory
Project structure
Create a new file called my-component.stories.tsx inside src/stories directory
Your project structure should look like this
./storybook-wc-stencil/
|
|---- .storybook/
|     |---- main.js
|     |---- preview.js
|---- src/
|     |---- components/
|     |     |---- my-component/
|     |           |---- my-component.css
|     |           |---- my-component.e2e.ts
|     |           |---- my-component.spec.ts
|     |           |---- my-component.tsx
|     |           |---- readme.md
|     |---- stories/
|     |     |---- components/
|     |           |---- my-component.stories.tsx
|     |---- typings.d.ts
|---- .editorconfig
|---- .gitignore
|---- .prettierrc.json
|---- LICENSE
|---- package.json
|---- readme.md
|---- stencil.config.ts
|---- tsconfig.json
|---- yarn.lock
Generate components
We can use the next command to automatically generate our components on our components directory
yarn generate component-name
Run Project
For having hot reload, we must execute this two commands in parallel, so we can use two terminals or create a new script
yarn build -- --watch
yarn storybook
The first command will generate the build of our components, we use the --watch flag to be always generating this build on any change
Story code structure
We are going to face some disadvantages when working storybook with stencil
- We need to define properties that we want to use in controls
- We need to define default props for controls
- We need to add description and prop types for Docs pages
- defaultValue property is not working for Doc pages
- We need to pass args values on the template
// This md file is generated by stencil, and we are going to use it as a note page
import notes from '../../components/my-component/readme.md';

export default {
  title: 'UI/My Component',
  args: {
    // Here we define default values that we want to show on controls
    // Also, only props defined here are going to be shown
    first: 'Juan Fernando',
    middle: 'Gómez',
    last: 'Maldonado',
  },
  argTypes: {
    // Here we can add description and prop value type
    first: {
      description: 'First name',
      // First way to define type
      table: {
        type: {
          summary: 'string',
        },
      },
    },
    middle: {
      // Second and shorter way to define type
      type: {
        summary: 'string',
      },
    },
    last: {
      // We can disable the property
      // This will hide it in controls and Doc page
      table: {
        disable: true,
      },
    },
  },
  parameters: {
    // This will create a note page for our story component
    notes,
  },
};

const Template = args =>
  `<my-component first="${args.first}" middle="${args.middle}" last="${args.last}"></my-component>`;

export const Basic = Template.bind({});

export const Another = Template.bind({});
Another.args = {
  first: 'John',
};
Cleaner way for adding values and description on stories
To avoid boilerplate code, I created a simple library that returns args, argTypes and a custom template for our component. This library is story-wc-generator.
yarn add story-wc-generator
import notes from '../../components/cool-button/readme.md';
import storyGenerator from 'story-wc-generator';

const { args, argTypes, Template } = storyGenerator('cool-button', {
  text: { value: 'Click me!', description: 'Text label', type: 'string' },
  color: {
    value: 'primary',
    description: 'Color of button',
    control: 'select',
    options: ['primary', 'secondary', 'dark'],
    type: 'primary | secondary | dark',
  },
});

export default {
  title: 'UI/Cool Button',
  args,
  argTypes,
  parameters: {
    notes,
  },
};

export const Primary = Template.bind({});

export const Secondary = Template.bind({});
Secondary.args = {
  color: 'secondary',
};

...
This example includes all properties that can be used, but you can go to the
documentation for more about the library
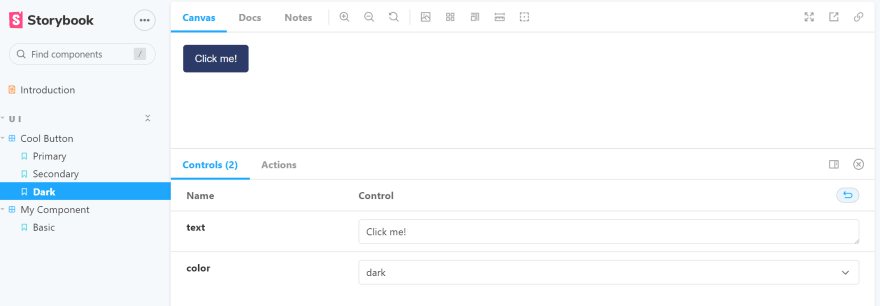
After creating our components and stories, we must have a result like this


Latest comments (0)