
A Short Intro on Bots
During my time on the internet, I've become increasingly fascinated by so called "bots" on social media. According to Wikipedia, a bot is a software application that runs automated tasks (scripts) over the internet. Together, bots are responsible for more than half of all web traffic today.
There are many types of bots that can perform all sorts of useful tasks, but by far my favorite bots are those which serve a comedic purpose, as they always brighten up my social media feeds. To see what I mean, take this post from Bots of New York, a parody of the famous Humans of New York Facebook page that uses Machine Learning to generate a human face and a caption based off the content of the original page:
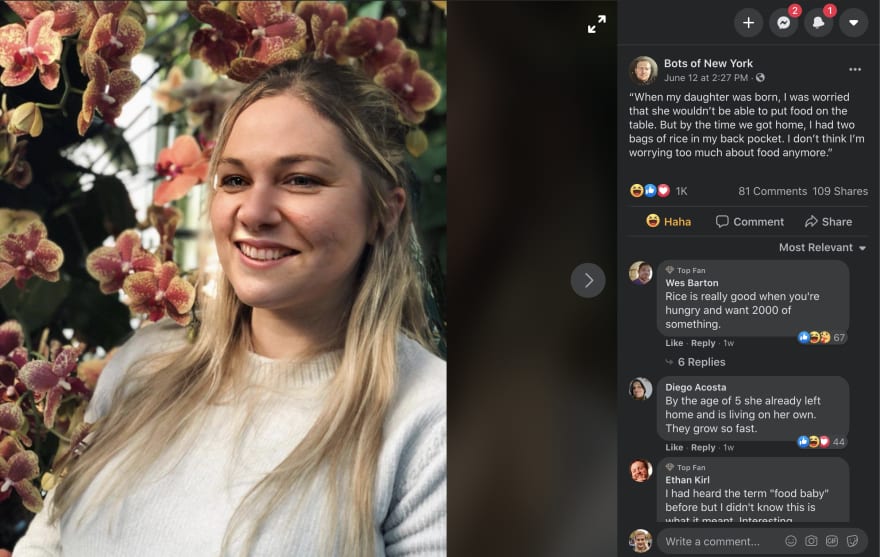
The somewhat random nature of the algorithm used to generate these captions often leads to hilarious results, such as a mother being happy that her newborn baby was able to provide for her right at birth. Other bots I follow include Every Spongebob Frame in Order and News Bot.
To me there's something really comical about the endless possibilities of unsupervised AI-generated content, and so I decided that my time had come: it was time to make my first bot.
I found a great tutorial to help me get started and I was ready to start contributing to the world of social media bots.
Part 1: Twitter Set-up
Following the tutorial I found, my bot was going to be hosted on Twitter and would be written in the Ruby programming language.
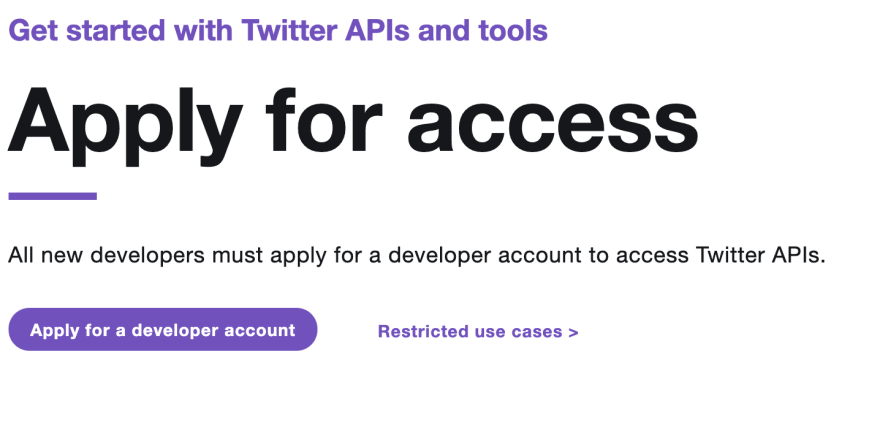
In order to be able to host a bot on Twitter, I first needed to apply for a Twitter developer account. The process was actually pretty simple, I just had to fill out a simple form and I was set!
After my account was approved, I had to apply for a new Twitter app. All I had to do was make sure my bot wouldn't break any rules and then fill out another simple form.
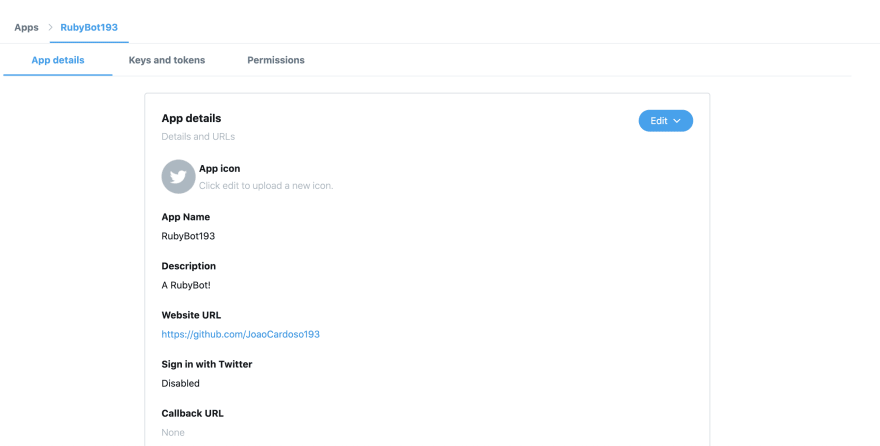
After my app was approved (pretty much instantly), I could finally get the API keys and access tokens I'd need to connect my bot to Twitter. These can be found on your app's dashboard, under "Keys and Tokens". Make sure to keep these keys private as anyone with them can easily access your bot.
Part 2: Making the Bot
After opening up VSCode, the first step to setting up my bot was to connect it to the twitter client using the API keys and access tokens. After installing and requiring the Twitter gem, the process was pretty simple:
#Connecting to Twitter App
client = Twitter::REST::Client.new do |config|
        config.consumer_key = "API key goes here"
        config.consumer_secret = "API secret key goes here"
        config.access_token = "Access token goes here"
        config.access_token_secret = "Access token secret goes here"
end
Now that this was done, it was time to write the logic for what the bot would do. Inspired by the erratic and often hilarious captions of Bots of New York, I decided that my bot would tweet out random sentences with a random hashtag. Generating random text that is somewhat coherent and grammatically correct is no easy task, but luckily someone had already developed a gem for Ruby to do just that. This gem, called Literate Randomizer takes advantage of Markov chains to generate random text based off of another source text. I decided that for now, I'd leave the source text as the default: Arthur Doyle's 1912 sci-fi novel The Lost World.
Armed with the power of Literate Randomizer, making my bot's tweets was really simple:
#tweets random sentence with random hashtag when app is called
tweet = LiterateRandomizer.sentence + " #" + LiterateRandomizer.word
client.update(tweet)
puts "\nNew tweet at #{Time.now.strftime('%H:%M')}: '#{tweet}'" #print tweet time and content to terminal
end
The client.update(tweet) statement is what actually prompts the bot to post to Twitter, and the following line is for printing the tweet content to the terminal for my own reference.
With only a few lines of code, my bot came to life. Initially, I put the previous code inside an infinite while true block, that would post a tweet every few minutes using a sleep statement:
    while true do
        tweet = LiterateRandomizer.sentence + " #" + LiterateRandomizer.word
        client.update(tweet)
        puts "\nNew tweet at #{Time.now.strftime('%H:%M')}: '#{tweet}'" #print tweet time and content to terminal
        sleep(3600) #sleep for 3600 seconds, or 30 minutes
    end
Immediately, my bot was producing some great content:
 RubyBot@rubybot10
 Quick young fellah I don't mean my adventures. #slaughter04:00 AM - 24 Jun 2020
0
0
RubyBot@rubybot10INDEMNITY You enlarge my business with a fashion and I propose to hand. #butt18:15 PM - 24 Jun 2020
Part 3: Making a Script
I was happy with what my bot was producing, but could it really be considered a bot if every time I wanted to run it I'd have to navigate to its folder and call it from the terminal?
In order to make my bot more automated, I decided I'd write a script that would start the bot whenever I logged into my computer. Unexpectedly, due to having no previous experience with scripts, this was actually the part that took me the longest time to figure out.
The first solution I found was to write a simple sh script that would navigate to my bot's directory, and call it:
#!/bin/sh
cd ~/Documents/Flatiron/RubyBot
echo Running RubyBot
./RubyBot.rb
In order to make my bot executable with the ./RubyBot.rb commmand, I first had to make my Ruby file executable using chmod a+x RobyBot.rb in the terminal, and I had to add #!/usr/bin/env ruby to the top of my bot's Ruby file (this lets the terminal know to execute the file with Ruby). Finally, I renamed my sh script to end with the .command file extension, because otherwise my computer would just open up the script itself on execution, rather than run it. Once this was all done, I went into my System Preferences > Users&Groups > Login Items, and added my RubyBot.command file to the list of items that get executed upon log in.
This worked! Every time I restarted my computer and logged in, the script would run and start my bot.
I could have been satisfied with this, however there were some details that were bugging me: my bot was programmed to post a tweet every 30 minutes, but if I logged in to my computer at say, 10:07, this meant that my bot would post at 10:07, 10:37, 11:07, etc. Additionally, if my computer went to sleep or if I accidentally closed the terminal window running the bot, this would stop the bot and mess up the posting times even further upon restarting it.
I wanted to prepare for the future, and in case my bot one day garnered a massive following online, I wanted to know that my fans could expect a post from my bot at exactly the :00 and :30 minute marks every hour. After all, with all the uncertainty in the world right now, it definitely wouldn't hurt if my bot could provide its fans with the reassurance that it would post a tweet at exactly the beginning and middle point of every hour.
In order to do this, I got rid of the infinite while true block in my bot's code, making it so that my bot would only post a tweet when called. Then, I had to think of a way to externally "call" my bot every 30 minutes instead of just always leaving the terminal window running it open. My solution was the following: I would use my computer's Calendar app to set an event every 30 minutes that would trigger a call to my bot.
In order to do so, I decided to write a simple Automator app that would simply call my already-written RubyBot.command script:
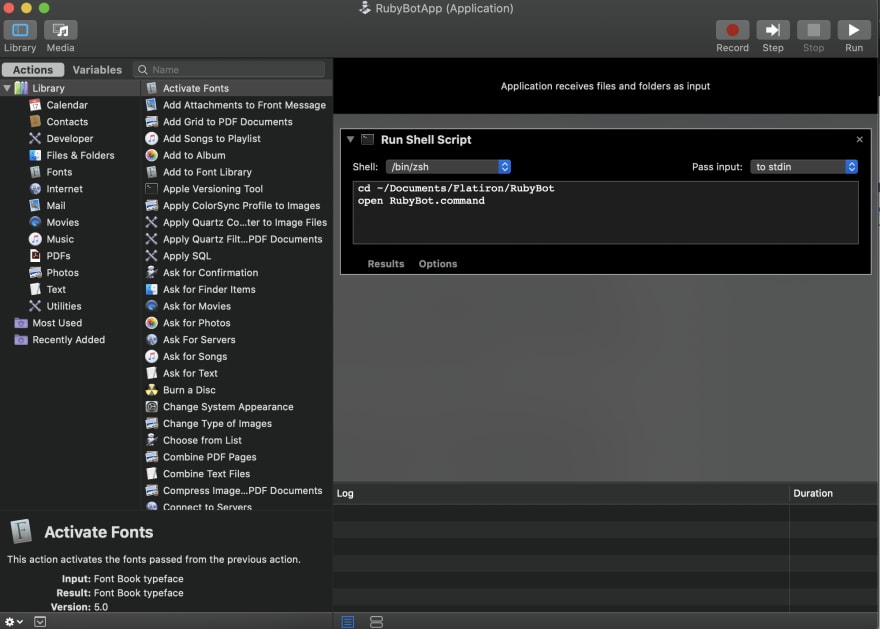
This step was perhaps unnecessary, but I figured that if I was going to be using Apple's proprietary calendar to trigger my bot, I should connect it to an Apple proprietary app in order to minimize the risk of any issues.
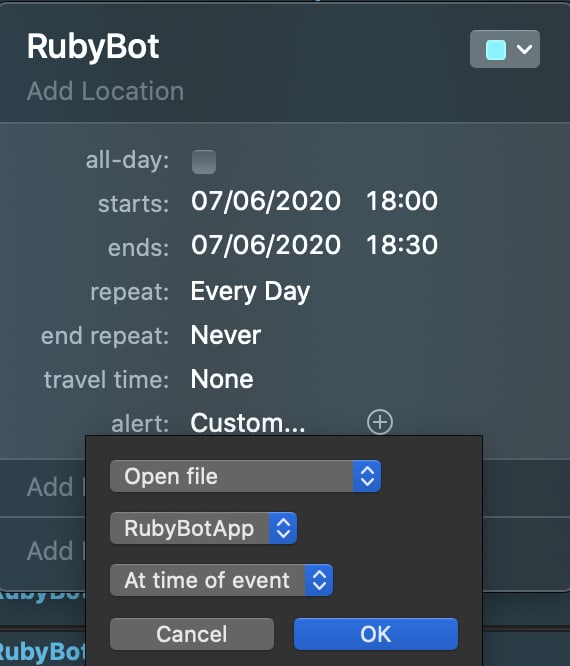
After saving my custom Automator app, I opened up my computer's Calendar app, and made an event for each 30-minute slot in a day, setting these events to repeat daily. While making these events, I set a custom alert to open up my custom app for every event:
This was a bit of a tedious process, but it worked:
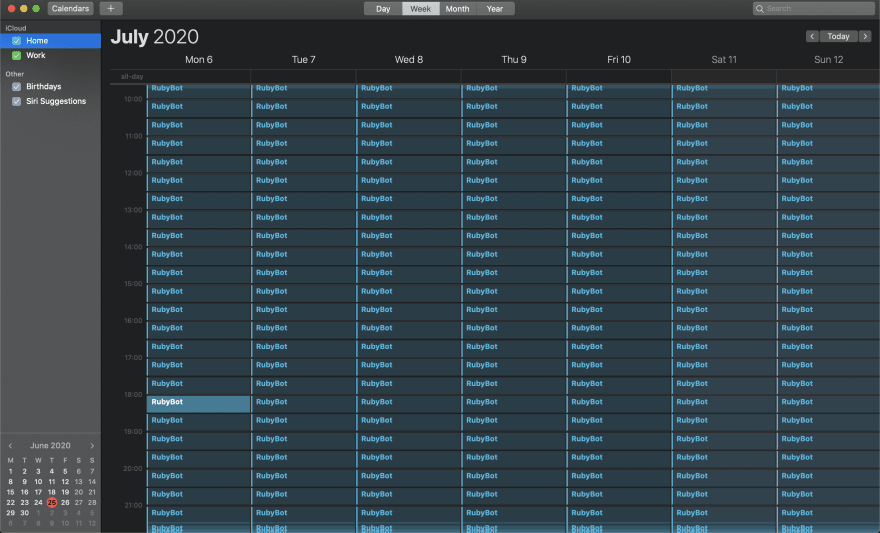
My calendar was filled with daily events every 30 minutes, and sure enough, at exactly the :00 and :30 minute marks of every hour, my calendar would trigger my custom Automation app, that would trigger my shell script, that would trigger my bot to post a random sentence on Twitter. Worth it!
Conclusions
Although my bot itself was definitely quite simplistic, this exercise served as a great experience on how to connect code to an external API, such as Twitter's API, in order to perform an automated task. It also served as a great exercise in shell scripting (which I had never done before).
I thoroughly enjoyed making my first bot, and I'm already brimming with ideas for other more complex bots I could make, now that I already know how to set it all up.
In the meantime, make sure to follow RubyBot on Twitter!
P.S. In retrospect, an easier alternative solution to have my bot post at exactly the :00 and :30 minute marks would be to just add an if Time.now.min == 0 || Time.now.min == 30 statement before posting, like so:
        if Time.now.min == 0 || Time.now.min == 30
            tweet = LiterateRandomizer.sentence + " #" + LiterateRandomizer.word
            client.update(tweet)
            puts "\nNew tweet at #{Time.now.strftime('%H:%M')}: '#{tweet}'" #print tweet time and content to terminal
        end

Top comments (0)