Surely sometimes you have needed to have in your project a backend which allows you to integrate your apis and manage all the resources of your project, you have also thought that to have this there must be a quite complicated process, but what if I told you that Appwrite allows you to do all this easily and also with Docker?
What is Appwrite
Appwrite is a self-hosted backend server packaged as a set of Docker containers. You can install and run Appwrite on any operating system that can run a Docker CLI. You can use Appwrite on your local desktop or cloud provider of your choice.
Can I install Appwrite ?
Appwrite was designed to run well on both small and large deployment. The minimum requirements to run Appwrite is as little as 1 CPU core and 2GB of RAM, and an operating system that supports Docker.
How I install Appwrite
The easiest way to start running your Appwrite server is by running our Docker installer tool from your terminal. Before running the installation command, make sure you have Docker CLI installed on your host machine.
Wait, what is docker?
Docker is a platform as a service (PaaS) that uses virtualization at the operating system level to deliver software in packages called containers. Containers are isolated from each other and group their own software, libraries, and configuration files; For example, in this case we are using Appwrite container.
Containers can communicate with each other through well-defined channels. Because all containers share the services of a single operating system kernel, they use fewer resources than virtual machines.
Now we are going to see how to implement Appwrite with docker on different operating systems.
Windows
Hyper-V and Containers Windows features must be enabled to run Appwrite on Windows with Docker. If you don't have these features available, you can install Docker Desktop that uses Virtualbox to run Appwrite on a Virtual Machine.
After starting Docker you can either use CMD to open the project or PowerShell
CMD comand
docker run -it --rm ^
    --volume //var/run/docker.sock:/var/run/docker.sock ^
    --volume "%cd%"/appwrite:/usr/src/code/appwrite:rw ^
    --entrypoint="install" ^
    appwrite/appwrite:0.11.0
PowerShell comand
docker run -it --rm ,
    --volume /var/run/docker.sock:/var/run/docker.sock ,
    --volume ${pwd}/appwrite:/usr/src/code/appwrite:rw ,
    --entrypoint="install" ,
    appwrite/appwrite:0.11.0
In case we want to install it manually using docker-compose.yaml we would use the following command.
docker-compose up -d --remove-orphans
Unix
For unix systems, we would use the following command
docker run -it --rm \
    --volume /var/run/docker.sock:/var/run/docker.sock \
    --volume "$(pwd)"/appwrite:/usr/src/code/appwrite:rw \
    --entrypoint="install" \
    appwrite/appwrite:0.11.0
After completing the setup successfully, you should be able to use the latest version of Appwrite. You can check the latest version of Appwrite with the following command.
docker ps | grep appwrite/appwrite
Now you have Appwrite in your project, but what can I do with Appwrite ?
Who I create a project?
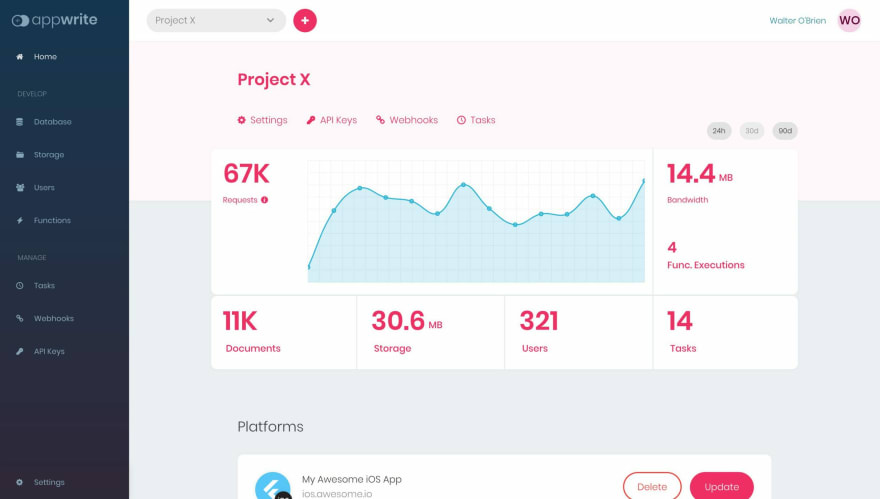
In order to create a new project of Appwrite you must go to console and press + icon on the top bar or on the create project button on the homepage console, following this step you must put a name to the project and click create to get started.
Who I add my web platform in a current project?
Go to your Appwrite console, then choose the project created and click the add platform button.
Other options is going to the options panel and choose a web platform and client app hostname, in this case you are allowing cross-domain communication between your project and the Appwrite API.
How do I get Appwrite Web SDK?
NPM
Using the NPM (node package manager), use the following command.
npm install appwrite
In case you're using a bundler, you can import the Appwrite module with the following line:
import { Appwrite } from "appwrite";
CDN
Using CDN, add the following script to the bottom of your tag.
<script src="https://cdn.jsdelivr.net/npm/appwrite@4.0.4"></script>
How I initialize my SDK?
Initialize your SDK with your project ID which can be found in your project settings page.
const appwrite = new Appwrite();

appwrite
    .setEndpoint('http://localhost/v1') // Your Appwrite Endpoint
    .setProject('455x34dfkj') // Your project ID;
Once your SDK object is set, access any of the Appwrite services and choose any request to send. Full documentation for any service method you would like to use can be found in your SDK documentation or in the API References section.
// Register User
appwrite
    .account.create('me@example.com', 'password', 'Jane Doe')
        .then(response => {
            console.log(response);
        }, error => {
            console.log(error);
        });
Also, if you want to listen to changes in real-time from Appwrite, you can subscribe to a variety of channels and receive updates within milliseconds.
appwrite.subscribe('files', response => {
    if(response.event === 'storage.files.create') {
        // Log when a new file is uploaded
        console.log(response.payload);
    }
});
Appwrite offers multiple functions and options that you can see in his official Docs
Now you can use Appwrite in your project, enjoy!!
If you want to participate and help the Appwrite community I encourage you to visit the following links
Thanks for read this post!!! 😊


Top comments (0)