1. You need to install node
Now what is
node: Node allows developers to write JavaScript code that runs directly in a computer process itself instead of in a browser. Node can, therefore, be used to write server-side applications with access to the operating system, file system, and everything else required to build fully-functional applications.
Click to install node: node
**Note: Download the LTS version of node that is compactible with every operating system**
After installingnode, check whether it has been installed by openingcommand prompt/terminal
I recommend you use
Visual Studio Codebecause it has awesome features and it's easy to use and i love it!.
Click here to install visual studio code: visual studio code
3. Now let's get to installing react
First open a directory where you want to start your react a
project and open with visual studio code.
open terminal Ctrl + Shift + `
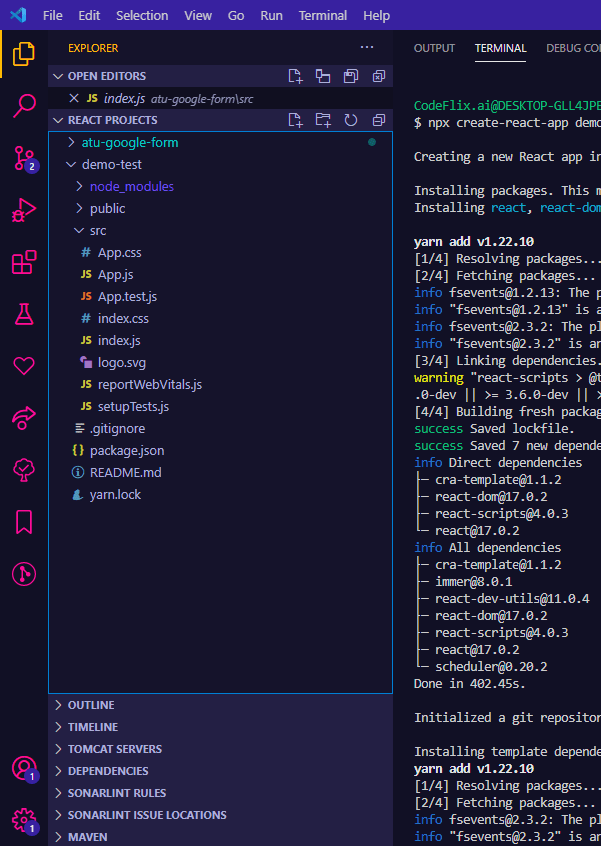
Type the following to create your first react project
npx create-react-app project-name
Note: we don't usenpm install -g create-react-app project-nameornpx install -g create-react-app project-nameanymore so you will get and error.
to be free from that error, type:
npm uninstall -g create-react-app
Now you are free to use:npx create-react-app project-name
If you still get errors like this:
It means you don't have the latest version of react and you have to install it globally to be accessed everywhere on the operating system. Now use the following to install
npm install -g create-react-app@latestthis installs the latest version of react with it's current libraries.
Now you are free to use:
npx create-react-app project-nameafter that
cd project-name/
then,
npm startto start your react application.
4. Pushing your first react app to your git repository
Use:
- git init
- git remote add origin "repo-url"
- git add .
- git commit -m "commit-message"
- git push origin main
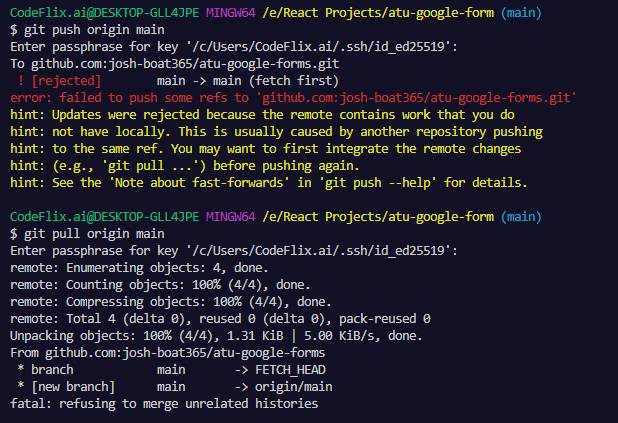
You'd probabily had an error message like this:
Solution:
Now react automatically initializes a git project for you and due to that you get errors in pushing refs to your remote repository. Now follow this:
- rm -rf .git
this removes the .git extension on your project - git init
to initialize a new repo - git remote add origin "repo-url"
- git add .
- git commit -m "commit-message"
- git push -f origin main
this is necessary to be able to push your files on to your git repo - git pull origin main
to get the updated version of your repo to avoid future errors in pushing refs to repo.
npx = node package execute
npm = node package manager
rm = remove
-f = force
init = initialize
-m = message
-g = global
If you want to know more about react, follow this link Reactjs
Thank You for going through this article
HAPPY LEARNING
Kindly reach out to me on LinkedIn


Top comments (0)