
We'll create a time table generator app in electron framework. This app will be able to generate a timetable that can be exported as .xlsx and can be stored in the system.
Dependencies
To get started, make sure you have installed electron, node js, and npm.
Setting up the app
Open terminal and type npx create-electron-app time-table-generator. You will get output like this:

index.html
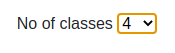
To make a timetable, we need some information number of classes and the subject name. For that, we will create a label and select box like this:

Now we need the subject names. For this, we'll generate input fields dynamically. This can be done by javascript. That's it, now we'll work in javascript file for generating time table.
Creating table through javascript file
Now create a new javascript file. We need to add the subject names mentioned before in an array. Here's the way to do this:

NOTE: This function is invoked when we click on '+' button for new input field to enter new subject name.

We'll store the above data in local storage(will later discuss why I used local storage to store data). Now we'll create a function which will generate the time table and display on the next page and to do that we will use:
window.location.replace("02.html") //to store in localstorage
localStorage.setItem("time", time)
var nClass = Number(localStorage.getItem("nClass")) // to get data from localstorage
for (var i = 1; i <= 5; i++) {
html += "
" + days[i-1] + ' ' //days is array containing days of the week.
for (let j = 1; j < nClass; j++) {
if (j == nClass/2) {
html += '' + subjects[Math.floor(Math.random() * subjects.length + 0)] + ' ' + ' Lunch ' + '' + subjects[Math.floor(Math.random() * subjects.length + 0)] + ' '
} else {
html += '' + subjects[Math.floor(Math.random() * subjects.length + 0)] + ' '
}
}
html += " "
}
html += ""
document.getElementById("tt").innerHTML = html;
Displaying table on next page
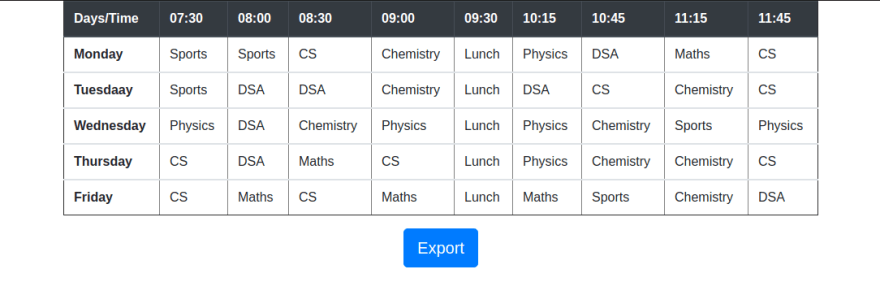
To display the table on the next page, we'll create a new HTML file and add that function name in on-load in body tag.
Now here comes the role of local storage, in order to get data from previous page we stored it in local storage. Now we can use that data stored to make table.
That's it, now start the app by typing in npm start in the terminal:

Bonus
If you want to export that as .xlsx we'll use table2excel.js. For that, you need to install its dependencies. Open the terminal and type npm install bootstrap jquery popper.js xlsx file-saverjs. Make sure to include them in order(bootstrap, jquery then table2excel):
Now add this jQuery function:

You can play around and can add more features. This project can be found at: time-table-generator.

Top comments (0)