Pre-requisites:
- node
- npm
Download the LTS (Long-term Support) of node here, it includes npm.
For advent of code this year, there was a puzzle on day 3 that I thought would be perfect to reproduce on HTML's canvas feature, but seeing as it's rare these days that I'll start a node project from scratch I was a bit stumped on how to get my javascript interacting with my HTML file. Not able to find any simple examples of setting up a quick node project for using canvas I decided to write one myself and tis the season of sharing!
Starting off in your command line, navigate to a folder that you want this project to live.
mkdir canvas-app
Move into the new folder and initialise npm for later use.
cd canvas-app
npm init
Then we'll need files to work with so we'll create the HTML and JS files.
touch index.html index.js
Open these files inside your code editor of choice.
Inside index.html add the basic skeleton code.
<!DOCTYPE html>
<html>
  <head>
  </head>
  <body>
  </body>
</html>
We'll then add a script tag to serve your Javascript file, this is placed in the src attribute inside the body tag. Also, add a header tag that we can manipulate with our code and add some text to.
<!DOCTYPE html>
<html>
  <head></head>
  <body>
    <h1 id="heading"></h1>
    <script type="text/javascript" src="index.js"></script>
  </body>
</html>
Now inside index.js we'll add a small function to check that everything is working okay. We will add 'Hello World' to the heading tag in the html.
function addHeadingToPage() {
    var heading = document.getElementById('heading')

    heading.innerHTML = "Hello World"
}
addHeadingToPage()
Now if you open index.html in a browser you should see 'Hello World', this can be achieved by going to where your file lives on your computer, right-clicking and selecting 'Open with', and selecting a browser. Some folks can do it straight from the terminal.
Next we'll add the npm package express a minimal framework used to serve up webpages.
Head back to your console and add the package:
npm install --save express
We'll also create a new JS file to store our server code:
touch app.js
Open this file in your editor and add code to get the root of your URL (/) working:
const express = require('express')
const app = express()
const port = 3000

app.get('/', (req, res) => res.send('Hello from app.js'))
app.listen(port, () => console.log('App listening on port ' + port))
Before we can start the server we need to add the start script to our package.json. Inside the file under scripts add:
"scripts": {
    "start": "node app.js",
    ...
}
This will serve up our app from localhost:3000, for now it does not show the existing code we have in the HTML file or index.js file.
Head to localhost:3000 and you'll see 'Hello from app.js` being displayed.
Now to add the code we already have to the app, let's create a folder within our project:
mkdir src
Then move your index.html and index.js file into the folder either from your command line using the mv command or dragging and dropping within your code editor's file structure.
Now within app.js we'll edit the code so that it points to our existing html file:
const express = require('express')
const app = express()
const port = 3000

app.use(express.static(__dirname + '/src'))
app.get('/', (req, res) => res.sendFile('index.html'))

app.listen(port, () => console.log('App listening on port ' + port))
Two things have changed here. The app.use(...) and the res.sendFile(...). app.use is directing the code to look inside this folder for the code it needs to run, our new src folder.
res.sendFile is defining the file to be served up when we run the file and access the / route on our server.
Head to localhost:3000 in your browser and you should see 'Hello World' we added with Javascript to the HTML file. If you inspect the page you should see your HTML file in the elements tab of the console.
For now, whenever you make a change in any of your files, you will have to kill the node process (ctrl + c) and restart with npm start every time. You can add a hot reloader to your project but we aren't going to cover it in this article.
Now that we have all the back-end work sorted we can start to add our canvas.
In the index.html file add a HTML5 canvas tag (more info here):
<!DOCTYPE html>
<html>
  <head></head>
  <body>
    <h1 id="heading"></h1>
    <canvas id="canvas-container" width="500" height="500" style="border:1px solid #000;"></canvas>
    <script type="text/javascript" src="index.js" ></script>
  </body>
</html>
If you restart the server and head to localhost:3000, there will now be a canvas on the screen.
We can start to add things dynamically to the page.
Inside the index.js file, we need to grab the element before we can change it with our javascript code.
const canvas = document.getElementById('canvas-container')
const context = canvas.getContext('2d')
Add these lines to your file so we now have access to the canvas. We can do many things to the canvas, first let's draw some lines. The context constant is the context in which we can draw on the canvas, in this case it will be 2 dimensional objects.
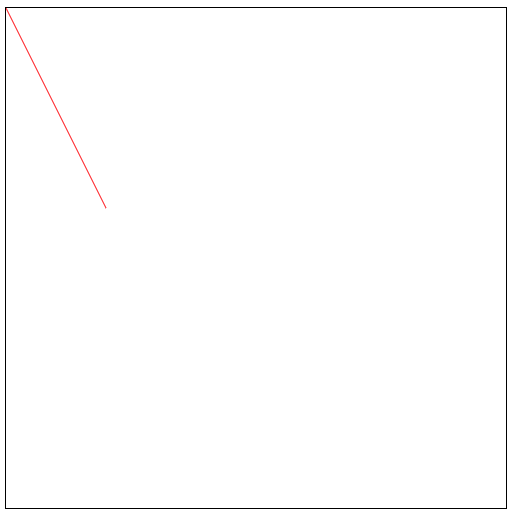
First we define where we want the line to start, then where we want that line to end:
context.moveTo(0,0)
context.lineTo(100,200)
context.strokeStyle = 'red'
context.stroke()
Unlike with conventional graphs where x=0 and y=0 would be in the bottom right corner, the HTML canvas x=0 and y=0 start in the top right hand corner.
You could refactor this into a function and call it however many times you wish:
function addLineToCanvas(startX, startY, toX, toY, colour) {
    ctx.moveTo(startX, startY)
    ctx.lineTo(toX,toY)
    ctx.strokeStyle = colour
    ctx.stroke()
}
There is also the rectangle function that can be performed on the canvas:
ctx.rect(25, 25, 150, 250)
ctx.fillStyle = 'red'
ctx.fill()
Again this can be refactored into one function to be re-used many times:
function drawRectangle(startX, startY, toX, toY, colour) {
  ctx.rect(startX, startY, toX, toY)
  ctx.fillStyle = colour
  ctx.fill()
}
Images can also be added to the canvas, to start it is best to add the image into your project directory, if it is coming from another domain/web address you can run into some CORS (cross-origin resource sharing) issues, Mozilla have covered how to get around this here.
For now, using an image within our project it can be added like this:
let image = new Image()
image.src = 'image.png'
image.onload = () => {
  ctx.drawImage(image, 340,340, 300, 300)

}
Here I have added a callback for once the image has loaded and positioned it onto certain co-ordinates for a smoother user experience.
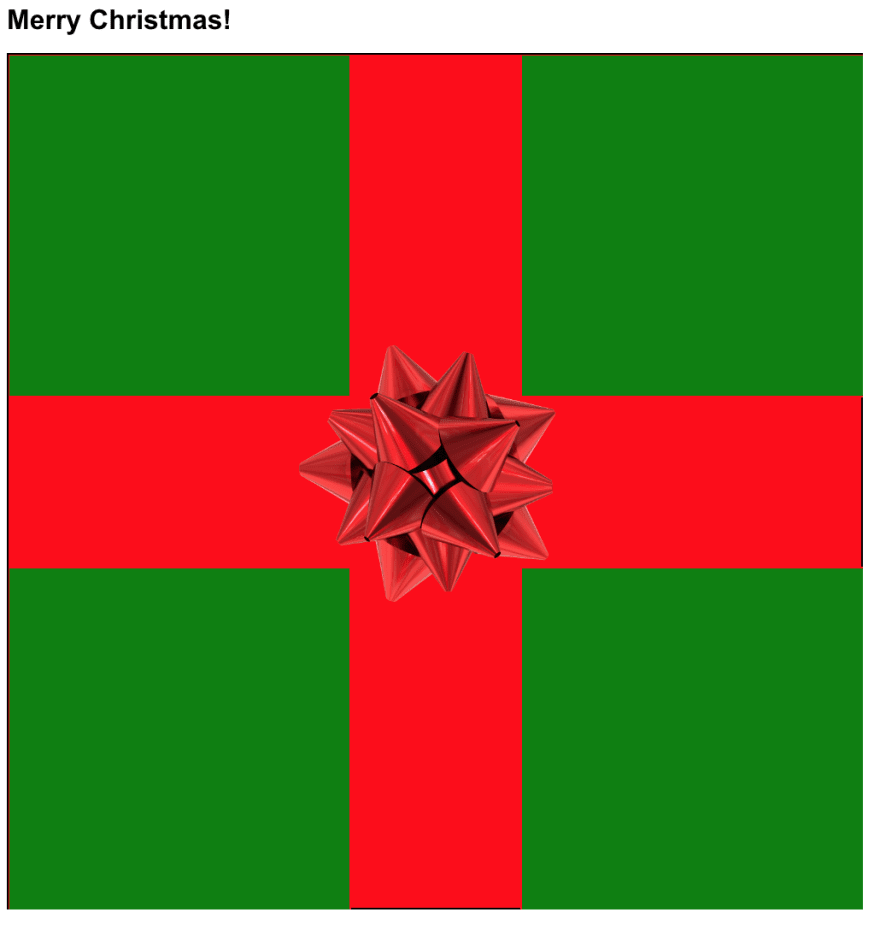
Seeing as it is Christmas, I created a present and bow to show some of the functions explained in the article, Merry Christmas!
There's a lot of set up to get to this point but now you have control over your canvas element.
You have the tools now to start and begin to explore the multi-faceted world of HTML5 canvas! You can print images onto the canvas and use them as 'stamps', create shadows, patterns and gradients. Mozilla have some great documentation on what can be done on a 2d canvas check em out!
You can find all my code here.


Oldest comments (0)