
With so many marketers storing their customer data in Hubspot, Hubspot Workflows have become a popular tool to automate the sending of personalized emails to their audience. However, Hubspot doesn’t natively provide a way to automate sending Direct Mail, which leaves a big hole in any communication strategy. Lob’s Direct Mail APIs can simplify and automate direct mail programmatically by integrating with CRMs. By connecting Lob and Hubspot, you can automate the sending of personalized Direct Mail in the same way many automate their digital channels today.
Here’s a step-by-step guide on how to integrate Lob into your automated Hubspot workflows to automatically send a postcard.
Connect Your Hubspot Workflows to Lob
Create accounts
A developer plan for testing with Lob is free, but you will need to create a Lob account to get your API Keys. If you do not already have one, create a Hubspot account here. You’ll want to enable Operations Hub / Marketing Hub Professional trial (note this lasts 14 days): Automation> Workflows> Start 14 Day Trial
Create contacts
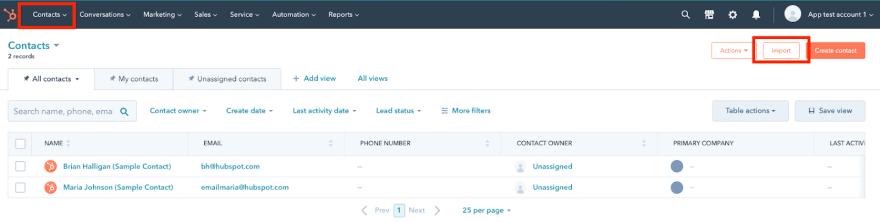
In Hubspot, you can create contacts manually or import from a CSV by clicking Contacts> Import. (Ensure they have address parameters.)
From there, walk through the flow to import a file from your computer: Start an Import> File From Computer> One File> One Object> Contacts. You can use this CSV file as an example.
Note that we will be creating a list in the next step, so for this walkthrough, do not select “Create a List from this Import”. In the Map File screen, for ‘Address2’, select ‘Create A New Property’, and name it ‘Address2’.
Create a List
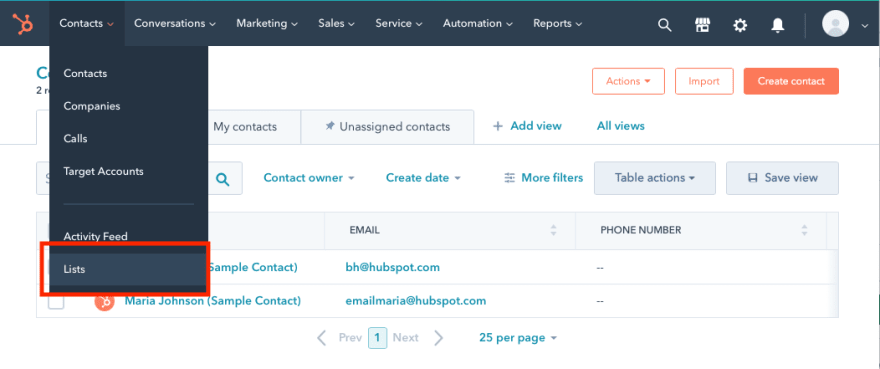
Contacts> Lists> Create List> Select ‘Static’ List> Contact-based> Name your List
Create A Workflow
Select Automation> Workflows
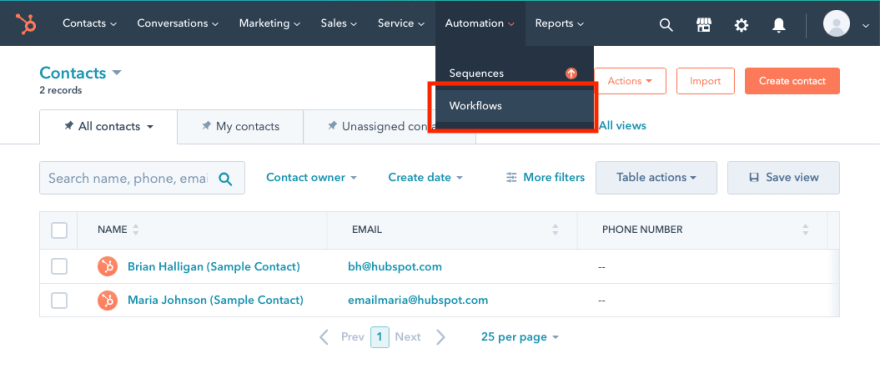
Click Create Workflow

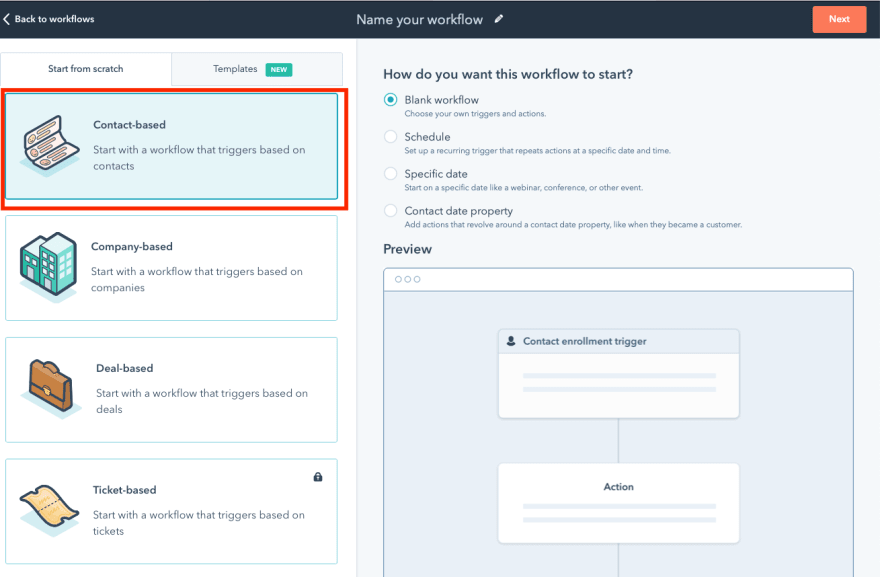
Click Contact Based> Blank Workflow
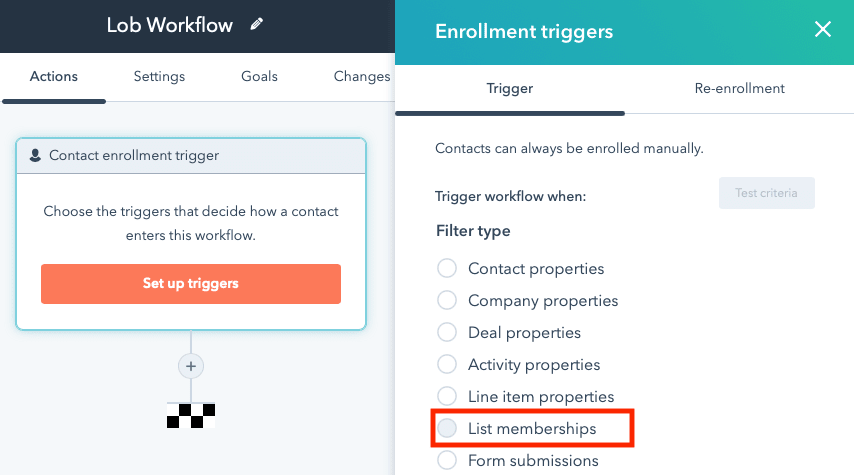
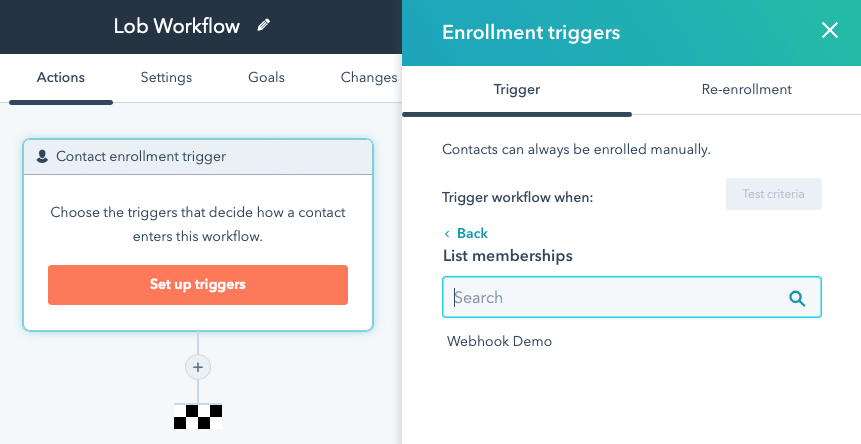
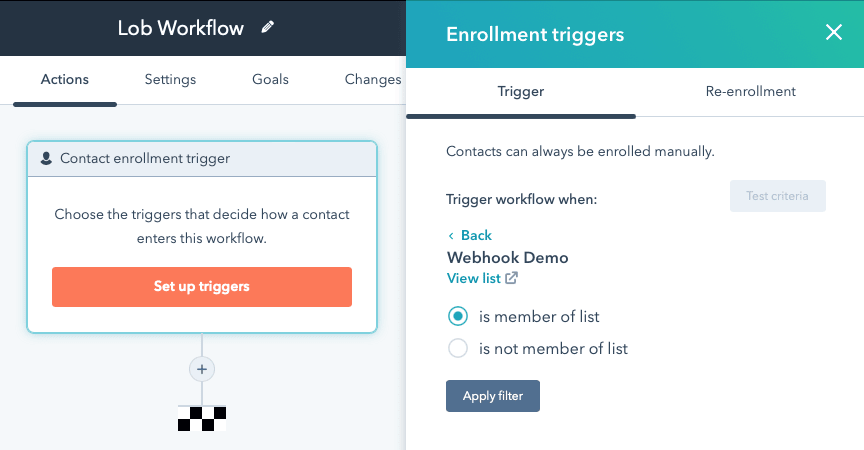
Set Up Trigger
For example: List Memberships> Select List you previously created> Is Member of List
Create a resulting Action
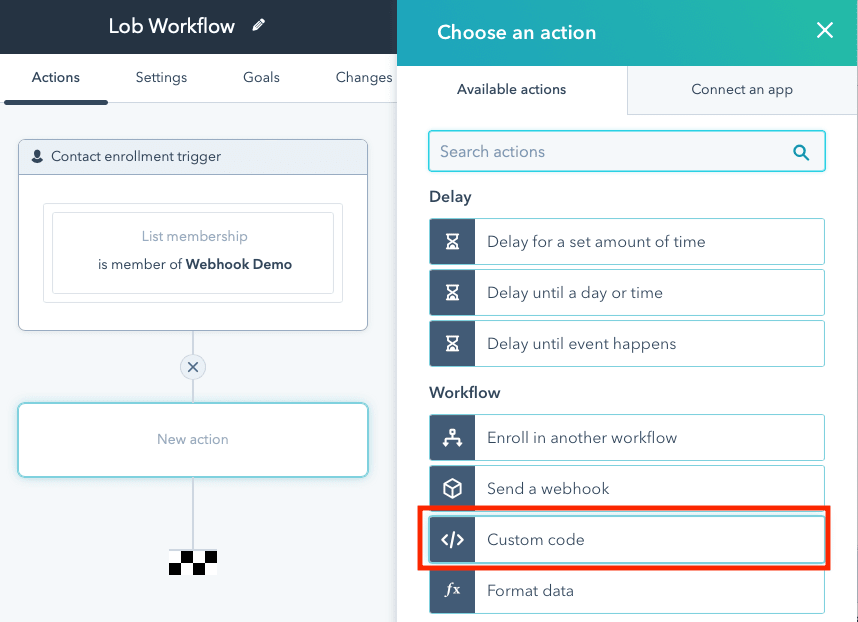
Click + button on Workflow, beneath the Trigger
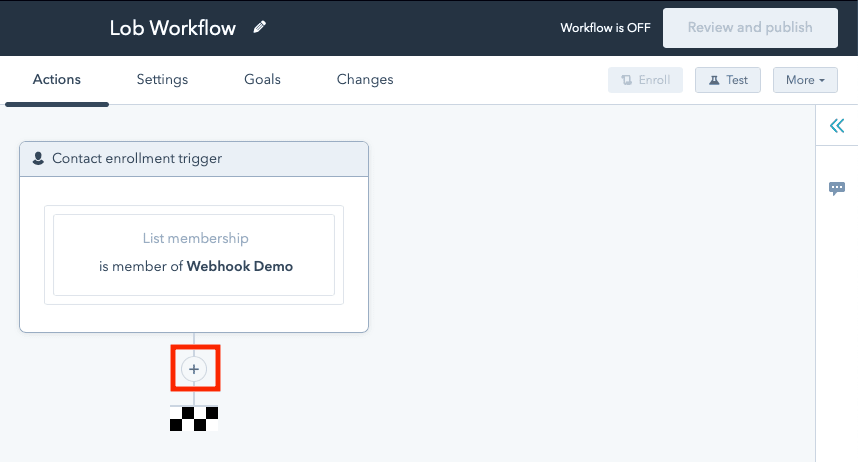
Select Custom Code
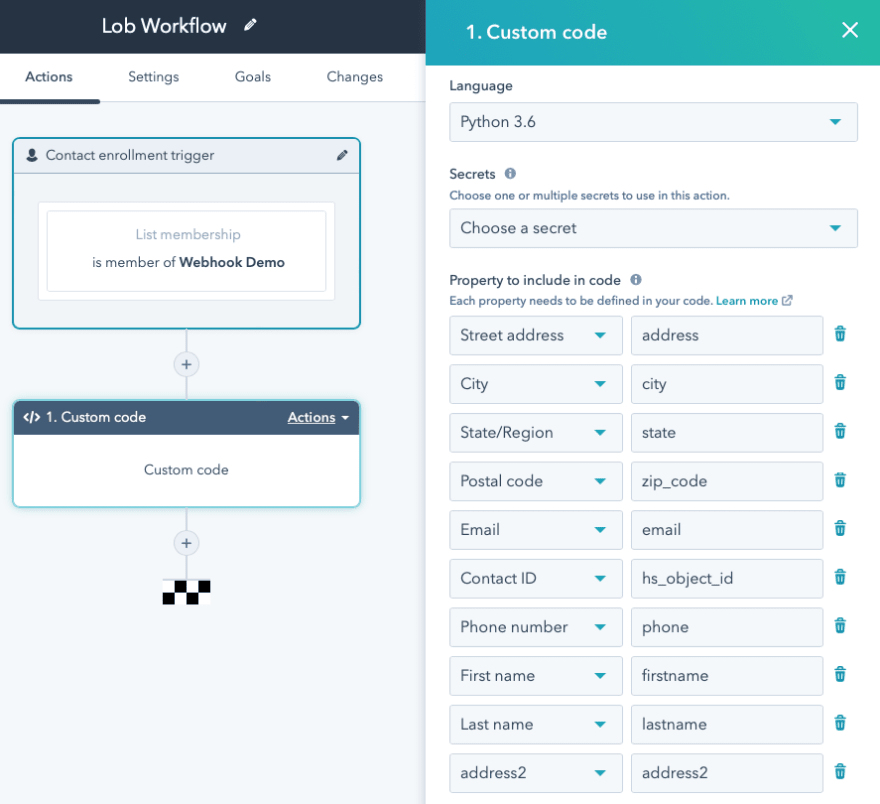
Here you can select Python or NodeJS. For this example, we will select Language: Python. Then we will map Lob’s API fields to Hubspot properties, and enter our custom code. For this example, Map Properties To Include in Code as follows:
Finally, enter your Python code, with properties defined as per the prior step. See example code below the screenshot to test with.
(To learn more about Lob’s code explore the API docs here.)
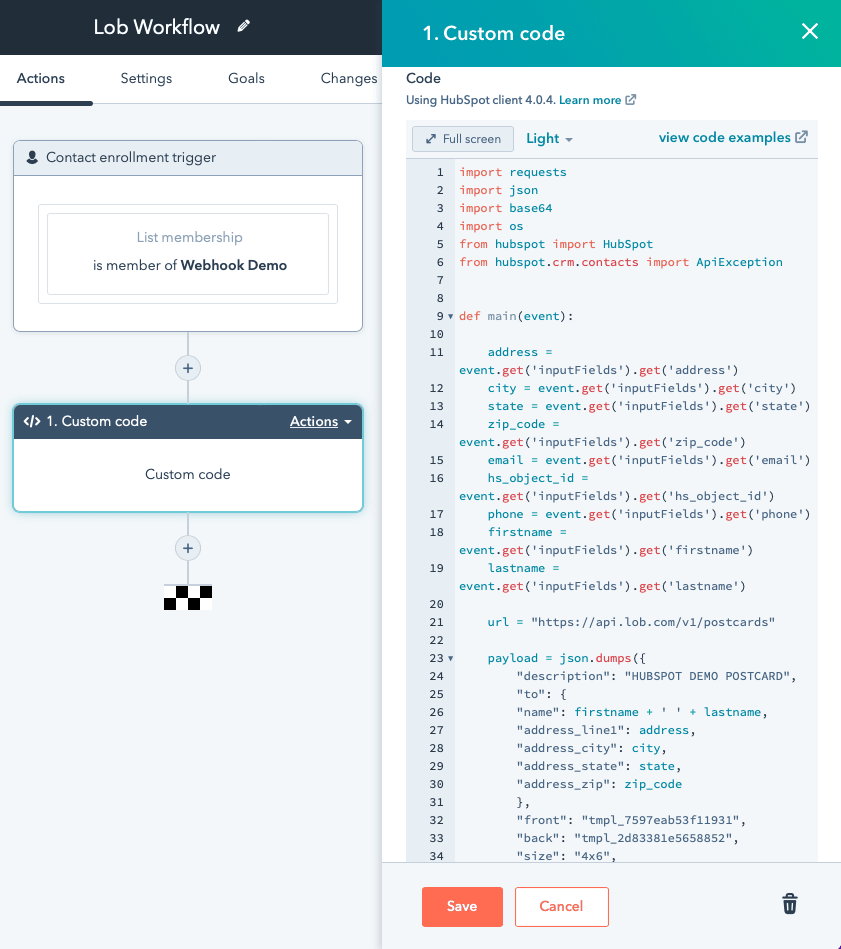
Example Python Code:
Add your API keys
Next we need API credentials from our Lob account. Retrieve these credentials from your Lob dashboard by clicking on the Settings menu on the sidebar, then clicking on the API Keys tab.
In the example Python code, replace [BASE64-ENCODED API_KEY:] with your Test API Key, Base64 encoded.
IMPORTANT: ENSURE YOU ARE USING YOUR TEST API KEY.
For example, if your API key is test_0dc8d51e0acffcb1880e0f19c79b2f5b0cc, you can enter test_0dc8d51e0acffcb1880e0f19c79b2f5b0cc: into a Base64 Encoder tool, the result of which will be something like dGVzdF8wZGM4ZDUxZTBhY2ZmY2IxODgwZTBmMTljNzliMmY1YjBjYzo=.
Note that we added a “:” to the end of the API key before encoding it, please ensure you do the same. Thus the value within your Python script will now look something like: 'Authorization': 'Basic dGVzdF8wZGM4ZDUxZTBhY2ZmY2IxODgwZTBmMTljNzliMmY1YjBjYzo=',
Update Creative
You should also replace the front and back “HUBSPOT_CREATIVE” with your own HTML, template IDs, or links to hosted static creatives. For example,
"front": "https://s3.us-west-2.amazonaws.com/public.lob.com/solutions/retail_pdfs/4x6+Retail+front.pdf"
"back": "https://s3.us-west-2.amazonaws.com/public.lob.com/solutions/retail_pdfs/4x6+Retail+back.pdf"
(For more about designing/formatting creative for Lob, go here.)
Make sure to hit Save.
Test!
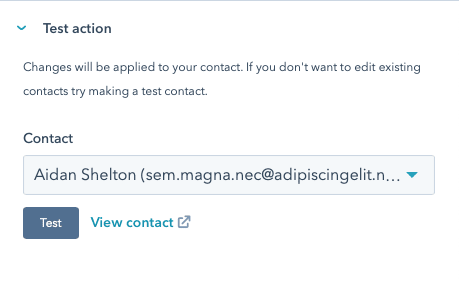
Then you can re-open your custom code, scroll to the bottom of the panel, and click Test Action. Select a contact, and click Test to fire off a test request.
You can then log into your Lob account to verify that your postcard was generated. (The below is the result of the example creative.)

Utilizing Workflow
Once you’ve tested, you can Publish your workflow. From there, it will run whenever the trigger you set is fired. For example, if you followed the above example, you can now add some contacts to your list. This should automatically create mailpieces for each person on the list. When you are ready, you can replace the Test API key in your Python code with your Base64 Encoded Live API Key, and your Automation is live.
Wrap up
Lob can expand the capabilities of Hubspot to both personalize, and automate your direct mail sends. Give it a whirl!

Top comments (0)