
In this series, I will explain how to create a .Net Core 3 web API connected with a database and deployed to a remote server. The first step is to integrate it with Swagger by using the Swashbuckle package.
The full example can be downloaded in this GitHub repository: NetCore3-Swagger.
Technologies
Topics
.Net Core 3
Download the Visual Studio 2019 here and install it.
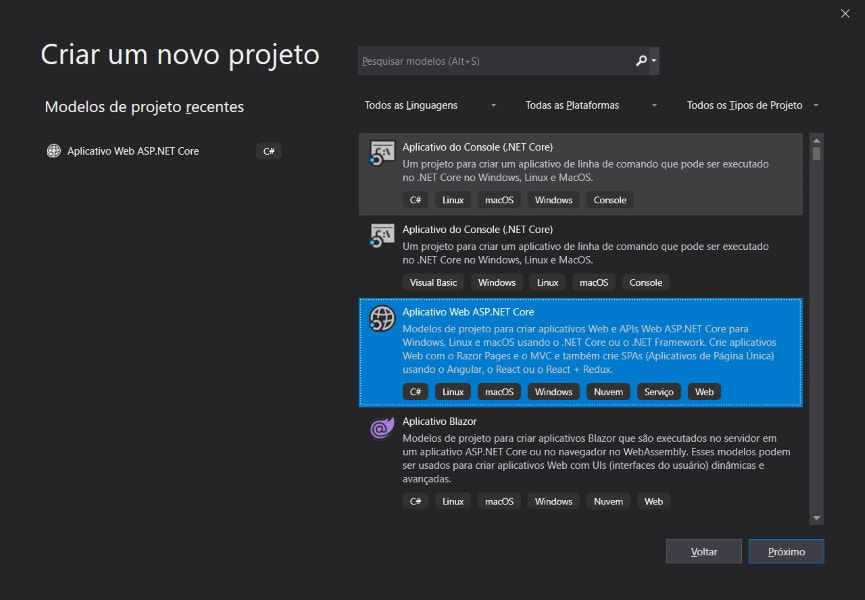
Create a new project:

Choose ASP.Net Core Web Application:
Name the project and configure the local path:

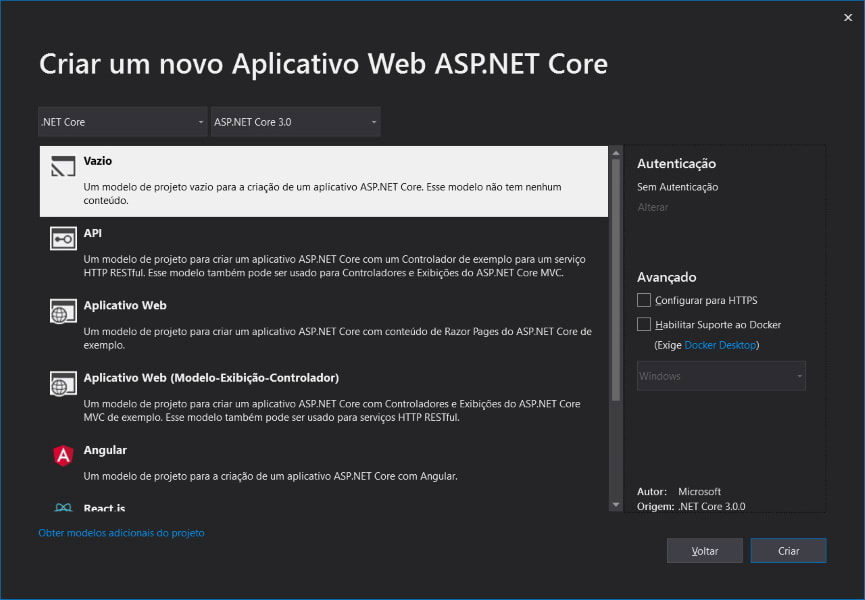
Select an empty .Net Core project and uncheck the HTTPS and Docker support options:
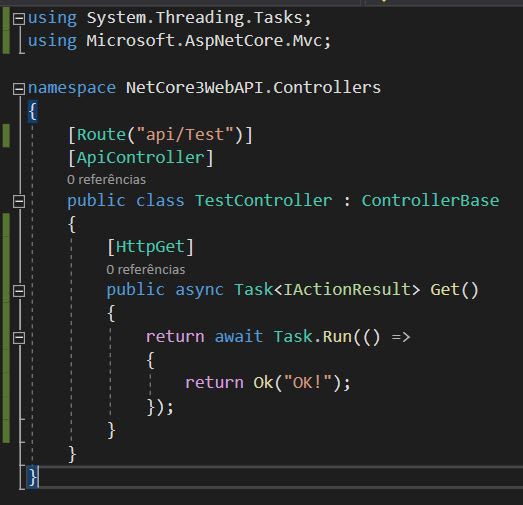
After the solution be compiled, create a folder named "Controllers" and add into it a class named "TestController" with an async method:
Now, let's configure the "Startup" class:
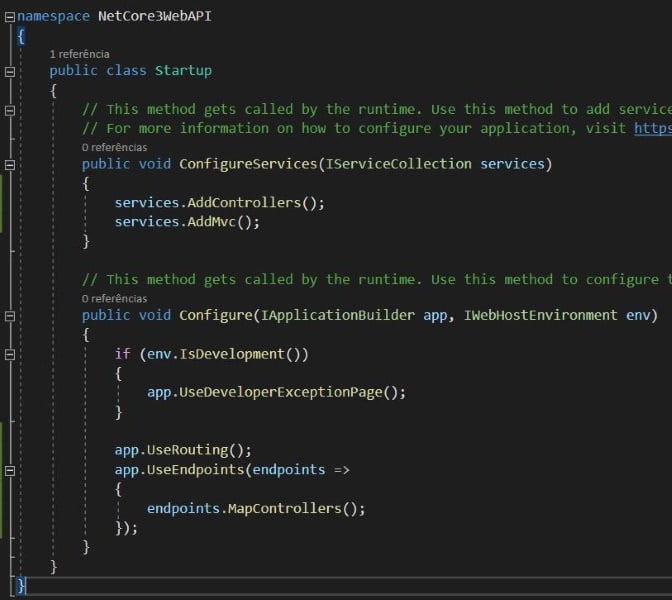
Run the project in debug mode and access the URL below:
http://localhost:<API-PORT>/api/Test
If the "OK!" message be displayed in the browser, our web API is running!
Swagger
Inside the Visual Studio 2019, open the Package Manager Console and run the following commands to install the Swashbuckle version compatible with .Net Core 3:
Install-Package Swashbuckle.AspNetCore -Version 5.0.0-rc3
Install-Package Swashbuckle.AspNetCore.Filters -Version 5.0.0-rc3
Install-Package Swashbuckle.AspNetCore.Annotations -Version 5.0.0-rc3
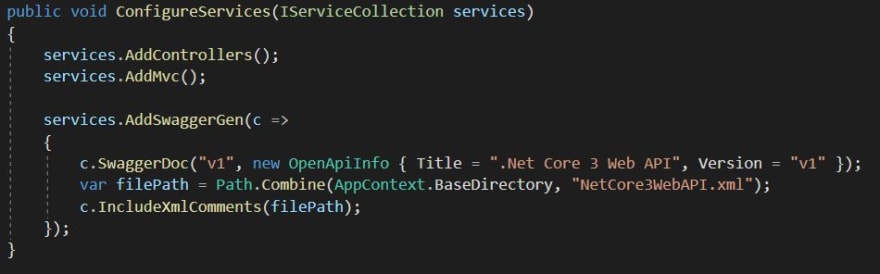
Open the "Startup" class again and modify the "ConfigureServices" method:
And the "Configure" method as well:

Open the project's properties window, go to "Debug" and type "swagger" inside the input field above the environment variables list:

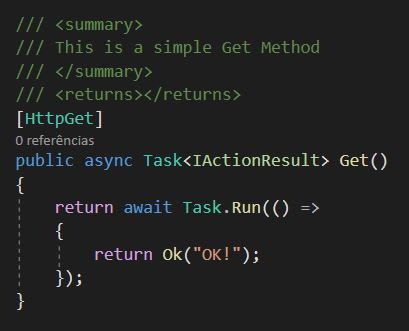
Inside the "TestController", put a simple annotation above the "Get" method:
Now, let's run the project again. The Swagger page will open in this URL:
http://localhost:<API-PORT>/swagger/index.html
This will be the result:

Try the "Get" method and the "OK!" message will return from the API.

Conclusion
In 10 minutes, you were able to create a .Net Core 3 web API with Swagger. In the next chapter, we will connect it with a remote MySQL database.

Top comments (1)
Great tutorial! I had some trouble getting the Swagger documentation working using my Mac.
I was able to follow and get to the same point:
docs.microsoft.com/en-us/aspnet/co...