
Why this post exists
Around the web, you can find all sorts of articles about creating a React app using Electron and Tailwind.
This is yet another tutorial, but it will actually work if you're planning to use the new version of Tailwind.
With the introduction of the Tailwind v4, there have been major changes to packages and the way projects are set up.
This aims to be a quick way to kickstart your project and get it up and running right away.
So, let's go.
Attention please!
For this tutorial, I used Node.js version 22, which is currently in LTS.
I tried version 23, but ran into several issues that quickly convinced me to drop that path.
Make sure you're using version 22 or install it:
curl -o- https://raw.githubusercontent.com/nvm-sh/nvm/v0.40.2/install.sh | bash
\. "$HOME/.nvm/nvm.sh"
nvm install 22
node -v # Should print "v22.14.0".

# just to be sure
nvm current # Should print "v22.14.0".
nvm use node 22
Usual suspect: Electron app
Here we install Electron, and React stuffs.
# like most of the tutorials we install Electron
npm init electron-app@latest manutemu-sample-app -- --template=webpack-typescript
cd manutemu-sample-app
# installing react with typescript
npm install --save react react-dom
npm install --save-dev @types/react @types/react-dom
Let’s get our hands dirty with some dirt and mud.
Create src/app.tsx file, the entry point of our react app, with this content:
import './index.css';
import * as React from "react";
import { createRoot } from "react-dom/client";

const root = createRoot(document.getElementById('root') as HTMLElement);
root.render(
  <React.StrictMode>
   <h1>Hello react</h1>
  </React.StrictMode>
);
In src/renderer.ts add a reference to your app.tsx adding the following line:
import './index.css'; // this should be already here
import './app'        // add this one!
Modify the <body> of your src/index.html like this:
<body>
    <div id="root"></div>
</body>
In tsconfig.json add this line in compilerOptions section:
"jsx": "react-jsx",// add this one!
Special agent Tailwind4, we got a job for you!
Now comes the most important part of the whole article — the part that actually pushed me to write it.
It’s just a few lines, sure, but they’re crucial.
I spent time testing different setups so you don’t have to.
# installing tailwind post-css and some other thing to get the app working with Electron
npm install tailwindcss @tailwindcss/postcss postcss postcss-loader
In webpack.renderer.config.ts add a line for postcss-loader
rules.push({
  test: /\.css$/,
  use: [
    { loader: 'style-loader' },   // should be already here
    { loader: 'css-loader' },     // should be already here
    { loader: 'postcss-loader' }  // add this one!
  ]
})
Create a postcss.config.js with content like this:
export default {
    plugins: {
        "@tailwindcss/postcss": {},
    }
}
Now, add a reference of monsieur Tailwind into your CSS.
Here, i added it on the first line on my src/index.css to use it everywhere on my app. Also, i commented some rules, but is up to you.
Here the file changed:
@import "tailwindcss";

body {
  font-family: -apple-system, BlinkMacSystemFont, 'Segoe UI', Roboto, Helvetica,
    Arial, sans-serif;
  margin: auto;
  /* max-width: 38rem; */
  /* padding: 2rem; */
}
Then, to check whether Tailwind is working, i added some elements on the app.
I changed the whole content of src/app.tsx to prepare some sample layout.
import './index.css'; // import css
import * as React from "react";
import { createRoot } from "react-dom/client";

const root = createRoot(document.getElementById('root') as HTMLElement);
root.render(
  <React.StrictMode>
    <div className="flex h-screen">
        <div className="w-64 bg-gray-900 text-white p-0 border-r border-white/10">
            <h1 className='font-bold text-2xl text-blue-400 p-4 pb-2'>Hello react!</h1>
            <p className='text-grey-800 px-4 pb-4'>This is a beautiful app written with react.</p>
            <aside className="w-64 bg-gray-900 text-white border-r border-white/10 ">
                <nav className="flex flex-col">
                <a href="#" className="block w-full px-4 py-3 text-gray-400  hover:bg-gray-700 transition">
                    Dashboard
                    </a>
                    <a href="#" className="block w-full px-4 py-3 text-gray-400  hover:bg-gray-700 transition">
                    Project
                    </a>
                    <a href="#" className="block w-full px-4 py-3 text-gray-400  hover:bg-gray-700 transition">
                    Team
                    </a>
                    <a href="#" className="block w-full px-4 py-3 text-gray-400  hover:bg-gray-700 transition">
                    Settings
                    </a>
                </nav>
            </aside>
        </div>
        <div className="flex-1 bg-gray-900 text-gray-400 p-4">
            This is your content...
        </div>
    </div>
  </React.StrictMode>
);
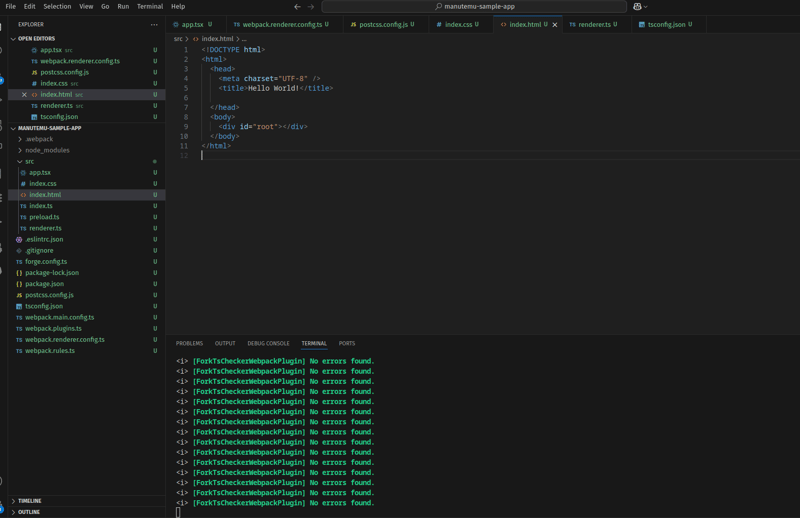
By now, the file structure should be:
When you run your app with the boring npm start command, the resulting app should be something like this:
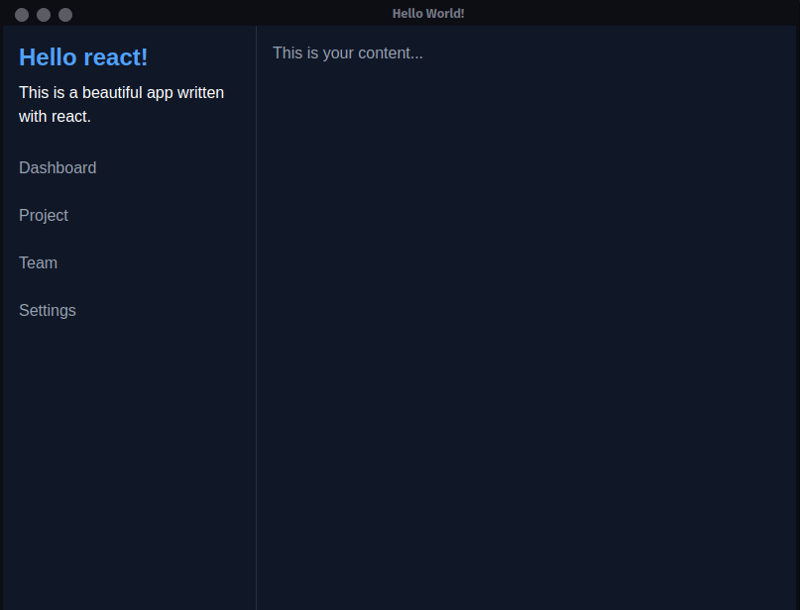
Enjoy!
Tante belle cose.

Top comments (0)