
Maybe you have a good eye for design but struggles to put your creative ideas to a software design.
Or perhaps you're like me who actually is bad at design (side note, I'm a developer, and I actually struggle with this, that's why I'm learning the topic with you guys) and want to help ourselves get some idea on how we might design the front end of our software that's intuitive and perhaps pleasing to look at.
This is when we the UI/UX design process helps us realize our idea of a software that our users will love to use.
From software requirements, the designer's job is to bridge the business goals and high-level features to the interface of the App that the end-user will actually use.
In this blog post, we will take a quick look at how we turn the software requirements to designs that are ready for development phase.
The Design Process
1. User stories and User Persona
One of the first things designers do before drafting the look and feel of the app is the User Persona.

The designer must understand the business goals as well as the user stories from the Product Backlog (for an Agile environment) and imagine what would the end-user be like.
In creating the user-persona, we often think of an imaginary person that best represents our target users.
Let's say for example our software's target user is a Marketer and our software is a task manager app.
We might imagine we are face to face with this marketer and is with us on the same room as we design the app. Think about that person's descriptions.
We might list out the following:
Name: Jane
Role: Digital Marketer
Age: 25
Job responsibilities:
- SEO
- Search Engine Marketing (SEM)
- Social Media Marketing
- Content Marketing
- Email Marketing
That might be a rough example, but a user persona should help you envision your product's user, because this will help you understand how to serve his/her needs via your software.
Designing is indeed more than drawings and decorations.
2. Information Architecture
The next thing we'll do is to understand the things a user can do with our app. Think of the tasks they can do or what our company wants them to do.
We then organize those into a hierarchy of information that is logical and user friendly.

Just think of this phase as organizing the data/information like in a library.
If you're objective as a user is to learn about the what causes solar and lunar eclipse, you might want to first go ahead to the science area, and from there, proceed to astronomy, and find what you're looking for.
This is the same with the structure of your app.
First, you lay out the things a user can do:
- Sign-up/Log-in
- Add a note or task
- Change their profile picture
- ...
From there, you start to think how would they accomplish each of those tasks, like for example, change their profile picture.
Maybe it looks like this:
'User Profile > User Settings > Change Photo'
From there, you'll see a hierarchy from User profile to the specific Change Photo. We can do this for other tasks as well and build a tree of hierarchy of which task belongs to which category, that belongs to what feature of our product.
3. Sketching
The first two steps deal with the User Experience which is more business oriented. For this part, we will be starting to get dirty with designing the User Interface or the look and feel of our software.

Note that what we're doing here is just a rough sketch of how we envision the software.
The goal of this step is not to get the final design product, but to start realize how our app might look like.
We can group several screen sketches together based on the user flow and our goal for that interface.
This is when our first two works can help us.
The Information Architecture can serve as our guide for the user flow on the interface we're building, and also group out our sketches based on the hierarchy we made.
Meanwhile, the User Persona can also give us the glimpse of how our end user might want the look and feel of the software they are using.
For our marketer persona, we might design a more corporate looking app (just for a rough assumption).
Just have a rough sketch, and we're good to go.
4. Wireframe
The next part of our design process is to layout the software.

Just think of it as the floor plan of your software. You specify and group the things that make sense together, and isolate those that are not.
Our Information Architecture can help us understand what parts are needed to group together, as well as the hierarchy of our software.
This is more of a UX approach, so we keep the business requirements in mind.
The important thing we need to think of when wireframing is that our design is ideal to be on low-fidelity or lo-fi. We put little details, because our main objective here is to align the business requirements with the elements that best suits those cases, and group things that help achieve that goal.
5. Prototype
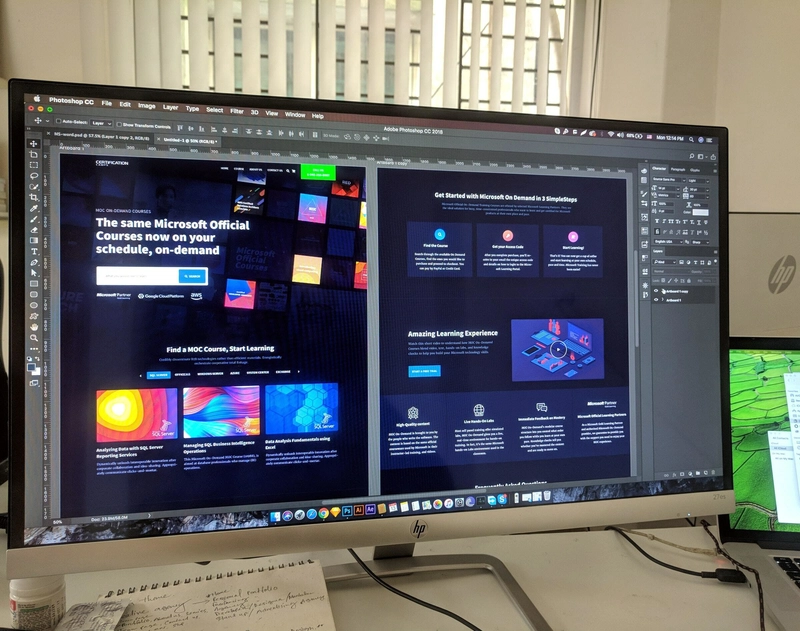
For this part, we start to test out our ideas and design. We can use graphics software like Sketch or Adobe Illustrator to better enhance our rough sketches.

This is also a good time to show it to our potential user preferably face-to-face and understand how they might feel about the design and criticisms about it.
You can get insights from 1-5 people that represents your target users.
The output of this stage (both prototype and feedback) will help us on the next stage of polishing up our design.
6. Visual Design
So this is the actual part of the art. We've structured and planned the lay-out o our software, now it's time to make things look good.
For this part, we can get inspirations for our design to several things that may or may not relate to our product but helps to convey it's message to the users (and yes, the business intent will be the message).
When taking some inspirations, we can go to sites like Pinterest or Instagram and search for the keywords that are related to our software or product.
Depending on the designer (or you my reader), inspiration is I think more of a personal experience, and I'll let you find that yourself.
So find inspirations, and make the design look good.
(This might be vague, but to be honest, I'm not an art person, I'm a dev and my mind is more skewed into logic and engineering stuffs, but that is what I researched about from an interview of a real designer on how she does her real design jobs)
Anyways...
7. Higher Fidelity Prototype
Now that the design of our software is more detailed, it is time to add also more details (and even some functionality) to our software by implementing a high fidelity prototype.
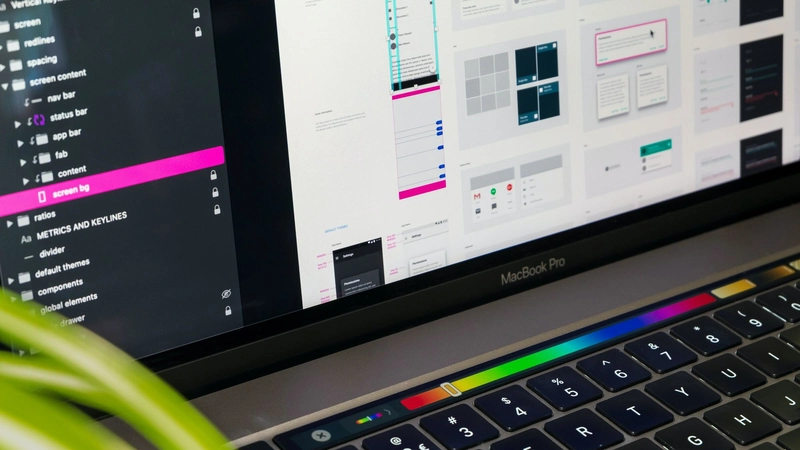
Prototyping software like Figma and Framer are good fit for this part, especially Framer, as it allows you to have interactions such as button clicks and transitions right from your design.
8. Handover (or development)
So there we go, we have our software fully designed, we have the assets that will be used by our software for the UI, as well as our design files and design plans and layout.
It is now time to implement this and do the actual coding.
You might hand it over to the dev team and let a UI Engineer implement it, or if you're also the dev, convert the design into HTML and CSS (and even JavaScript).
All the output of this design process will help guide the development of the front-end of the app.
Final thoughts
So there we have it! Design process from high level business requirements to actual design with prototypes.
As we learned from this simple guide, design is actually more than just choosing the right font or matching color. It's about understanding our users and their needs, and aligning them with the offerings of our product through an intuitive and user-friendly/centered design.
Hope you found this blog helpful!
Don't forget to follow me on Twitter!

Oldest comments (0)