It Happens. You lost the keys, the networking broke, or you inherited a box that already had one of these two things happen. In any case, the EC2 instance you are looking at is not reachable by normal means. You are locked out. If you don't have already have a recovery plan in place for this you have to move to extreme measures.
Fortunately, there are a couple of tricks in AWS to recover the data or even fix the login issues without starting from scratch. For Linux veterans this will be painfully simple. But if you're a newbie as I am, EC2 changes your entire outlook on volumes and security. Gone are the days of prepping physical storage devices and wires everywhere. Now the hardest part are Tags and naming conventions.
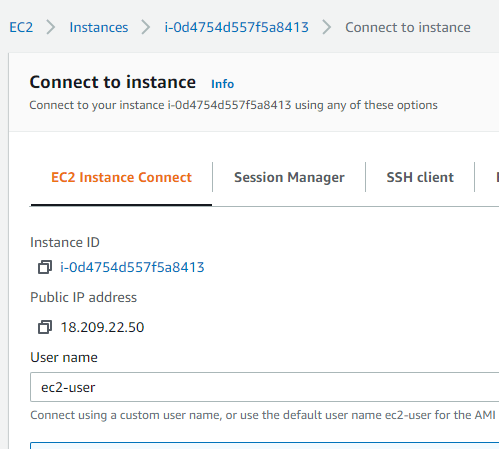
By far, the easiest way to connect is EC2 Instance Connect. On your Instance click on Connect button.

EC2 Instance Connect is the first tab. Hit Connect and right there you get a terminal in browser to do use directly on the
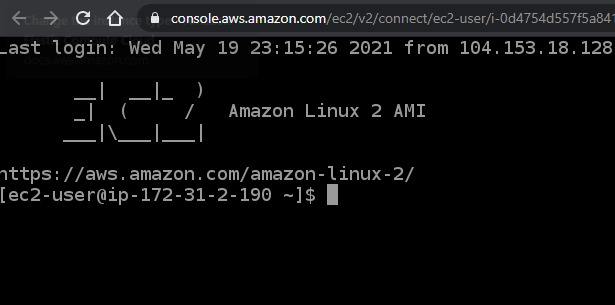
There are some limitations. For one, Instance Connect is not available in all Regions. And because this is in browser, you will have difficulty to moving files out if networking is not available. But if you have need access to files, this would be the quickest way.
Another way is to mount a copy of the storage to another configured box you can access.
Start by getting a snapshot of the volume you need access to.
Go in to Storage and click on the vol you need.
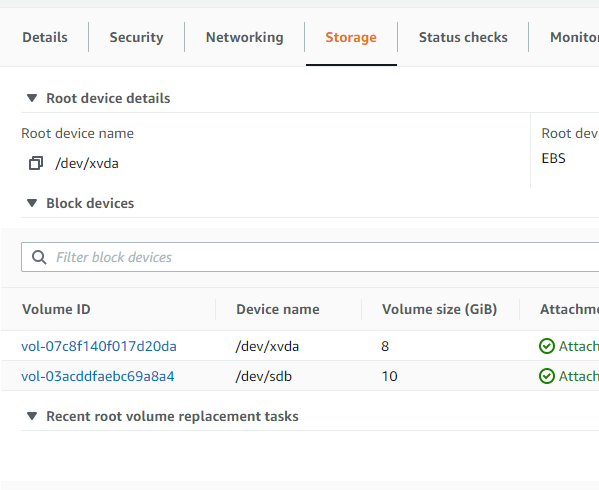
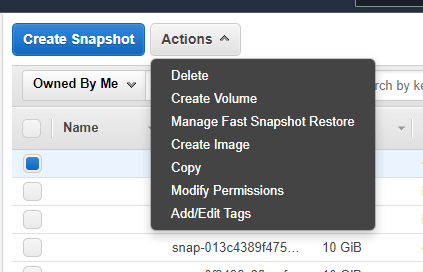
Under the Actions, you can Create Snapshot, name it.
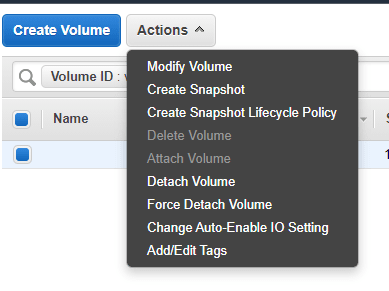
In Snapshots, highlight it and click on Actions, Create Volume. Make sure to set the Availability Zone to the same as the New Instance that you will be attaching it to.
Back in Volumes, highlight the new Volume and click Actions, Attach Volume. Search for the instance you want.
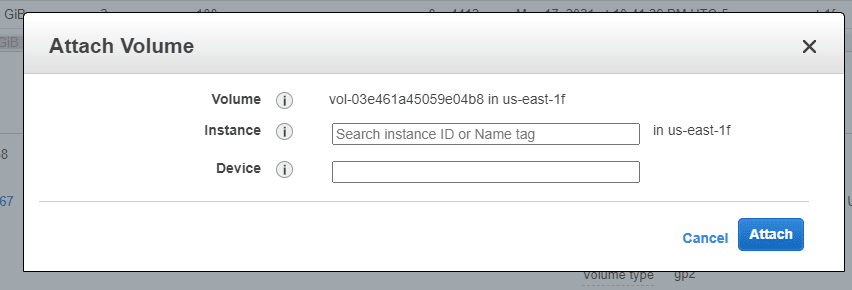
Now, if you created the new box correctly with access through ssh or other means, you have access to the box and its files. But you will need to mount the drive to be accessible.
You will see under Storage the Device Name for the vol you attached. /dev/sdb or /dev/sdf, etc.
A mount command will make it accessible in the terminal.
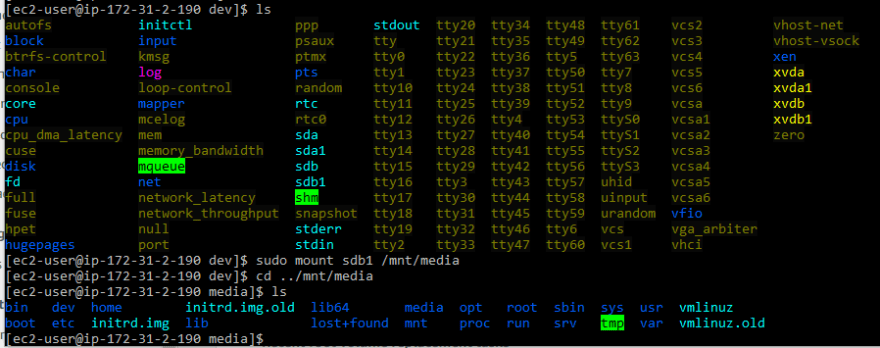
As you can see, you now have full access to the files involved. And, because this is being accessed from a local device, exfiltrating the data will be much easier. I would suggest compressing the files and folders you want into a tar file and get ready for the next step.
You can download from your terminal locally since you have ssh access.
scp -i keyfile.pem remote_username@ipaddress:/remote/file.txt /local/directory
And there you go. Data is out and disaster is averted. I learned this the hard way and hope you don't have to. I made some bone-head mistakes and only with the help of a smarter friend than I did we overcome the issues.
As a closing advice: Snapshots are your friend. Apt update is dangerous.
Happy Skies, Cloud Friends.

Top comments (0)