This post explains how you can register your own domain using AWS Route 53, then hosting your own website using this domain over nginx server on an Ubuntu server and securing it (HTTPS) with LetsEncrypt
Step-1 Get domain name in AWS Route 53
You need your public domain name like google.com or amazon.com in order to make the public users access it. Following steps shows how you can purchase a public domain name in AWS Route 53
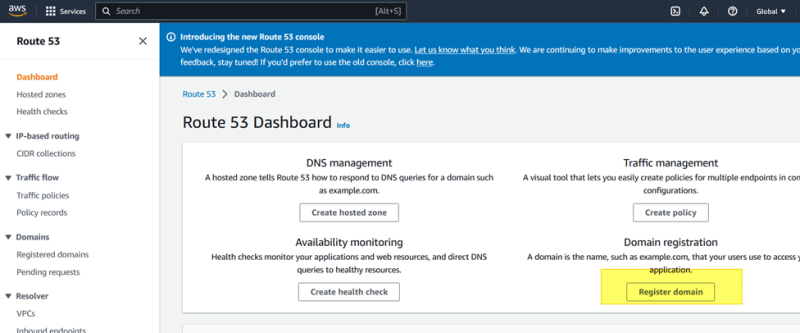
- In AWS console, search Route 53
- Select ‘Register domain’. You can select your domain name with extension based on the availability and your price selection.


- Add to cart and add registrant contact details.
- Check your contact details. Accept Terms & conditions and complete the order. In some cases you may need to complete the payment through AWS billing so that your domain is enabled and available. Once your have your domain name registered with AWS Route 53, you can continue to use this domain for yourself. You should receive an email to confirm your domain as shown: (this would take some time say 30 min)

Confirm this email to further setup your server for website.
Step-2 Host an EC2 instance in AWS with Ubuntu
Goto AWS EC2.
Click Launch instances.
Give a suitable name for your server

Select ‘Ubuntu’ as application OS image

Choose instance type according to your purpose. Here I am choosing t2.micro

Select ‘Create Key pair’ option and create a new keypair to generate a new permission file (*.pem)

Save this file and it will be available only during creation. Make sure you store it carefully so you don’t lose it.
Edit network settings and provide appropriate values

Under inbound security group rules, add the types HTTP and HTTPS

Configure storage based on your purpose. Here I am leaving it as default 8GB.
Review all and select ‘Launch instance’

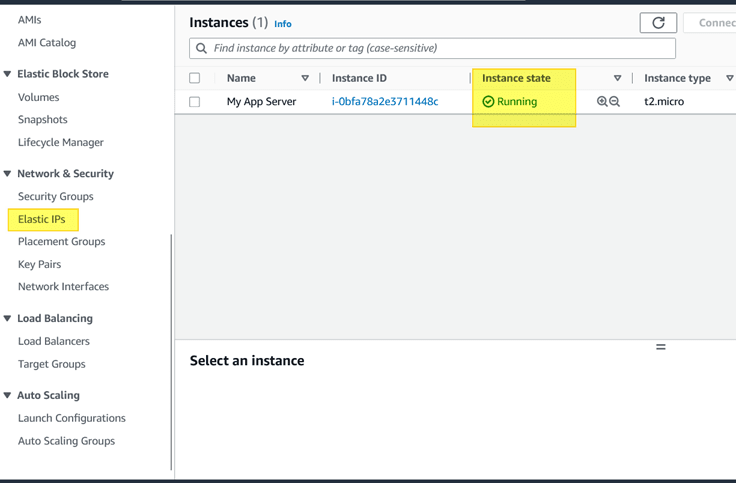
Step-3 Attach an elastic IP
Once the instance is successfully launched, go to Network&Security -> Elastic IPs
Select ‘Allocate Elastic IP address’

Add new tag ‘Name’ and provide a reasonable name.

Select ‘Allocate’ button.
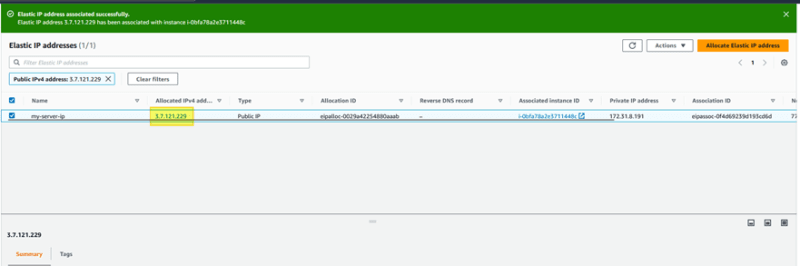
Once the elastic ip data is created, use ‘associate this elastic ip address’ button to assign IP to your above created ubuntu server.

Select your server and associate this IP with it

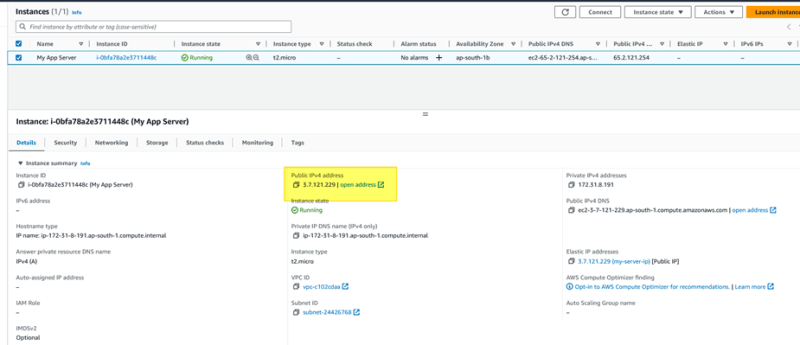
Now you would observe this elastic IP is same as your EC2 instance IP address
Step-4 Install and Nginx
You can now connect to your EC2 instance and setup the website
- Use ssh command to connect to your EC2 instance (on windows try using Cygwin or Git Bash
- To start with make sure you set your pem file downloaded with read-only permission
chmod 400 <path to your pem file> - Connect to your server instance using the ssh command, server name and pem file
ssh -i <path to your pem file> ubuntu@your_server_name - Input ‘yes’ to add your finger print
- Switch root user (as installations will be done as an root user)
sudo su - - Update ubuntu
apt update - Install nginx
apt install -y nginx - This would install nginx and would have started it in background. You can verify the nginx status by
systemctl status nginx

- Following are the key locations/files where the configurations and files handled by nginx are located:
view the logs
/var/log/nginx
view the configurations
/etc/nginx/nginx.conf
/etc/nginx/sites-enabled/default
/etc/nginx/conf.d/
website location
/var/www/html
- Test the nginx configuration without loading using the following command
nginx -t

- Place your website static files in this location
/var/www/html. If the location does not exist, create the same. By default nginx creates this location and place a default index file/var/www/html/index.nginx-debian.html - You can verify this by going to a browser and typing the following: (replace the IP address with your EC2 instance public IP address)
http://your_public_ip_address

- Now we can continue to have our own web page developed and placed in this location:
/var/www/html/
Contents of the page:
<head>
    <title>My Own page</title>
</head>
<body>This is my own web page</body>
</html>
Placed in this location on a file /var/www/html/index.html
- In order to point nginx to this new index page, open the default configuration of nginx
vim /etc/nginx/sites-enabled/default - Locate the directive
indexand modify such that our new file is mentioned there, and other file names are removed
- Specify the server_name directive with your domain name created above

- Test and reload the nginx
nginx -t
systemctl reload nginx
- Now if you refresh the URL above in a browser, you should see your own page

Step-5 Test your website with HTTP
Now instead of using the IP address we will map the domain name what we created to this web site
Once you have the domain successfully registered,

- Go to ‘Hosted zone’ and select your hosted zone name

- Create a new record by specifying your instance public IP address


- After the record is created, you can view the status. Make sure that this is in INSYNC

- You can verify this domain mapping in Ubuntu using the ‘dig’ command

- The same can be verified in windows using ‘nslookup’

- Once the above is in place, you now access your website using the domain name what you created http://mugunthanselvaraj.link

Step-6 Securing the website with https using letsencrypt
The current website what we have is http based and is not secured. In order to secure it with SSL/TLS encryption so that it can be accessed over https protocol, we can use letsencrypt to add a SSL certificate to our nginx server.
- In order to use certbot (letsencrypt) we need to have snap installed (package manager) in ubuntu. By default this is available. You can verify this by
snap version

- Verify for latest version
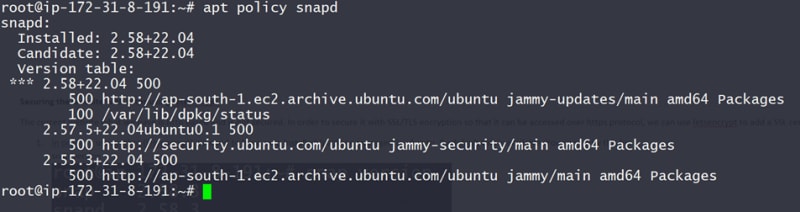
apt policy snapd
- Download and update it by using the following commands
snap install core; snap refresh core
- Remove if you have already have a certbot installed
apt-get remove certbot
- Install latest certbot
snap install --classic certbot
- Add it to your bin, so that it can be executed using certbot command
ln -s /snap/bin/certbot /usr/bin/certbot
- You can verify the cerbot version
certbot --version
- Continue to install ssl certificates for your nginx server
certbot -–nginx
This will ask for you email id, in-case you need to be contacted for SSL certificate renewal and notices
Type ‘Y’ for accept terms of service
- It would show the available server-names for which the certificate has to be installed for

- Just press enter and proceed. This would generate a ssl certificate and configure it in the nginx server.
- Now if you access the above website, it would be in https

Finally you have your own website configured in AWS EC2 instance severed through HTTPS protocol.
Step-7 Auto renew certificate:
- You can schedule your server to auto renew your SSL/TLS certificate using the following command
certbot renew --dry-run
- This would create a timer, which check the SSL certificate expiry periodically and would auto renew it.
- You can verify this by the following command and checking the current timers running
systemctl list-timers


Top comments (1)
Great article with detailed steps Mugunthan.