Sprites are a vital part of working on a game in Unity. Part of that is how do you go about slicing a sprite that contains multiple images within it. I’m going to spend some time going through a basic example of how to split a sprite and hook it up to an animation 2D platform game! Let’s get started!
To start you are going to need to acquire a sprite sheet from somewhere. Here is a link to where I acquired the platform character for this project.
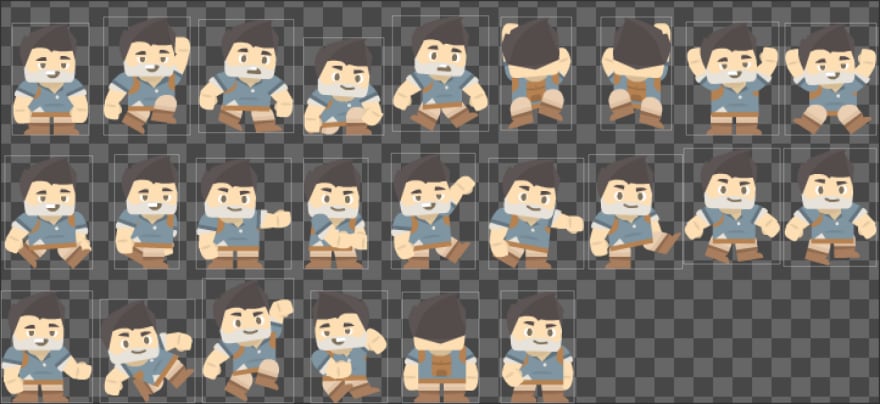
Once imported into Unity, you are going to need to splice the sprite. You can do this in a number of ways, but I suggest starting by seeing if Unity can automatically figure out each of the images. To do this, use automatic mode as pictured below.
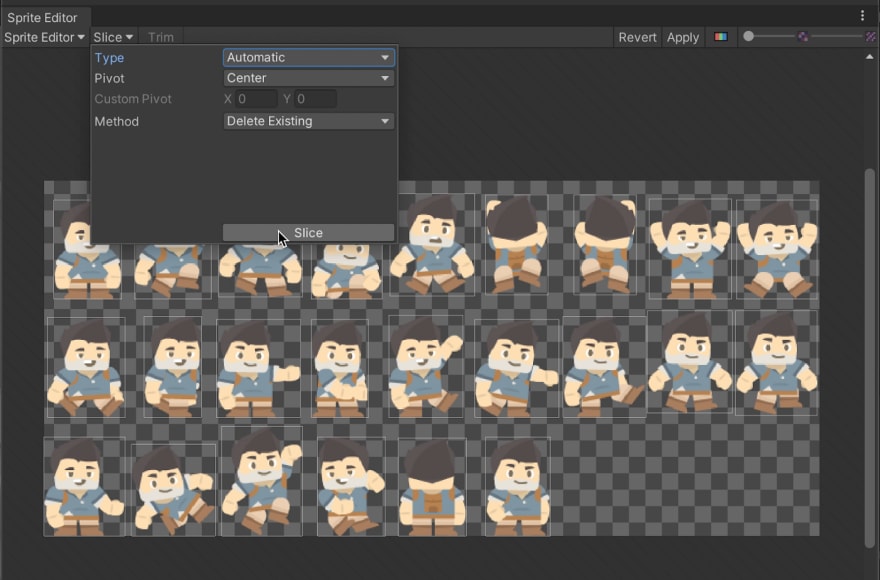
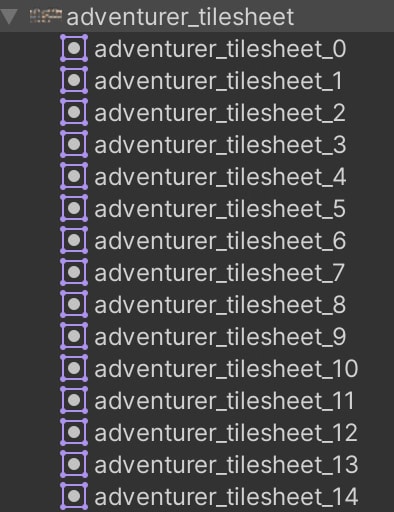
Once finished, you will see a light grey box around each of the images in the sheet. Hit Apply and let Unity work the magic behind the scenes to cut each image into a usable asset. You will know it is done when you can expand the sheet and see each image appended. Something like this:
At this point, you can start making your animations for your character. In my basic example, this just involved swapping the sprites on each possible state to be the correct image.
Pro tip: Expose lots of variables within your Animator so that it’s easy to tell your player how to move!
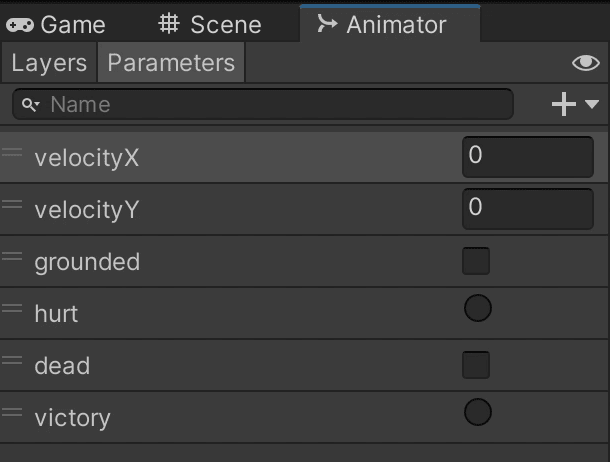
And then you’re done! You now have an easy way to control your player in code so that you can make a cool game!
I hope this tip helps! Follow me on twitter for more tech tips!



Top comments (0)