How to fix app failures on Mac OS Catalina — Notarization
With the release of macOS Catalina in October, Apple has mandated gatekeeper check for all applications. Applications with non-existent notarization would result in a warning at the start of the application and the message would prompt as “Cannot check it for malicious software”.
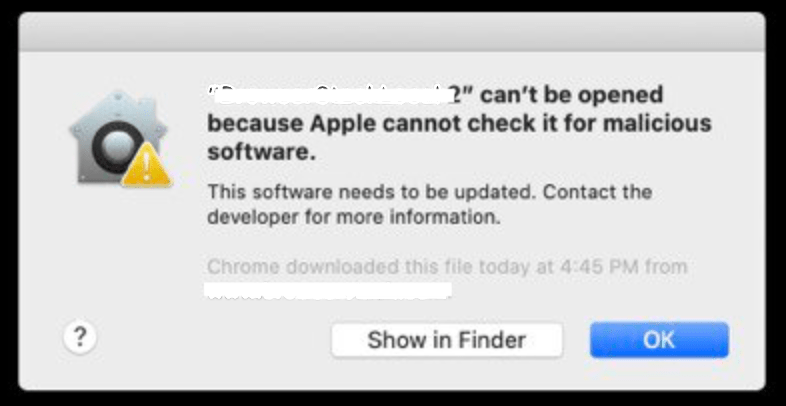
One way to bypass such a message would be to right-click on the application and click on “open”. But, this method would not work for command-line applications/executables. In order to safely pass through the apple’s gatekeeper check, one would require to notarize the application ( for more details refer here), and another would be to ask the user to allow such apps in the security setting. As a developer, it is much easier to notarize the app rather than have the user take such security steps.
Notarization
Notarization gives users more confidence that the software you distribute has been checked by Apple for malicious components. Notarization is not App Review. The Apple notary service is an automated system that scans your software for malicious content, checks for code-signing issues, and returns the results to you quickly. If there are no issues, the notary service generates a ticket for you to staple to your software; the notary service also publishes that ticket online where Gatekeeper can find it.
Notarization produces a ticket that tells Gatekeeper that your app is notarized. After notarization completes successfully, the next time any user attempts to run your app on macOS 10.14 or later, Gatekeeper finds the ticket online. This includes users who downloaded your app before notarization.
You should also attach the ticket to your software using the stapler tool, so that future distributions include the ticket. This ensures that Gatekeeper can find the ticket even when a network connection isn’t available.
Notarization Process
- Make Xcode 10 your active Xcode installation. (If you’re not sure whether Xcode 10 is the active installation, use the xcode-select command-line to make it active. For information about how to use this tool, see the man page for it, as described in Reading UNIX Manual Pages.).
sudo xcode-select -s /path/to/Xcode10.app
Sign in to your Apple ID account page. In the Security section, click. Generate Password below App-Specific Passwords. Save this password.
You upload your app for notarization using altool. To upload using the following command:-
xcrun altool --notarize-app --primary-bundle-id "com.any.id"
--username "email\_id" --password "password\_generated\_in\_step2"
--file file\_in\_zip\_pkg\_dmg
This would return a request ID for the request. You can check the status of the request by using the following command:-
$ xcrun altool --notarization-info request\_id -u "AC\_USERNAME"
- Staple the returned ticket to your existing software. While you can notarize a ZIP archive, you can’t staple to it directly. Instead, run stapler against each individual item that you originally added to the archive. Then create a new ZIP file containing the stapled items for distribution. Although tickets are created for standalone binaries, it’s not currently possible to staple tickets to them. To staple, the following commands need to be executed:-
xcrun stapler staple "file.app"
You can read about common issues encountered here.

Top comments (0)