
Notifications
Notifications are a means of letting our users know that something has happened, and there are different types of notifications, such as email and SMS, but for this project, we will use push notifications, which are messages sent to users' devices, even when the application is closed or not in use. Generally these notifications are displayed with the “bell” icon.
In the documentation, under notifications: https://laravel.com/docs/10.x/notifications we can find what we need for the notifications to work. One of the dependencies is broadcast: https://laravel.com/docs/10.x/notifications#broadcast-notifications, the documentation itself instructs us to configure and understand the concept of broadcasting, and that is exactly what we will do before proceeding:

Broadcasting
Briefly, according to the documentation, broadcasts are channels that allow you to share the same event names and data between your Laravel application on the server and your JavaScript application on the client. Clients connect on the frontend in pre-named channels, while your Laravel application broadcasts events to these channels in the backend. These events can contain any additional data that you want to make available to the frontend. Broadcasting is what will enable our backend to inform our frontend in real time when something occurs.
Initial configuration to use Broadcasting
- We need to have a Pusher account that will be our server-side broadcasting driver. Once inside pusher you can create a free test account (Sandbox).
After registering, you have to create an app:

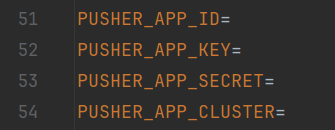
Then we will get our credentials and fill in the .env:

.env variables:
- Let's use queues, so we need to configure a queue worker in the .env:

Execute the commands:
php artisan queue:table
php artisan migrate
Now we must have a new table in our database:

This table stores all jobs that have not yet been executed by our queue.
Broadcasting configuration
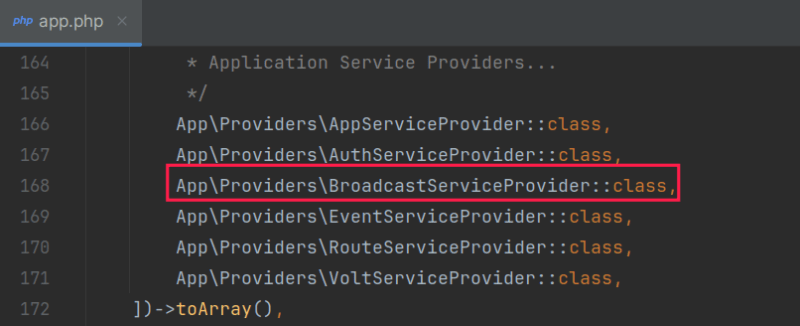
Uncomment "App\Providers\BroadcastServiceProvider" in the providers array in your config/app.php file:
Install the Pusher Channels PHP SDK:
composer require pusher/pusher-php-serverChange your broadcasting driver to the pusher in the .env file:

Install Laravel Echo, a JavaScript library that makes it simple to subscribe to channels and listen for events transmitted by the server-side broadcasting driver. Let's take the opportunity to install pusher-js, since we chose Pusher as the driver:
npm install --save-dev laravel-echo pusher-jsCreate a new instance of Echo in JavaScript for the application; A great place to do this is in the resources/js/bootstrap.js configuration file. The file already has an example that we will use as a reference:

Let's compile the application:
npm run devIn our project we will use private channels, which are channels that require authorization to be accessed. You can find more details here: https://laravel.com/docs/10.x/broadcasting#defining-authorization-routes
We need to define our channel authorization rules in routes/channels.php, and we will use the example channel:

In this example, we are passing the logged in user, which is the default, and the id of a user through "{id}", to check if the user id we are passing is the same as the logged in user.


Top comments (0)