Building a Slack bot is actually easy and straightforward, unfortunately, a lot of tutorials covering this topic are fairly outdated now, in this article, I would walk you through on how to build a simple one with Nodejs and the Bolt library
First, you would need to create a slack workspace here
after creating a team
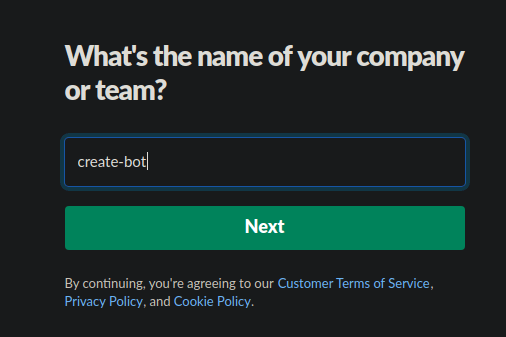
head over to api.slack.com/apps to create a new bot app.
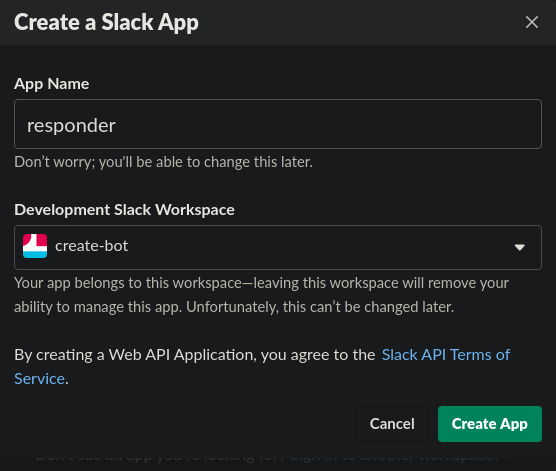
Click on Create app button, type in a name and select a workspace, ideally the one you initially created, then create the app.
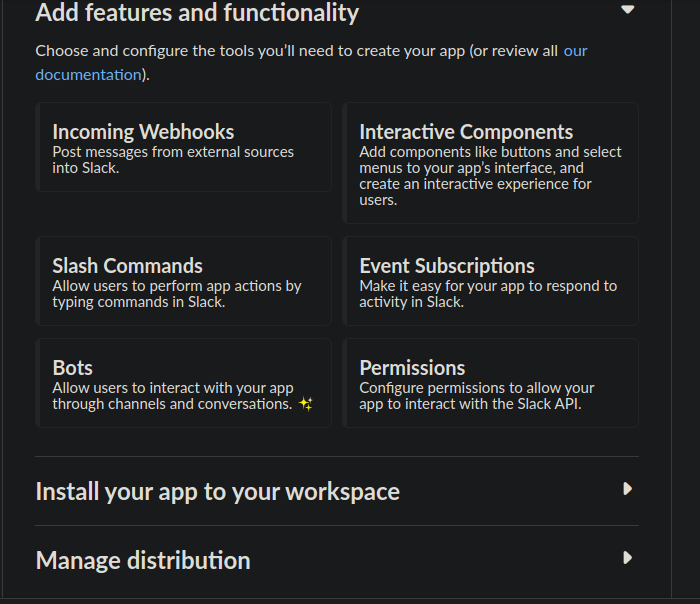
From this window, you get to set up what the app needs, for this app, we only care about "Event subscription", "Bots" and "Permissions".
Event Subscription
Click on Event subscription button and turn it on

Before we can set up the event, we need to get our request URL, this is easy using the bolt library.
First install bot to your workspace
- Click on
Oauth and permissions - Click on
Install App to Workspacebutton
Ideally, you should select the bot scopes before adding the app to your Workspace, for every added scope you would have to reinstall the app to the workspace.
For the app, we used the app:mention bot scope, basically, we want to listen for when the app is mentioned.
N:B The difference between the bot scope and the user scope is that the user scope allows the bot to act on behalf of a slack user when given the permission to.
Now you should see your Bot User OAuth Access Token this would be needed to configure the app.
The needed code to generate the request URL goes below;
- create app folder
- create index.js file
npm install @slack/bolt dotenv
copy the below code into the index.js file
require('dotenv').config();
const { App } = require('@slack/bolt');

const bot = new App({
  signingSecret: process.env.SLACK_SIGNING_SECRET,
  token: process.env.SLACK_BOT_TOKEN,
});

(async () => {
  // Start the app
  await bot.start(process.env.PORT || 3000);

  console.log('⚡️ Bolt app is running!');
})();
check out how to use dotenv if you don't know already, but you want to use it to hide these credentials.
Get the Signing Secret from the "Basic Information" page
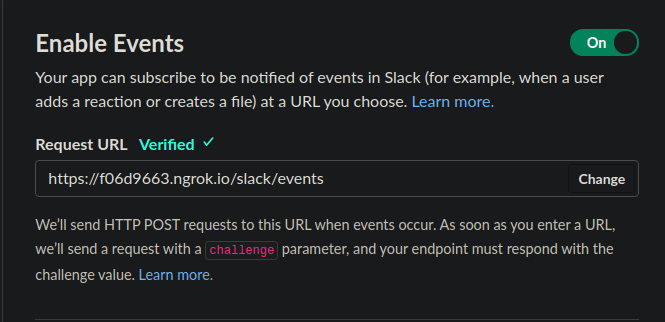
Run the program and route localhost to a live server like ngrok, now copy the link and paste as shown below;
the bolt library listens on the slack/events endpoint, hence why you should add it to your URL, if it is verified as seen above you are good to go.
The Basic information page should look like this
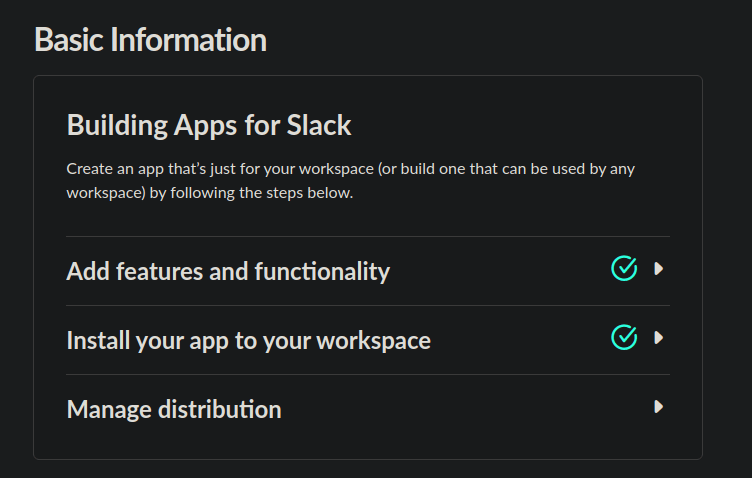
Features and functionalities
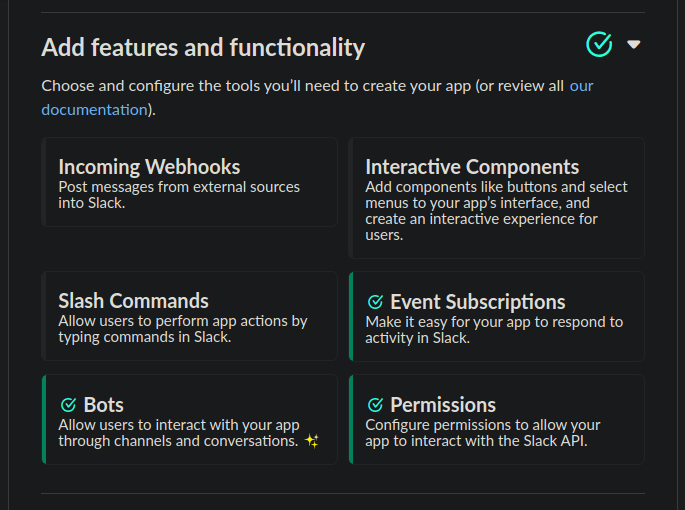
We would not be covering distribution in this article, I'll link another article for that.
Now in your slack workspace, the bot should show up under Apps

But no action is performed by the bot yet

N:B we would need to respond to mentions, so go to the OAuth and Permissions tab add chat:write to the bot scope.
Add this code to your index.js file just after declaring the initializing APP
bot.event("app_mention", async ({ context, event }) => {

  try{
    await bot.client.chat.postMessage({
    token: context.botToken,
    channel: event.channel,
    text: `Hey yoo <@${event.user}> you mentioned me`
  });
  }
  catch (e) {
    console.log(`error responding ${e}`);
  }

});
see here to read more on the app mention API
- Add app to a channel and mention the app

And that is it right there, simple way to build a slack bot with the @slack/bolt library and Nodejs. For more insight on what is possible check out this Github repository
After building your Slack app, distributing it is necessary for visibility but it can get really tricky, I will be writing on that next.


Top comments (5)
Hey this is great! I have one small suggestion. In your last code example, you can simplify a little bit by using the
clientargument which Bolt passes into your listener. Thatclientinstance already knows the bot token, so you don't have to also read it from thecontextargument.And actually, you can make this even shorter (but then it starts to hide some of the interesting details you might want your readers to learn). The
sayargument already knows about the bot token, the channel ID, and knows that the method to call ischat.postMessage:Hi sorry for the late reply but you are absolutely right, thank you for this.
Awesome
Very Awesome
concise, effective tutorial. thank you for providing this!