This is a short on how to get up and running with Electron using Parcel and then choosing and updating a JSON file using Electron's dialog API.
Initialing the project
As for setting up the project.
mkdir hello-parcel-electron
cd hello-parcel-electron
yarn init -y
yarn add react react-dom electron-is-dev
yarn add -D concurrently cross-env electron electron-builder parcel-bundler wait-on typescript
# Babel
yarn add -D babel-core babel-plugin-transform-object-rest-spread babel-plugin-transform-react-jsx babel-preset-env babel-preset-react
# Adding required files
mkdir src
touch src/index.js src/App.js electron.js tsconfig.json index.html
Creating the entry point
Add the following to index.html file in root dir:
<!DOCTYPE html>
<html lang="en">
  <head>
    <meta charset="UTF-8" />
    <meta name="viewport" content="width=device-width, initial-scale=1.0" />
    <meta http-equiv="X-UA-Compatible" content="ie=edge" />
    <title>Electron React Parcel</title>
    <link
      rel="shortcut icon"
      href="./src/assets/logo.ico"
      type="image/x-icon"
    />
  </head>
  <body>
    <div id="root"></div>
    <script src="./src/index.js"></script>
  </body>
</html>
This file will be used by Parcel as the entrypoint. Next, add this to src/index.js:
// index.js
import React from "react"
import ReactDOM from "react-dom"
import App from "./App"

ReactDOM.render(<App />, document.getElementById("root"))
And for src/App.js:
// App.js
import React from "react"

class App = () => (<div>Hello, World!</div>)

export default App
This is just a basic React app setup.
Setup up Babel
In the root .babelrc file, add the following:
{
  "presets": ["env", "react"],
  "plugins": ["transform-object-rest-spread", "transform-react-jsx"]
}
Adding Scripts and Homepage
Next, we need to update our scripts and homepage in package.json. I've left in some extra tidbits from my current configuration, so feel free to add. The build key is used by Electron when creating a build.
{
  "homepage": "./",
  "main": "src/electron.js",
  "scripts": {
    "react-start": "parcel -p 3000 index.html --out-dir build",
    "react-build": "parcel build index.html --out-dir build --public-url ./",
    "start": "concurrently \"cross-env BROWSER=none yarn react-start\" \"wait-on http://localhost:3000 && electron . \"",
    "electron-build": "electron-builder -mwl",
    "build": "yarn clean-build && yarn react-build && yarn electron-build"
  },
  "build": {
    "appId": "com.dennisokeeffe",
    "files": ["src/electron.js", "src/assets/*", "build/**/*"],
    "mac": {
      "target": "dmg",
      "icon": "src/assets/logo.png"
    },
    "win": {
      "target": "nsis",
      "icon": "src/assets/logo.png"
    },
    "linux": {
      "target": "deb",
      "icon": "src/assets/logo.png",
      "category": "Development"
    }
  }
}
TypeScript config
To get TypeScript going, Add this to tsconfig.json in the root:
// tsconfig.json
{
  "compilerOptions": {
    "jsx": "react"
  }
}
Setting up the Electron file
Add electron.js in src directory:
const electron = require("electron")
const app = electron.app

const BrowserWindow = electron.BrowserWindow

const path = require("path")
const isDev = require("electron-is-dev")

let mainWindow

function createWindow() {
  mainWindow = new BrowserWindow({
    width: 900,
    height: 680,
  })

  mainWindow.loadURL(
    isDev
      ? "http://localhost:3000"
      : `file://${path.join(__dirname, "../build/index.html")}`
  )
  mainWindow.on("closed", () => (mainWindow = null))
}

app.on("ready", createWindow)

app.on("window-all-closed", () => {
  if (process.platform !== "darwin") {
    app.quit()
  }
})

app.on("activate", () => {
  if (mainWindow === null) {
    createWindow()
  }
})
This file is used by Electron as an entrypoint to understand the config. Note that here we are telling it to use localhost:3000 in dev mode.
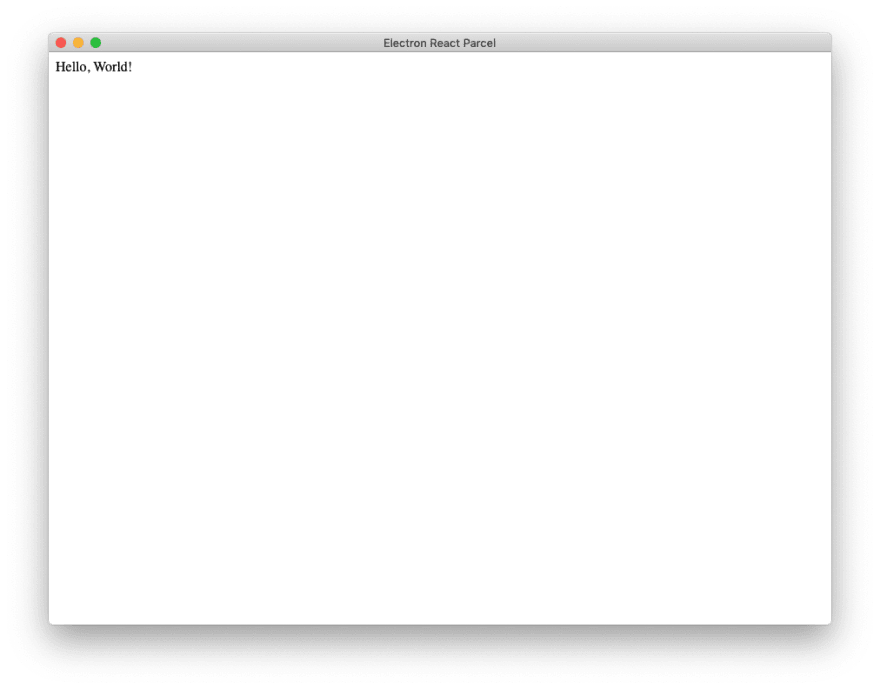
We are now ready to start! Tun yarn start and to build we run yarn build and if successful, you should see the following:
Updating to use Electron's dialog API
Let's update src/App.tsx with the following:
import React, { useState } from "react"
const fs = window.require("fs")
const electron = window.require("electron")
const { remote } = electron

const App = () => {
  const [filePath, setFilePath] = useState<string>()
  const [fileJson, setFileJson] = useState<Record<string, any>>()
  const [saved, setSaved] = useState<boolean>(false)

  /**
   * Look for any files called strings.json and grab the
   * file path, read the data, update the data and set it
   * to the `fileJson` variable.
   *
   */
  const handleFileSelect = async () => {
    const res = await remote.dialog.showOpenDialog({
      properties: ["openFile"],
      filters: [{ name: "i18n file", extensions: ["strings.json"] }],
    })

    const [jsonPath] = res.filePaths
    if (jsonPath) {
      const data = JSON.parse(fs.readFileSync(jsonPath, "utf-8"))
      setFilePath(jsonPath)
      data.third = "here"

      setFileJson(data)
    }
  }

  /**
   * Write the file back and set the saved flag.
   *
   */
  const handleSaveFile = () => {
    if (filePath) {
      fs.writeFileSync(filePath, JSON.stringify(fileJson), "utf-8")
      setSaved(true)
    }
  }

  return (
    <div>
      {saved && <p>File saved!</p>}
      <p>Open + save file</p>
      <div>
        <button onClick={handleFileSelect}>Open file</button>
        <button onClick={handleSaveFile}>Save file</button>
      </div>
      <p>{JSON.stringify(fileJson)}</p>
    </div>
  )
}
export default App
If we go through this, we are requiring the fs module to use for writing files locally, the remote module to access the dialog API and then we are adding some button handlers to select a file and save a file.
For handleFileSelect I am using some of the filters from the API to force myself to only be able to select files named strings.json.
Let's create a strings.json file in the root directory and add the following:
{ "testing": "this", "hello": "world" }
We are going to read this file and add something new!
In our handleFileSelect closure, we are checking for a jsonPath result to the selection, and if it exists, we are simply reading it, parsing the JSON and adding a new property.
The handleSaveFile simply overrides the currently file selected, which we are storing as state filePath during the file selection.
Running the App
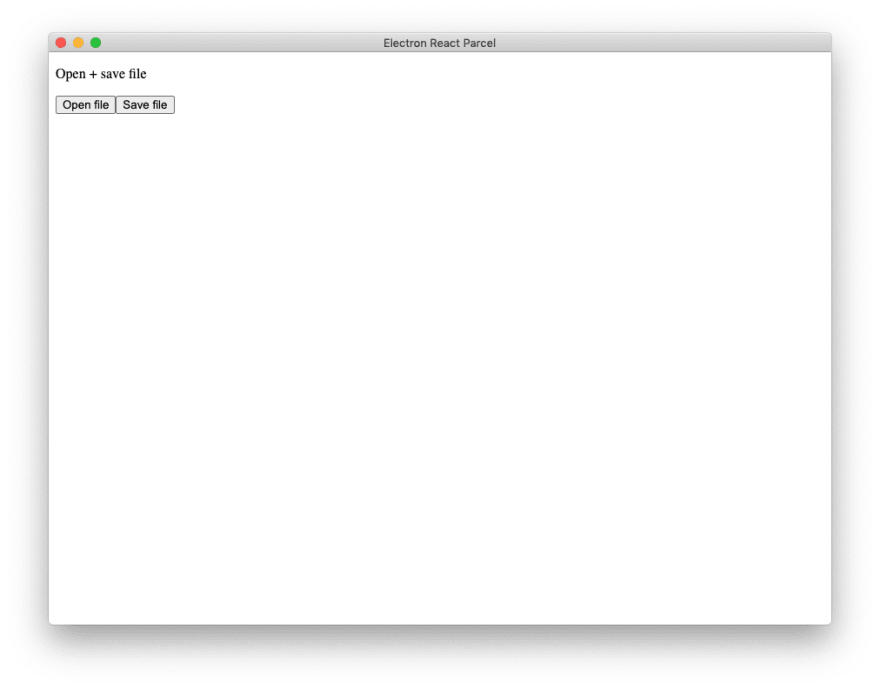
Now, the Electron App should look like the following:
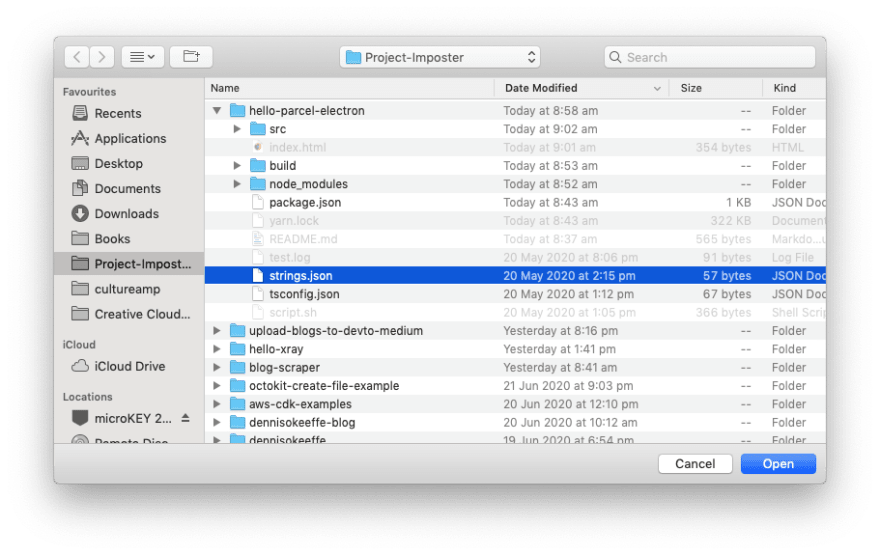
If we select Open file, we see the following dialog box:
Given the restrictions we set, opening strings.json is the only workable option.
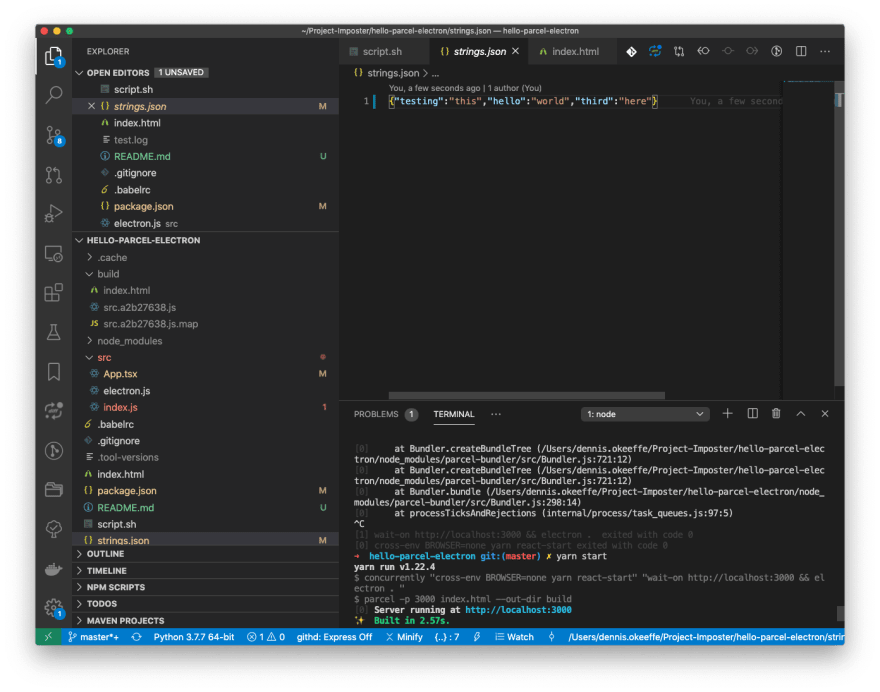
If we select it, you can see we have some text to show the JSON with some manipulation to add the third key. Currently, this hasn't been saved to disk. If we now select Save file, we will get a confirmation of the file being saved, and checking back to our IDE can confirm that the file indeed has been saved to disk.
Hooray! This has been a short introduction into getting things going, but the world is your oyster from here. This code is readily reuseable for you to quickly put together Electron + React + TypeScript apps for your own needs.
Resources and Further Reading
- Medium - Production Ready Electron App Using React and Parcel
- Parcel TypeScript
- Electron - Dialog API
Originally posted on my blog. Follow me on Twitter for more hidden gems @dennisokeeffe92.


Top comments (2)
Hi Dennis,
Thanks for the article! I found it pretty helpful.
Wanted to let you know that if I use "window.require" in my react app, it throws an error. You need to enable nodeIntegration in "electron.js" file as follows:
in case anyone else runs into this error
Ahhh, thanks for adding the snippet!