This tutorial is suitable for both advanced administrators and newcomers or newcomers to this exciting world of cardano stake pools.
Managing a cardano stake pool is an exciting task, but there are many repetitive tasks that need to be done like
update to a new version, roll back if necessary, keep the scripts provided by the community updated, not to mention that you want to compile the cardano version or manage several stake pools with their respective relays.
For this reason, CVM was born to streamline this type of task and save us many hours of our time.
In this article I want to show you how easy it is to set up your cardano stake pool with a few commands.
Let’s start:
We start from our console on the server where we are going to install the cardano-node. It is necessary to create a user, cvm does not install it with the root user.
Step 1:Installing CVM
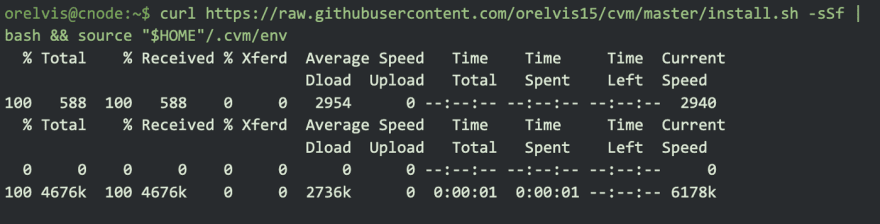
It’s very simple, we just go to its github, copy the installation command, press enter and that’s it.
You should see an output like this
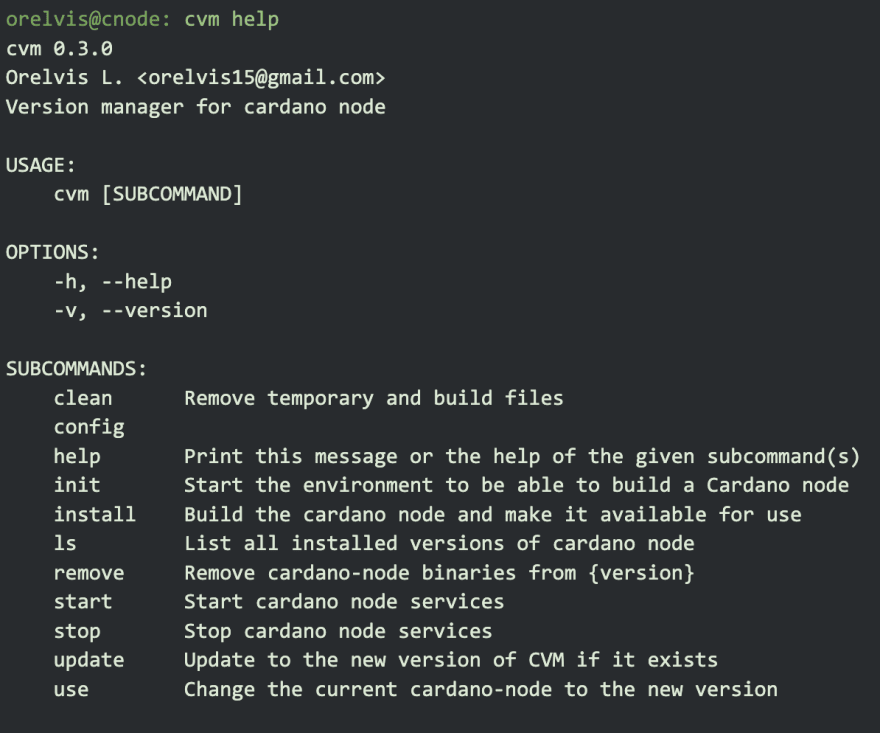
To test that everything is ok we run cvm help
Step 2: Preparing the server
Now we are going to prepare our server to run and/or compile the cardano-node.
To start we need to give the user write permissions to the /opt folder, in this path the folder structure of the project will be created. In my case my user belongs to the sudo group so apply write permissions to the /opt path for the sudo group.

Now we must decide how we want to handle when we need to update or install a version of the cardano-node.
Option 1- Download the binaries compiled by IOHK.
Option 2- Compile cardano-node.
Each option has its advantages but I prefer Option 1, it saves much more time.
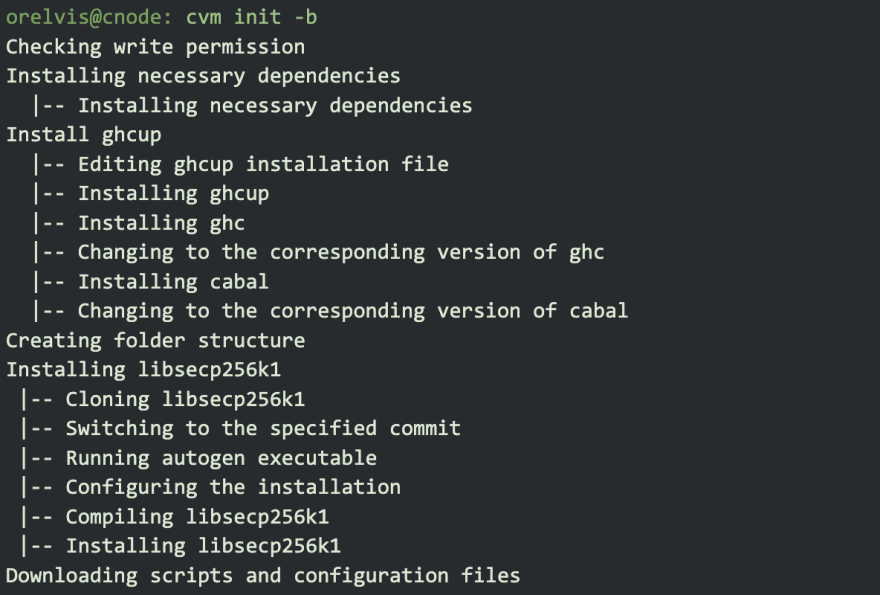
For those who prefer option 1 just run cvm init and for those who want to prepare the server to compile cardano run cvm init -b
Output for cvm init

Output for cvm init -b
Step 3: Installing the cardano-node binaries
We can install the binaries compiled by IOHK or you can compile them locally.
For those who want to use the option to download the binaries compiled by IOHK, run cvm install x.x.x.
x.x.x is the version you want to install. If the field is left empty, the latest version published by IOHK will be installed.
Output for cvm install

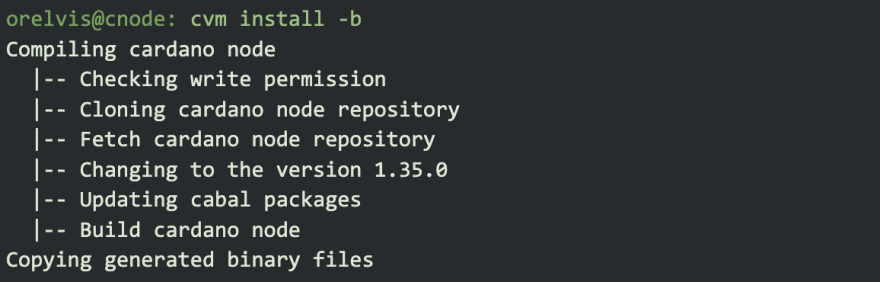
To compile cardano-node locally you need to run cvm install -b x.x.x
Output for cvm install -b
Let’s verify that the version installed correctly, let’s run cvm ls to show the installed versions.

Step 4: Running the node
To start using a version we just need to run cvm use x.x.x

CVM takes care of creating the service for cardano, and making it point to the version we want to use.
If we now run cvm ls, it will show us the version that is currently being used.

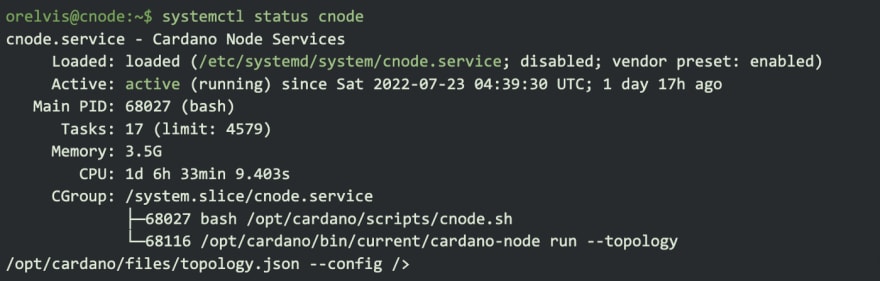
Now we just need to run the cardano service with cvm start and check that the server is running. Run systemctl status cnode.
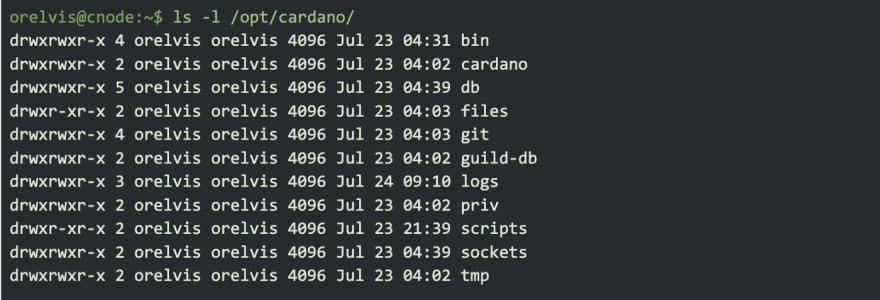
If we now go to the path /opt/cardano we will see the project folder structure.
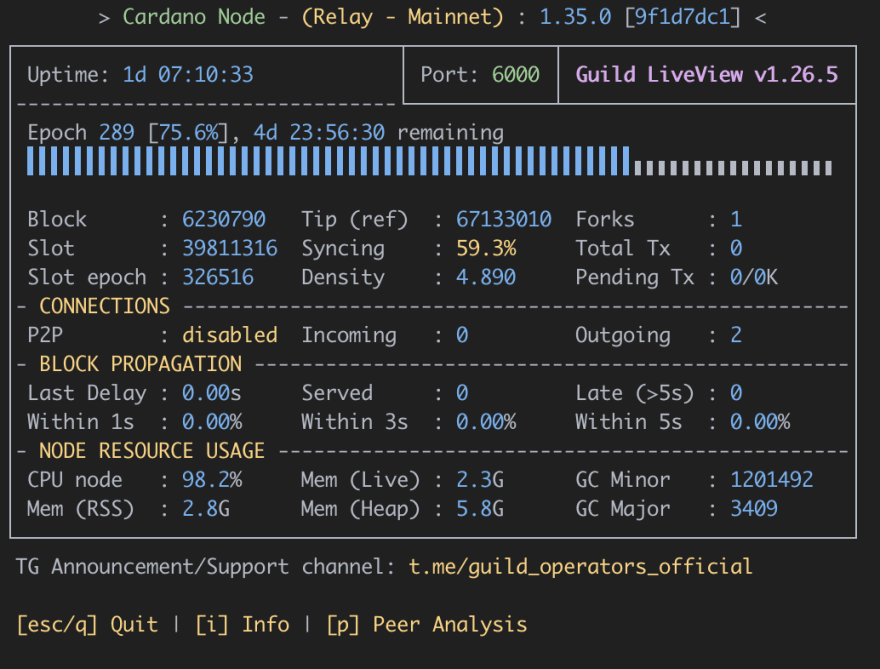
In the scripts folder we have all the tools developed by the guild-operators community, let’s enter the script folder and run ./gLiveView.sh, so we can follow the synchronization status of our pool.
You should see something like this.
Conclusions
CVM is designed to save time and eliminate tedious and repetitive processes, in a few steps you can already have your node running on a server.
I hope that this tutorial will help you to use cvm, any bug or feature that you want to add would be of great help if you publish it on your github, so we can all improve it.

Top comments (0)