I want to get more into dataset creation and exploration and when unsplash released a dataset a while back i knew that it was a good excuse to start.
Then thought seeing other dataset like FFHQ and similar face datasets that it would be interesting to make a pipeline to make a sub-dataset of faces from the unsplash dataset.
Alright so we are going to use the test dataset that unsplash provides but everything works with the full dataset if you are able to access that one, you can get more information in the github repo.
This articles is the summarized version of this video where i go more in depth in each part and we do a walkthrough of why and how we do things, hope you can check it out!
Awesome! We are going to use jupyter notebooks and python scripts, so let's go!
First we need the dataset
Here if you have the link to the full dataset change the download link to that and also the file output name.
mkdir ds
curl -L "https://unsplash-datasets.s3.amazonaws.com/lite/latest/unsplash-research-dataset-lite-latest.zip" -s --output "./ds/unsplash-research-dataset-lite-latest.zip"
tar -xf "./ds/unsplash-research-dataset-lite-latest.zip" --directory ./ds/
Here we make the ds folder, then download and uncompress the dataset, you should have 5 tab separated values files and 3 markdowns, we are going to focus on the photos file.
Loading the images
Now let's see how to load the images from the url of the dataset and have it ready for processing.
image_bytes = requests.get('https://images.unsplash.com/photo-1525785939540-8a33240e4946?width=1024')
print(image_bytes.status_code)
image_bytes = image_bytes.content
image_stream = BytesIO(image_bytes)
img_open=Image.open(image_stream)

img_open
We use requests to get the image and then with BytesIO we read the stream of bytes then we can use the open method from the PIL library to load that image into the img_open variable, we can leave the variable in the last line and the notebook will display it.
Computing the face box
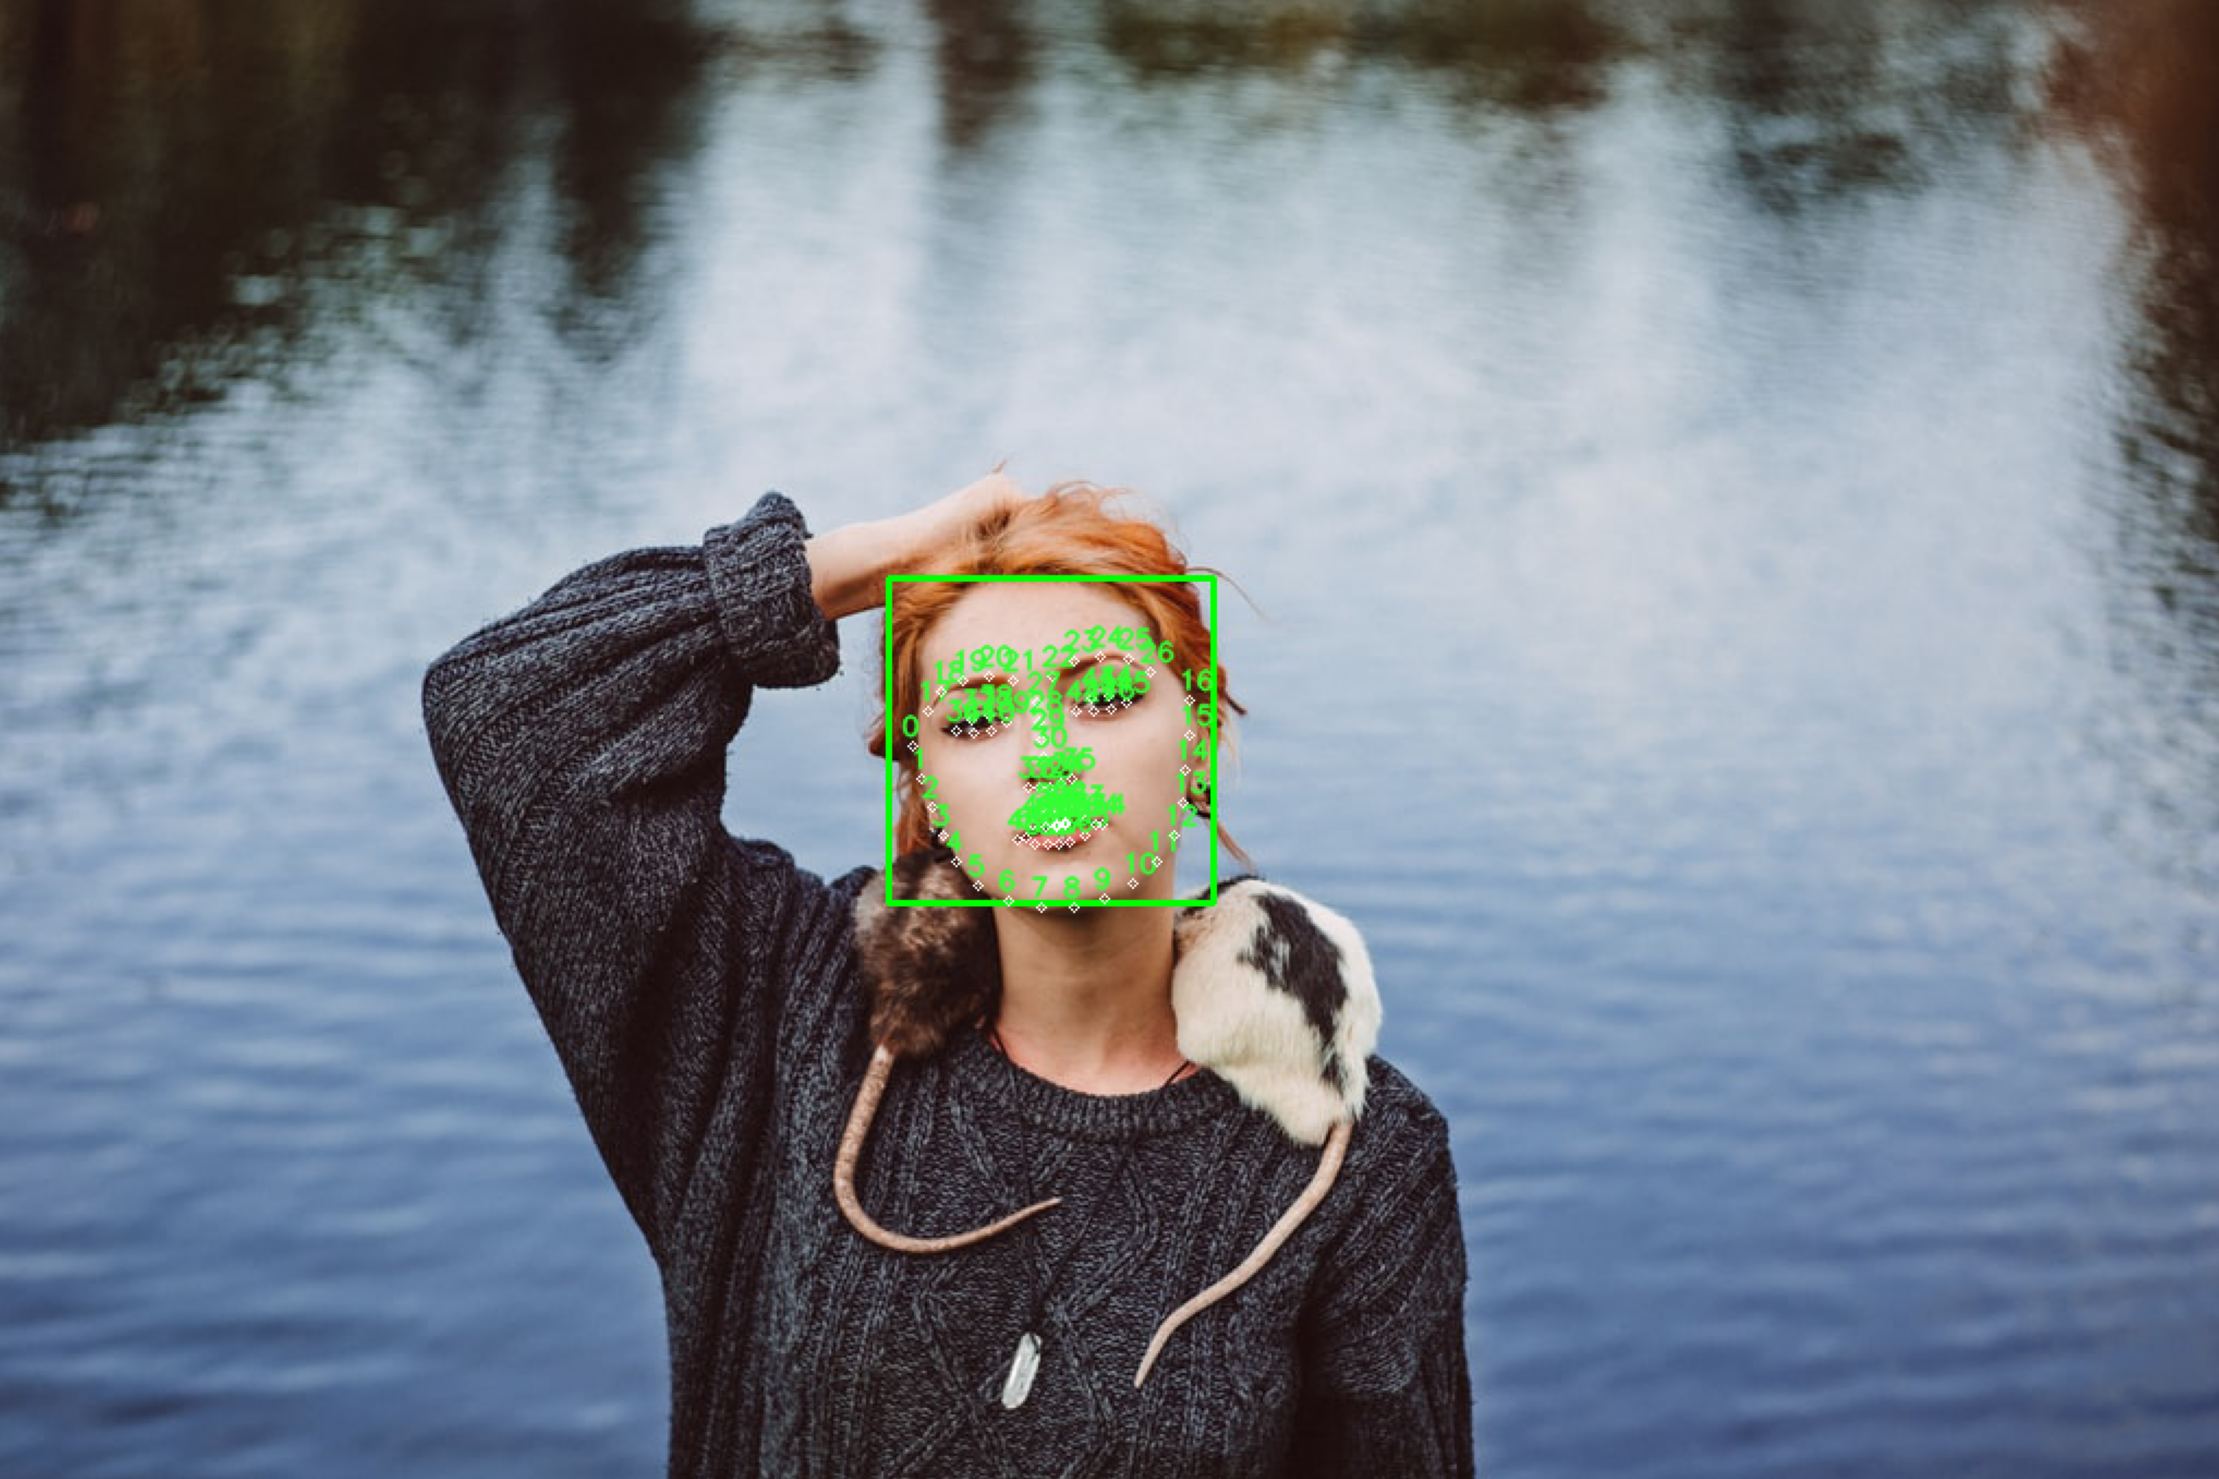
Awesome now let's see how to get the face box and then display it with matplotlib, first we need the haarcascade model to get the face box coordinates.
This will create the models folder and download the file of the classifier.
mkdir models
curl -L "https://github.com/opencv/opencv/raw/master/data/haarcascades/haarcascade_frontalface_alt_tree.xml" -s --output ./models/haarcascade_frontalface_alt_tree.xml
Great now let's load the model with CascadeClassfier, then we need to get the gray version of the image for the classifier, we do this by first getting the numpy array of the PIL imagen and then with cvtColor we get the gray image.
Then we feed this gray image to the classifier, getting a list of face cords that the classifier detects.
Then we can loop through the box cords and draw rectangles to a copy of our image.
The cords of the box have this format: [x,y,w,h]
image_draw = np.array(img_open).copy()
detector = cv2.CascadeClassifier('./models/haarcascade_frontalface_alt_tree.xml')
image_gray = cv2.cvtColor(np.array(img_open), cv2.COLOR_RGB2GRAY)

faces = detector.detectMultiScale(image_gray)

for cords in faces:
  cv2.rectangle(image_draw,
                (cords[0],cords[1]),
                (cords[0]+cords[2],cords[1]+cords[3]),
                (0,255,0),2)

plt.figure(figsize = (10,10))
plt.imshow(image_draw)
We can also get the face landmarks using the lbfmodel
curl -L "https://github.com/kurnianggoro/GSOC2017/raw/master/data/lbfmodel.yaml" -s --output ./models/lbfmodel.yaml
This models requires the box cords for each face, so we loop through each of them and we calculate the face landmarks.
landmark_detector = cv2.face.createFacemarkLBF()
landmark_detector.loadModel('./models/lbfmodel.yaml')
for cords in faces:
_, landmarks = landmark_detector.fit(image_gray, faces)
for landmark in landmarks:
for i,(x,y) in enumerate(landmark[0]):
cv2.circle(image_draw, (int(x),int(y)),2,(255,255,255),1)
image_draw = cv2.putText(image_draw, f"{i}", (int(x-5),int(y-5)), cv2.FONT_HERSHEY_SIMPLEX,
0.4, (50, 255, 50) , 1, cv2.LINE_AA)
plt.figure(figsize = (40,40))
plt.imshow(image_draw)
```
{% endraw %}

## Crop the face and recalculate the facebox to the full size
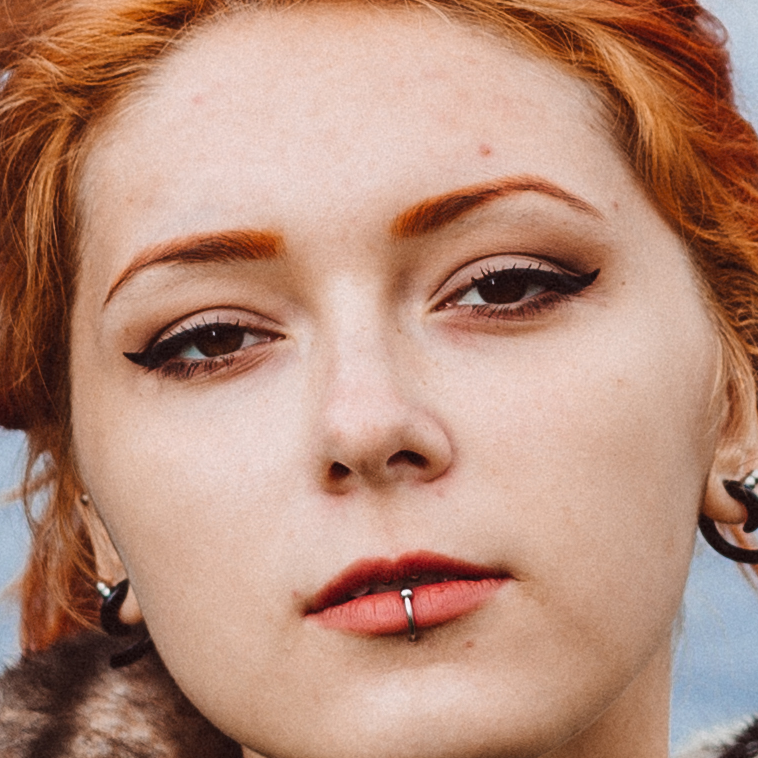
So as you can see we compute the face box cords with a rescale of the original image let's see how to get the box for the original image.
First let's see a function that given the box face cords, the shape of the original image and the shape of the rescale, computes the new box.
So here what we basically have to do is calculate a ratio and then multiply the box for that ratio, we loop through all the boxes and we multiply the new x,y, and the new height and width.
{% raw %}
```python
def recal_box(box_cords, old_shape, new_shape):
recal_boxes=[]
for box in box_cords:
Ry, Rx=new_shape[0]/old_shape[0], new_shape[1]/old_shape[1]
x,y,w,h = box
new_y, new_x = int(Ry*y), int(Rx*x)
new_h, new_w = int(Ry*h), int(Rx*w)
recal_boxes.append((new_x, new_y, new_w, new_h))
return recal_boxes
```
{% endraw %}
Now let's overview the process of using the function, here we load the images to get the shape or rather the height and width of the original image we have the width of the rescale but not the height so we also get that.
Then we calculate the ration that we need and we give that to function recal_box.
{% raw %}
```python
test_recal='https://images.unsplash.com/photo-1475500842347-db0561997c00?width=1024'
image_bytes_s = requests.get(test_recal)
image_bytes_s = image_bytes_s.content
image_stream_s = BytesIO(image_bytes_s)
img_open_s = np.array(Image.open(image_stream_s))
image_bytes = requests.get(test_recal.split('?')[0])
image_bytes = image_bytes.content
image_stream = BytesIO(image_bytes)
img_open = np.array(Image.open(image_stream))
og_shape=img_open_s.shape
new_shape=img_open.shape
new_box=recal_box([[411, 268, 149, 149]],og_shape, new_shape)
```
And we have our result!

We can do this for all the images that we encountered in the dataset and have the face box for the original image!
## Downloading images!
Alright last thing is downloading all the faces!
Let's say that we computed all the images and we have a csv with the link of the original image and the face boxes for that image.
{% raw %}
```python
import numpy as np
import pandas as pd
import os
from io import BytesIO
import requests
from PIL import Image
import cv2
import numpy as np
from pathlib import Path
import argparse
def cropface(image, box, fill=.5, ratios=(1,1)):
h_img,w_img = image.shape[:2]
Ry, Rx = ratios
x,y,w,h = box
new_y,new_x = Ry*y, Rx*x
y_fill = max(0, new_y-h*fill)
x_fill = max(0, new_x-w*fill)
new_h, new_w = Ry*(h+y), Rx*(w+x)
h_fill = min(h_img, new_h+h*fill)
w_fill = min(w_img, new_w+w*fill)
return image[int(y_fill):int(h_fill),
int(x_fill):int(w_fill)]
def get_opt():
parser = argparse.ArgumentParser()
parser.add_argument('--source', type=str, required=True)
parser.add_argument('--output', type=str, default='./unsplash_faces')
opt = parser.parse_args()
return opt
if __name__ == '__main__':
opt:dict = get_opt()
Path(opt.output).mkdir(exist_ok=True, parents=True)
print('Loading photos df')
photos_df=pd.read_csv(opt.source, sep=';', header=0)
print('Finish photos df')
for j, r in photos_df.iterrows():
cur_cords = eval(r['face_box_cords'])
cur_img = r['photo_image_url']
image_bytes = requests.get(cur_img.split('?')[0])
image_bytes = image_bytes.content
image_stream = BytesIO(image_bytes)
img_open = np.array(Image.open(image_stream))
name = cur_img.split('/')[-1]
for i, cords in enumerate(cur_cords):
cur_crop = cropface(img_open, cords, fill=0, ratios=(1,1))
try:
cv2.imwrite(os.path.join(opt.output,f'{name}_{i}.jpg'), cur_crop[:,:,::-1])
except:
print(f'Error with {cur_img}')
print(f'{j}/{len(photos_df)}')
```
{% endraw %}
Now here we first declare the cropface function that given an image, and a box crops the image and returns that crop.
This function can also recalculate the rations and give a fill to the box if we want.
We slice the image using the face cords, and we use max and min to ensure the fill doesn't go over the edges, we don't want a out of index error :D
We use argparse for the options of the script, then we iterate over the csv of our data and we do the same process as before, but here we only need to crop the face and save it.
Wonderful that's it! Hope you like it, follow me and also check my [YT](https://www.youtube.com/c/ramgendeploy)!
---
creds:
1:_Photo by <a href="https://unsplash.com/@gift_habeshaw?utm_source=unsplash&utm_medium=referral&utm_content=creditCopyText">Gift Habeshaw</a>_
2:_Original Photo by <a href="https://unsplash.com/@freestocks?utm_source=unsplash&utm_medium=referral&utm_content=creditCopyText">freestocks</a>_


Top comments (0)