
Curious about OpenCV? Come on, let's unfold it!
So today we'll be focusing on computer vision using OpenCV in Python. You are expected to know basic Python programming, and NumPy, even if you don't, it's fine! Just make sure to learn it afterwards. Alright, so without further a due let us jump right in!

What is Computer Vision?
I believe all of you have used Facebook and the moment you upload any picture on Facebook, there's this feature called Auto Tag, which uses facial recognition to suggest the name of your friend in the picture. But, how does this happen? Yes! It all happens because of Computer Vision. Computer vision is an interdisciplinary field that allows computers to gain a high-level understanding of digital images or videos. It basically seeks to understand and automate tasks that the human visual system can do.

How do computers see?
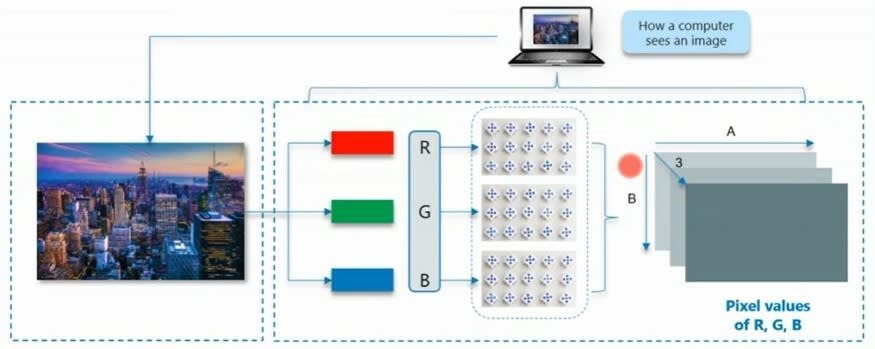
A normal human can easily look and recognize the image upfront, but when it comes to computers, the answer is NO! The computer only sees matrices of numbers. The numbers inside the matrix may vary from 0 to 255 and when it comes to a coloured image, It will have to read three such matrices (3channels), each pertaining to Red, Green and Blue. Each number inside the matrix is related to the intensity of brightness of that particular pixel and for a coloured image, all the three matrices are stacked on top of each other forming a three-dimensional matrix. So cutting it short, a computer will interpret a coloured image as a 3D Matrix! It's pretty much the same for grayscale images as well, but unlike coloured images, grayscale images have only a single channel forming a 2D Matrix! So when I say, the size of the coloured image is 1280x720, it means there are three channels or three matrices containing 1280 rows and 720 columns, similarly, when I say, the size of a grayscale image is 480x360, it means there are 480 rows, 360 columns and a single channel. If you want to know the size of the image, all you have to do is multiply, the number of rows, columns and channels. To sum it up, a computer will read a coloured image as a 3D Matrix and a grayscale image as a 2D Matrix.
What is OpenCV?
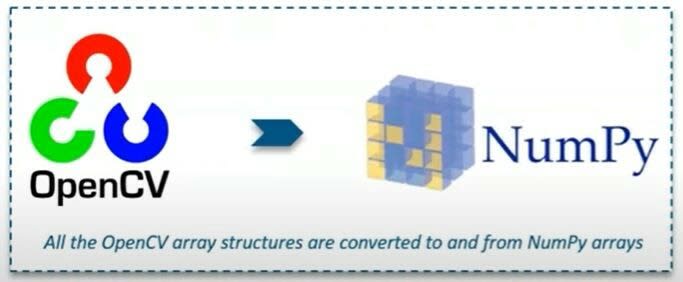
OpenCV is basically a library used for computer vision. It was first developed in 1999 and released in 2000 at Intel by Gary Brad Sky. OpenCV supports a wide variety of programming languages such as Python, C++, Java, et cetera and also supports different platforms including Windows, Linux et cetera. The trick is to convert all the images (from or to) NumPy Matrices or what we call as NumPy arrays and this makes it easier to integrate it with other libraries that uses NumPy, for example, SciKit and Matplotlib.
OpenCV Basics
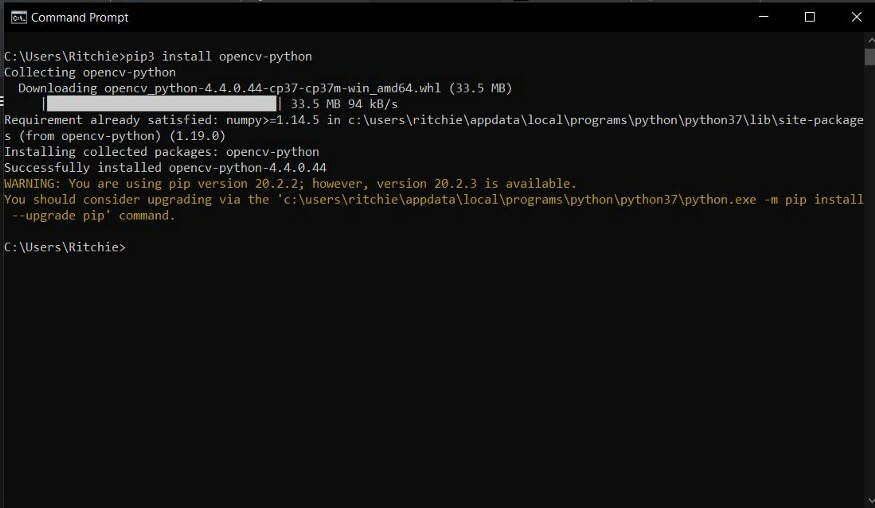
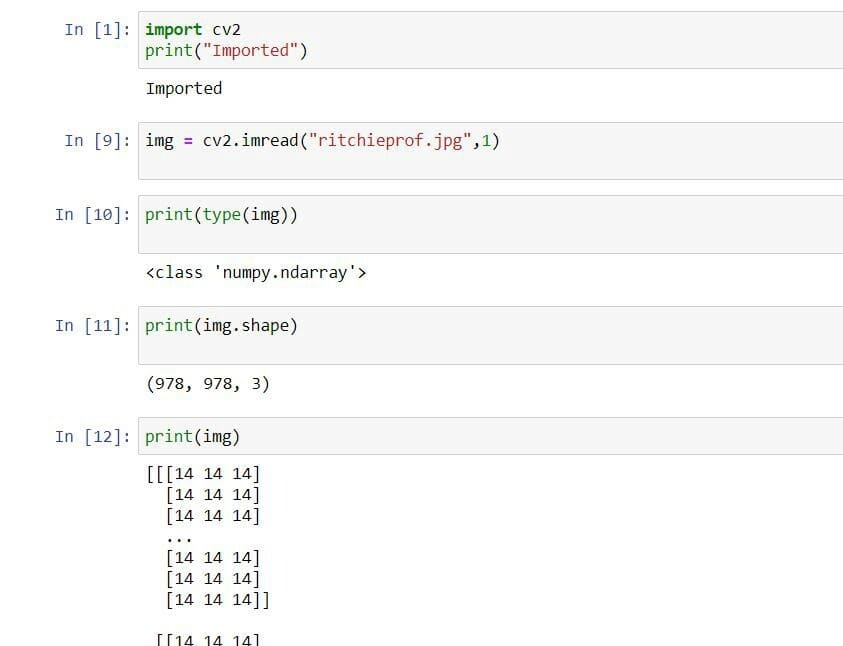
Here we will be using python. So first of all, you are supposed to import OpenCV into python using the import cv2 command. But, if you are totally new to this, you may have to install OpenCV before importing it, all you have to do is type pip3 install opencv-python in your command prompt(Windows) or Terminal(Linux).
cv2.imread("image.jpg",0) allows us to read the image in Grayscale format.
cv2.imread("image.jpg",1) allows us to read the image in RGB format. We are storing it in a variable img.
print(img) shows the 3D array related to the image.
print(type(img)) shows the type of the array, which is numpy.ndarray.
print(img.shape) shows the shape of the array which includes the number of rows, columns and channels.
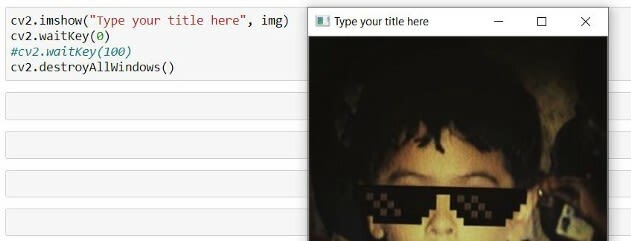
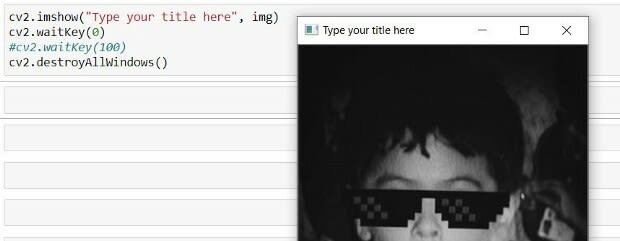
cv2.imshow("Type your title", img) opens a window to display the image
cv2.waitKey(0) waits until the user presses a key
cv2.waitKey(100) waits for 100 milliseconds
cv2.destroyAllWindows() closes the window based on the waitKey.
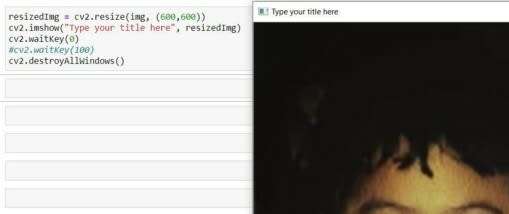
cv2.resize(img, (600,600)) helps us to resize the image.
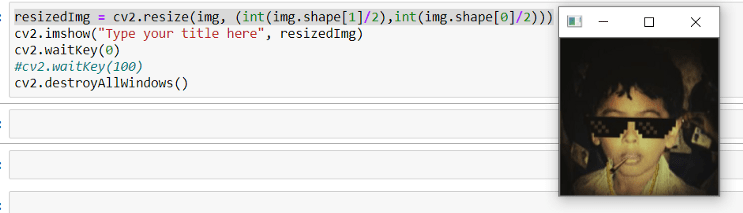
cv2.resize(img, (int(img.shape[1]/2), int(img.shape[0]/2))) will resize the image to half it's original image size, similarly you can multiply by two, to double the size.
Face Detection System
So far we have discussed some of the root basics of OpenCV which can let you start off your journey, However, OpenCV is not restricted to images alone, you can provide video inputs as well, which is a broader concept and it's pretty much out of scope for this article. So to end with, let us put everything we have learnt so far together in this article to build a simple Face Detection System!
You need an image.
You need to create or download a cascade classifier which contains the features of the face. This basically helps us to find where the face actually is! You can always use Google to find various Haar Cascades of the things you may want to detect. For now, We will use a Face cascade.
We will use OpenCV to read the image file as well as the feature-file and convert them into NumPy arrays.
It will then search for the rows and column values of the face NumPy N-dimensional Array, which basically helps us to find the face-rectangle coordinates.
Finally, we will display the image with a rectangular face-box.
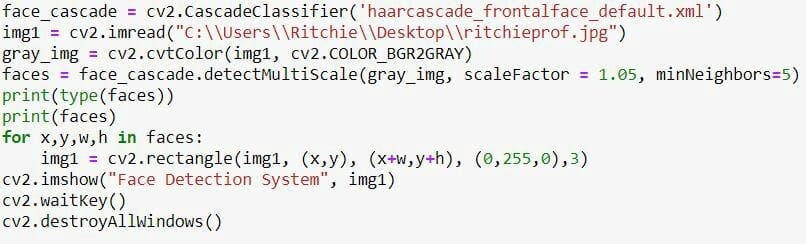
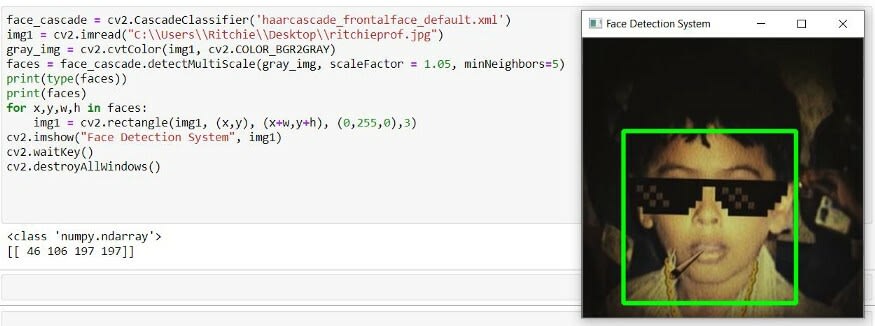
cv2.CascadeClassifier("classifier name") is used to read the Face Cascade Classifier xml file.
cv2.imread("image path") as we have discussed earlier is to read the image.
cv2.cvtColor(img1, cv2.COLOR_BGR2GRAY) converts the image to grayscale.
face_cascade.detectMultiScale(gray_img, scaleFactor = 1.05, minNeighbors=5) is used to search for the coordinates of the face features in the image. The detectMultiScale is an OpenCV method to find the Face-Rectangle coordinates. The scaleFactor decreases the NumPy shape value by 5% until it finds the face.
cv2.rectangle(img1, (x,y), (x+w,y+h), (0,255,0),3) is a method to creat the face-rectangle which contains, the image object, coordinates (x,y and x+w, y+h), RGB Values of the rectangle outline and the width of the rectangle as parameters.
Finally, as we have already seen, we are gonna end it with:
cv2.imshow("Face Detection System", img1)
cv2.waitKey()
cv2.destroyAllWindows()

And with that, I believe we have covered the most important aspects of OpenCV basics. As I had already mentioned, OpenCV is not restricted to images alone, you can do a lot of stuff with it. So don't stop, be patient and explore more! Click here if you want the source code of all the examples above. Until then take care :)

Oldest comments (0)